

 System TutorialWindows SeriesStep-by-Step Installation Guide for Windows 11: Ensuring a Reliable System Setup
Step-by-Step Installation Guide for Windows 11: Ensuring a Reliable System Setup

Step-by-Step Installation Guide for Windows 11: Ensuring a Reliable System Setup
This guide will walk you through a clean installation of Windows 11, focusing on a reliable and efficient process. Before you begin, ensure you have a bootable Windows 11 installation media (USB drive or DVD) and a backup of your important data. The process generally involves these steps:
- Preparation: Back up all important data. This is crucial, as a clean install will erase everything on your target drive. Disconnect any unnecessary external devices.
- Boot from Installation Media: Insert your Windows 11 installation media and restart your computer. Enter your BIOS/UEFI settings (usually by pressing Delete, F2, F10, F12, or Esc during startup – the key varies by manufacturer) and change the boot order to prioritize your installation media. Save the changes and exit. Your computer should now boot from the installation media.
- Language and Region Selection: Choose your preferred language, time zone, and keyboard layout.
- Product Key: Enter your Windows 11 product key if prompted. If you purchased a digital license, you may be able to skip this step.
- License Terms: Accept the license terms.
- Choose Installation Type: Select "Custom: Install Windows only (advanced)". This option allows you to choose the drive where Windows 11 will be installed and will perform a clean installation, erasing all existing data on the selected drive.
- Drive Selection: Carefully select the drive where you want to install Windows 11. Double-check this step, as selecting the wrong drive will lead to data loss. The installer will format the selected drive, deleting all data on it.
- Installation Process: The installation process will begin. This may take some time, depending on your hardware. Your computer will restart several times during this process.
- Personalization: After the installation is complete, you will be prompted to personalize your Windows 11 installation, such as creating a user account and setting up your preferences.
- Post-Installation: Once the setup is finished, install any necessary drivers for your hardware (especially graphics and network drivers) from the manufacturer's website. Update Windows to the latest version via Windows Update.
What are the common pitfalls to avoid during a Windows 11 installation?
Several common mistakes can lead to problems during a Windows 11 installation. These include:
- Insufficient Backup: Failing to back up your data before the installation is the most significant pitfall. Data loss is irreversible without a proper backup.
- Incorrect Drive Selection: Choosing the wrong drive during the installation process will lead to the irretrievable loss of data on that drive. Always double-check the selected drive before proceeding.
- Hardware Incompatibility: Attempting to install Windows 11 on hardware that doesn't meet the minimum requirements will result in failure.
- Incorrect Boot Order: Failing to change the boot order in the BIOS/UEFI settings to prioritize the installation media will prevent the installation from starting.
- Corrupted Installation Media: Using a corrupted or faulty installation media will lead to errors during the installation. Verify the integrity of your installation media before starting.
- Interrupting the Installation: Interrupting the installation process can corrupt the installation and lead to system instability.
How can I ensure my data is safe and backed up before and after installing Windows 11?
Data safety is paramount. Before installing Windows 11, back up your essential files using one or more of the following methods:
- External Hard Drive: Copy your data to an external hard drive. This is a simple and reliable method.
- Cloud Storage: Services like OneDrive, Google Drive, or Dropbox allow you to store your data online. This provides redundancy in case of hardware failure.
- System Image Backup: Use Windows' built-in backup utility to create a system image. This creates a complete backup of your entire system, allowing you to restore it later if needed.
- Third-Party Backup Software: Many third-party backup solutions offer advanced features and flexibility.
After installation, verify the integrity of your backup and ensure you can access your data. Consider creating a new backup after the installation to safeguard your newly configured system.
What hardware requirements must my computer meet for a successful Windows 11 installation?
Windows 11 has specific hardware requirements. Your computer must meet these minimum requirements for a successful installation:
- Processor: 1 gigahertz (GHz) or faster with 2 or more cores on a compatible 64-bit processor or System on a Chip (SoC).
- Memory (RAM): 4 gigabytes (GB)
- Storage: 64 GB or larger storage device
- System Firmware: UEFI, Secure Boot capable
- TPM: Trusted Platform Module (TPM) version 2.0
- Graphics Card: DirectX 12 compatible graphics card or later with a WDDM 2.x driver
- Display: High definition (720p) display, 9 inches diagonally, 8 bits per color channel
It's crucial to check if your system meets these requirements before attempting to install Windows 11. Using a system that doesn't meet the requirements will likely result in installation failure. You can check your system specifications in the system information section of your operating system. Note that while these are the minimum requirements, a more powerful system will provide a smoother and more responsive experience.
The above is the detailed content of Step-by-Step Installation Guide for Windows 11: Ensuring a Reliable System Setup. For more information, please follow other related articles on the PHP Chinese website!

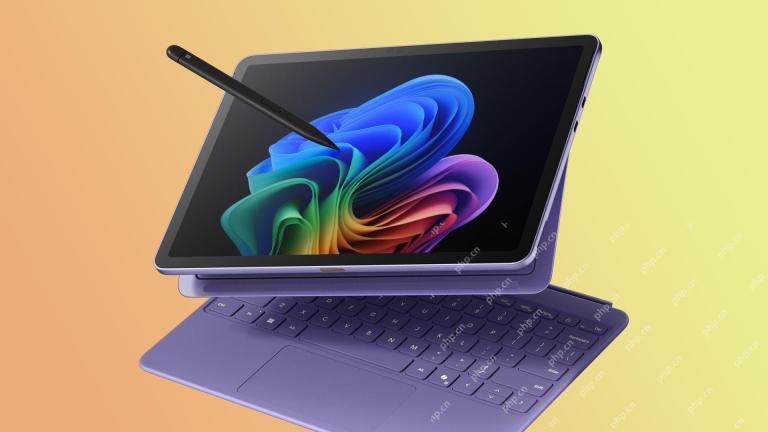 The New Surface Pro Doesn't Feel ProMay 08, 2025 am 06:01 AM
The new Surface Pro: A step back? Microsoft's latest Surface Pro offers connectivity via two USB-C ports, supporting charging, USB 3.2 data transfer, and DisplayPort 1.4a (up to two 4K monitors at 60Hz). However, the device ships without a power ad
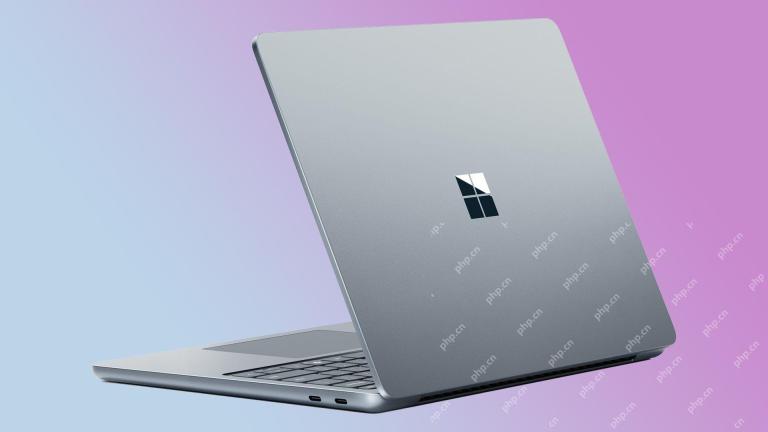 Microsoft Challenges the MacBook Air With New Surface LaptopMay 08, 2025 am 03:02 AM
Microsoft's latest Surface Laptop aims to rival the MacBook Air, but with some notable compromises. The absence of a Surface Connect port marks a significant departure from previous models, reflecting the growing prevalence of Thunderbolt and USB do
 Solve the problem that the svn plugin in eclipse always prompts for password inputMay 07, 2025 pm 05:03 PM
1. Background Recently, when using the svn plug-in to manage remote warehouse code in eclipse, prompts to enter passwords are always prompted to enter passwords, which is particularly annoying. After hard work, I finally solved the problem and shared it with you~ 2. Analysis of the password mechanism of the svn plug-in and the cause of the problem. When we use the svn plug-in for the first time and enter the password, a file that saves the password will be generated, and then the svn plug-in will read the username and password information by default every time. When eclipse is started, the configuration information will be automatically read into the program cache. After the password of svn is modified, it is impossible to log in again, and there is no prompt to re-enter the password. At this time, we can delete the relevant configuration files and let the svn plugin prompt us to re-enter the password. However, ec
 How to restore the win8 system details stepsMay 07, 2025 pm 05:00 PM
The steps to start system restore in Windows 8 are: 1. Press the Windows key X to open the shortcut menu; 2. Select "Control Panel", enter "System and Security", and click "System"; 3. Select "System Protection", and click "System Restore"; 4. Enter the administrator password and select the restore point. When selecting the appropriate restore point, it is recommended to select the restore point before the problem occurs, or remember a specific date when the system is running well. During the system restore process, if you encounter "The system restore cannot be completed", you can try another restore point or use the "sfc/scannow" command to repair the system files. After restoring, you need to check the system operation status, reinstall or configure the software, and re-back up the data, and create new restore points regularly.
 'Modern Operating System Original Book 3rd Edition'May 07, 2025 pm 04:57 PM
"Modern Operating Systems (English Edition 3rd Edition)" is a classic work written by Professor Tanenbaum. With his profound experience in the design of three operating systems, the book perfectly integrates theory and practice. The third edition of the book explores a number of topics in depth, such as process, threading, storage management, file systems, I/O deadlock, interface design, multimedia, performance trade-offs, and introduces the latest trends in operating system design. The book not only explains the principles and practices of modern operating systems in detail, but also pays special attention to Linux operating systems, Windows Vista operating systems, embedded operating systems, real-time operating systems and multimedia operating systems. Covering Windows Vista and the latest Linux/Unix operations
 .NET Core Quick Start Tutorial 1. The beginning: Talking about .NET CoreMay 07, 2025 pm 04:54 PM
1. The Origin of .NETCore When talking about .NETCore, we must not mention its predecessor .NET. Java was in the limelight at that time, and Microsoft also favored Java. The Java virtual machine on the Windows platform was developed by Microsoft based on JVM standards. It is said to be the best performance Java virtual machine at that time. However, Microsoft has its own little abacus, trying to bundle Java with the Windows platform and add some Windows-specific features. Sun's dissatisfaction with this led to a breakdown of the relationship between the two parties, and Microsoft then launched .NET. .NET has borrowed many features of Java since its inception and gradually surpassed Java in language features and form development. Java in version 1.6
 Solve the problem that the 80 port under Windows 10 is occupied by the System with PID 4May 07, 2025 pm 04:51 PM
1. Background Recently, out of curiosity, I updated the Windows 10 system, which is very easy to operate and the experience is quite good. However, when developing in IDEA, when starting the project using port 80, it is found that the port has been occupied. After some attempts, I found a solution and I will share it with you. 2. Solution steps 1. Check the process number PID that occupies port 80 by executing the netstat-ano|findstr "80" command. 2. Since port 80 is occupied by system services, the process cannot be terminated directly. Therefore, use the netshhttpshowservicestate command to view the current HTTP service status. The result is as shown in the figure: from the figure
 10 latest tools for web developersMay 07, 2025 pm 04:48 PM
Web development design is a promising career field. However, this industry also faces many challenges. As more businesses and brands turn to the online marketplace, web developers have the opportunity to demonstrate their skills and succeed in their careers. However, as demand for web development continues to grow, the number of developers is also increasing, resulting in increasingly fierce competition. But it’s exciting that if you have the talent and will, you can always find new ways to create unique designs and ideas. As a web developer, you may need to keep looking for new tools and resources. These new tools and resources not only make your job more convenient, but also improve the quality of your work, thus helping you win more business and customers. The trends of web development are constantly changing.


Hot AI Tools

Undresser.AI Undress
AI-powered app for creating realistic nude photos

AI Clothes Remover
Online AI tool for removing clothes from photos.

Undress AI Tool
Undress images for free

Clothoff.io
AI clothes remover

Video Face Swap
Swap faces in any video effortlessly with our completely free AI face swap tool!

Hot Article
Hot Tools

WebStorm Mac version
Useful JavaScript development tools

Safe Exam Browser
Safe Exam Browser is a secure browser environment for taking online exams securely. This software turns any computer into a secure workstation. It controls access to any utility and prevents students from using unauthorized resources.

VSCode Windows 64-bit Download
A free and powerful IDE editor launched by Microsoft

SublimeText3 Linux new version
SublimeText3 Linux latest version

Zend Studio 13.0.1
Powerful PHP integrated development environment

