

 System TutorialWindows SeriesHow to Install Windows 11 on Your PC: A Comprehensive Installation Guide
How to Install Windows 11 on Your PC: A Comprehensive Installation Guide
Installing Windows 11 can seem daunting, but with a clear guide, it's manageable. This process generally involves creating a bootable USB drive, booting from the USB, and then following the on-screen instructions. Here's a step-by-step guide:
1. Download the Windows 11 ISO file: Go to the official Microsoft website and download the Windows 11 ISO file. You'll need a Microsoft account to do this. Choose the correct edition (Home or Pro) and language.
2. Create a bootable USB drive: You'll need a USB flash drive with at least 8GB of storage space. Use the Media Creation Tool provided by Microsoft to create a bootable USB drive. This tool will format your USB drive, so ensure you have backed up any important data. The tool will guide you through the process.
3. Boot from the USB drive: Restart your computer. During startup, you'll need to access your BIOS/UEFI settings (usually by pressing Delete, F2, F10, F12, or Esc – the key varies depending on your motherboard manufacturer). In the BIOS/UEFI settings, change the boot order to prioritize the USB drive. Save the changes and exit. Your computer should now boot from the USB drive.
4. Follow the on-screen instructions: The Windows 11 setup will begin. You'll be guided through several steps, including language selection, keyboard layout, and accepting the license terms. You'll then be presented with the option to perform a clean installation (erasing all data) or an upgrade installation (keeping your existing files and programs). Choose the appropriate option.
5. Install Windows 11: The installation process will take some time. Your computer will restart several times during this process. Once the installation is complete, you'll be prompted to create a user account and personalize your settings.
6. Install drivers and updates: After the installation, you'll need to install the necessary drivers for your hardware (such as graphics card, sound card, and network adapter). You can usually find these drivers on the manufacturer's website. Finally, update Windows 11 to ensure you have the latest security patches and features.
What are the minimum system requirements for installing Windows 11?
Windows 11 has specific minimum system requirements that your computer must meet to install and run the operating system smoothly. These requirements are stricter than those for Windows 10. Failing to meet these requirements may result in installation failure or poor performance. The minimum requirements include:
- Processor: 1 gigahertz (GHz) or faster with 2 or more cores on a compatible 64-bit processor or System on a Chip (SoC).
- RAM: 4 gigabytes (GB)
- Storage: 64 GB or larger storage device
- System firmware: UEFI, Secure Boot capable
- TPM: Trusted Platform Module (TPM) version 2.0
- Graphics card: Compatible with DirectX 12 or later with WDDM 2.x driver
- Display: High definition (720p) display, 9 inches or larger diagonally, 8 bits per color channel
It's important to note that while these are the minimum requirements, Microsoft recommends a more powerful system for optimal performance. Checking your system specifications before attempting installation is crucial to avoid potential issues. You can usually find this information in your computer's settings or documentation.
Can I perform a clean install of Windows 11 without losing my data?
No, a clean install of Windows 11 inherently involves erasing all data on the drive where you're installing the operating system. A clean install is designed to provide a fresh, uncluttered system, removing any previous operating systems, programs, and user data. Therefore, it's absolutely crucial to back up all your important files, documents, photos, and other data before proceeding with a clean installation. You can back up your data to an external hard drive, cloud storage (like OneDrive or Google Drive), or another internal drive. Failing to back up your data will result in permanent data loss. While there are recovery options, they are not always successful and should not be relied upon.
What are the common troubleshooting steps if I encounter problems during Windows 11 installation?
Several issues might arise during the Windows 11 installation process. Here are some common troubleshooting steps:
- Check system requirements: Ensure your computer meets the minimum system requirements outlined above. A mismatch in requirements is a primary cause of installation failures.
- BIOS/UEFI settings: Verify that your BIOS/UEFI settings are configured correctly. Ensure the boot order prioritizes your bootable USB drive. Check for any settings related to Secure Boot and TPM 2.0 – these are essential for Windows 11.
- USB drive issues: The bootable USB drive may be faulty. Try creating a new bootable USB drive using a different USB drive and ensuring it's properly formatted.
- Driver issues: Outdated or incompatible drivers can cause installation problems. Try updating your drivers before attempting installation.
- Disk errors: Errors on your hard drive or SSD can prevent installation. Run a disk check utility to identify and fix any errors.
- Insufficient space: Ensure you have enough free space on your target drive.
- Internet connection: A stable internet connection is usually required during the installation process.
- Re-download the ISO file: The downloaded ISO file might be corrupted. Try downloading it again from the official Microsoft website.
If you continue to encounter problems, searching online for specific error messages you receive can often provide solutions. Microsoft's support website also offers extensive troubleshooting resources. If all else fails, seeking professional assistance from a computer technician might be necessary.
The above is the detailed content of How to Install Windows 11 on Your PC: A Comprehensive Installation Guide. For more information, please follow other related articles on the PHP Chinese website!

 Today Only: Get One of Samsung's Best Gaming Monitors For $600 OffApr 30, 2025 pm 06:02 PM
Grab Samsung Odyssey Neo G8 limited-time special offer! Samsung Odyssey Neo G8 esports monitor takes your gaming experience to the next level with its 4K resolution, 1000R curvature VA panel and ergonomic design. Original price is $1299.99, current price is only $699.99! Save $600! This high-end monitor is rare to discount, with a very cost-effective and not to be missed! This offer is only one day, no time to go! Samsung Odyssey Neo G8 curved display with a 32-inch oversized 16:9 screen almost reaches the size of a TV. 4K resolution brings the game to life (provided that your graphics card can withstand it). 240Hz refresh rate and 1ms GTG
 Open Source Video Editor Kdenlive 25.04 Is HereApr 30, 2025 am 06:07 AM
Kdenlive 25.04 streamlines video editing with enhanced features and improved workflow. This release focuses on easing the burden of basic effects and enhancing audio editing precision. A Refined Editing Experience Kdenlive 25.04 boasts significant i
 Too Many Passwords to Keep Track Of? Here's What to DoApr 30, 2025 am 06:02 AM
Never reuse passwords! While remembering unique passwords for every online account is challenging, reusing them significantly increases your vulnerability to hacking. Data breaches frequently expose passwords, and using the same password across mul
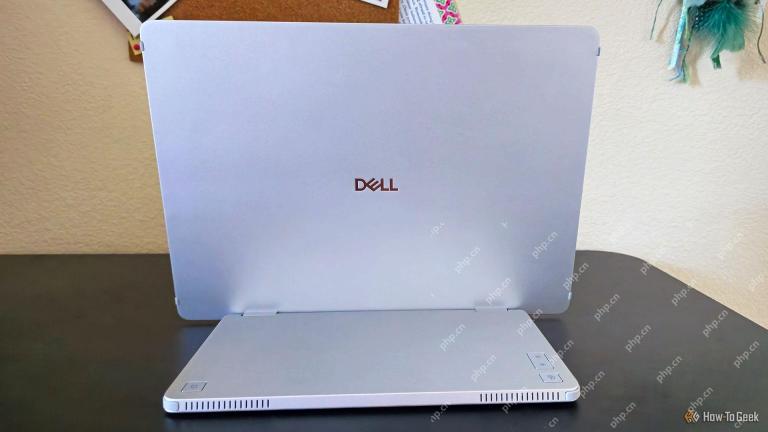 Dell Pro 14 Plus Portable Monitor Review: Convenient Portability for ProfessionalsApr 30, 2025 am 03:02 AM
The Dell Pro 14 Plus (P1425) portable monitor: a professional's practical choice, but with caveats. This 14-inch display shines with its brightness and resolution, making it ideal for on-the-go productivity. However, its lack of integrated speakers
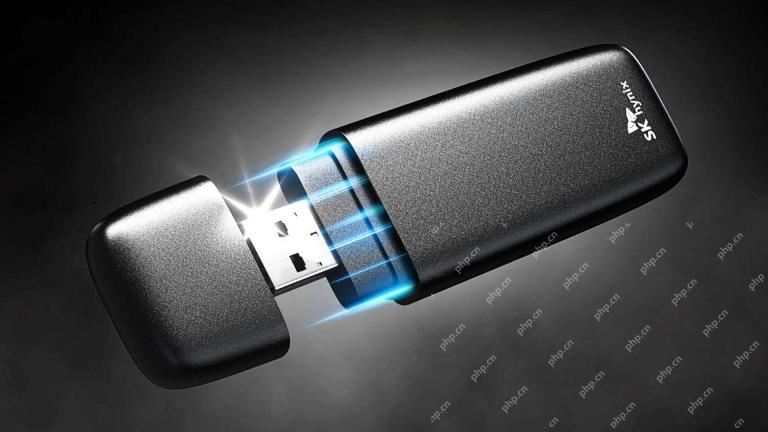 This Compact 1TB USB SSD Is Just $60 TodayApr 30, 2025 am 01:04 AM
SK Hynix Tube T31 1TB Portable SSD Special Offer! This compact USB-sized solid-state drive is currently priced at only $59.98 on Amazon, about 25% lower than the original price of $139.99! The SK Hynix Tube T31 has a fast transmission speed of up to 1000MB/s, adopts a compact USB drive design and supports USB 3.2 Gen 2 interface. Built-in DRAM ensures high-speed data transmission, backup and file transfer efficiency. It uses a standard USB-A interface, and if your computer only has a Type-C interface, you need to use a hub or an adapter. Compatibility-wise, it supports running Windows 10/11 and mac
 Your Next GPU Might Have a GyroscopeApr 30, 2025 am 12:58 AM
High-end GPUs are getting so heavy, they're now incorporating gyroscopes! The ASUS ROG Astral RTX 5090, a massive 3kg (over 6 pounds), includes a Bosch Sensortec BMI323 IMU to detect sagging. This is a direct response to the increasing weight of th
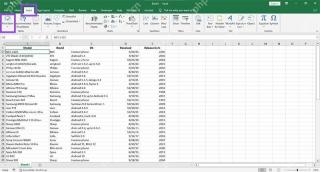 How to Create a Timeline Filter in Excel Apr 30, 2025 am 12:54 AM
Excel has a variety of methods for sorting and displaying data, making it easy to sort dates and view entries in chronological order. But if you need a more comprehensive and dynamic display, you might as well organize the data into a timeline. The Excel Timeline tool is an excellent way to present projects and their milestones or visualize data trends over time. This article will guide you on how to create a timeline filter in Excel. Preparation Before creating a data timeline filter, it needs to be converted to a pivot table. PivotTables are a powerful tool for organizing large amounts of data for easy analysis, filtering, and (in this case) viewing on the timeline. The method of creating a pivot table is as follows: Select a cell in the spreadsheet. Navigate to the Insert tab
 How to Update Apps on Your PC with WingetApr 30, 2025 am 12:52 AM
Linux distributions offer users a wide range of options, one of which is the package manager. This article will explain three Ubuntu package managers, APT, Snap, and Flatpak, and explain when to use which one. Related Articles Manually updating Windows applications is cumbersome Windows provides users with a lot of freedom, including how to install and where to get the application. Therefore, there is currently no single location that can handle updates to all software on your PC. Microsoft Store handles its own updates. Some applications have their own built-in updates that run regularly or automatically when you start the application. Some content (usually drivers)


Hot AI Tools

Undresser.AI Undress
AI-powered app for creating realistic nude photos

AI Clothes Remover
Online AI tool for removing clothes from photos.

Undress AI Tool
Undress images for free

Clothoff.io
AI clothes remover

Video Face Swap
Swap faces in any video effortlessly with our completely free AI face swap tool!

Hot Article
Hot Tools

Dreamweaver CS6
Visual web development tools

EditPlus Chinese cracked version
Small size, syntax highlighting, does not support code prompt function

SAP NetWeaver Server Adapter for Eclipse
Integrate Eclipse with SAP NetWeaver application server.

ZendStudio 13.5.1 Mac
Powerful PHP integrated development environment

Zend Studio 13.0.1
Powerful PHP integrated development environment

