


How to Install the 24H2 Windows 11 Update: A Step-by-Step Tutorial
Installing the Windows 11 24H2 update is generally straightforward, but the exact steps might vary slightly depending on your system configuration and update settings. Here's a general guide:
- Check for Updates: Open the Settings app (Win I). Click on Windows Update. Click Check for updates. Windows will search for available updates. If the 24H2 update is available, it will be listed.
- Download the Update: Once the update is detected, click Download. The download size is significant, so ensure you have a stable internet connection and sufficient free space on your hard drive. The download process may take considerable time depending on your internet speed.
- Schedule the Installation (Recommended): Instead of immediately installing, you can often schedule the update for a time that's convenient. This allows you to save your work and close any open applications before the reboot.
- Restart Your Computer: Once the download is complete, Windows will prompt you to restart your computer to complete the installation. Save all your work and close all applications before proceeding. The installation process itself will take some time, possibly ranging from 30 minutes to over an hour depending on your hardware.
- Post-Installation: After the restart, your computer will boot into the updated Windows 11 24H2. You may need to sign back into your account. Check for any new features or changes.
What are the minimum system requirements for the 24H2 Windows 11 update?
The minimum system requirements for the Windows 11 24H2 update are generally similar to the initial Windows 11 release, but Microsoft may subtly adjust these with each feature update. Officially, you should check the Microsoft website for the most up-to-date requirements before attempting the update. However, generally speaking, expect these minimum requirements:
- Processor: 1 gigahertz (GHz) or faster with 2 or more cores on a compatible 64-bit processor or System on a Chip (SoC).
- RAM: 4 gigabytes (GB)
- Storage: 64 GB or larger storage device
- System Firmware: UEFI, Secure Boot capable
- TPM: Trusted Platform Module (TPM) version 2.0
- Graphics Card: DirectX 12 compatible graphics card or better
- Display: HD display (720p) or better, 9-inch diagonal, 8-bits per color channel
It's crucial to note that meeting the minimum requirements doesn't guarantee a smooth experience. A more powerful processor, more RAM, and a faster SSD will significantly improve performance. If your system barely meets the minimum requirements, you may encounter performance issues after the update.
Will installing the 24H2 update erase my personal files and data?
No, installing the Windows 11 24H2 update should not erase your personal files and data. Microsoft's update process is designed to preserve user data. However, it's always a good idea to back up your important files before any major system update as a precaution. This is especially true if you've encountered problems with previous updates or if your system is experiencing any instability. You can use external hard drives, cloud storage services, or file history to create backups.
What should I do if I encounter errors during the 24H2 Windows 11 update installation?
Encountering errors during a Windows update can be frustrating. Here's a breakdown of troubleshooting steps:
- Check Your Internet Connection: Ensure you have a stable and reliable internet connection throughout the entire update process. Interruptions can cause installation failures.
- Restart Your Computer: A simple restart can often resolve minor glitches.
- Check Disk Space: Make sure you have sufficient free space on your hard drive. The update requires considerable space for temporary files.
- Run the Windows Update Troubleshooter: Windows includes built-in troubleshooting tools. Search for "troubleshoot settings" in the Start menu and run the Windows Update troubleshooter.
- Check for Conflicting Software: Some third-party applications might interfere with the update process. Try temporarily disabling antivirus software or other potentially conflicting programs.
-
Perform a System File Check (SFC): Open Command Prompt as an administrator and run
sfc /scannow. This command checks for and repairs corrupted system files. - Check Event Viewer: The Event Viewer can provide more detailed information about the error. Search for "Event Viewer" in the Start menu. Look for error messages related to Windows Update in the Application and System logs.
- Seek Help from Microsoft Support: If the problem persists, contact Microsoft support for assistance. They can provide more specific troubleshooting guidance based on the error code you're encountering. Consider also searching online forums for solutions related to your specific error message.
Remember to always document the error messages you encounter, as this information is crucial for troubleshooting.
The above is the detailed content of How to Install the 24H2 Windows 11 Update: A Step-by-Step Tutorial. For more information, please follow other related articles on the PHP Chinese website!

 6 Tasks You Should Do Regularly on Your Windows ComputerApr 19, 2025 am 03:01 AM
Maintaining a Windows computer requires regular upkeep to ensure smooth operation and prevent performance issues, security risks, and unnoticed hardware problems. Here's a routine maintenance checklist to keep your computer running smoothly: 1. Run
 How to Right-Click With No MouseApr 18, 2025 pm 12:03 PM
The mouse is a vital component to getting work done on your PC. But when you’re stuck with a faulty mouse, you can run into a few problems including the inability to right-click. But the good news is that there are definitely ways t
 5 Mistakes That Can Ruin Your Windows ExperienceApr 18, 2025 am 06:01 AM
Maintaining a clean and efficient Windows experience is crucial for optimal performance. Here are some common pitfalls to avoid: 1. Overloading Startup Apps: Too many startup applications significantly slow down boot times and overall system perfor
 Your Keyboard Needs a Big Ol' Volume KnobApr 18, 2025 am 03:04 AM
In today's touchscreen world, the satisfying tactile feedback of physical controls is a welcome change. That's why a keyboard with a large volume knob is surprisingly appealing. I recently experienced this firsthand, and it's been a revelation. For
 Windows 11 Will Let You Copy Any Text on Your ScreenApr 18, 2025 am 03:01 AM
Windows 11 Snipping Tool Gains Powerful New OCR Feature: Say Goodbye to Manual Text Selection! Windows 11's Snipping Tool just received a major upgrade, adding Optical Character Recognition (OCR) capabilities. This allows users to select text from v
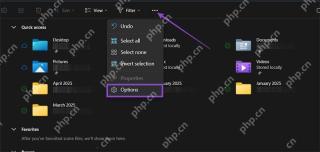 How and Why to Change Default File Explorer FolderApr 17, 2025 pm 10:01 PM
This guide explains how to change the default opening location of File Explorer in Windows 11 and 10. The default "Home" view, while convenient for some, may compromise privacy or workflow efficiency. This tutorial offers three methods to
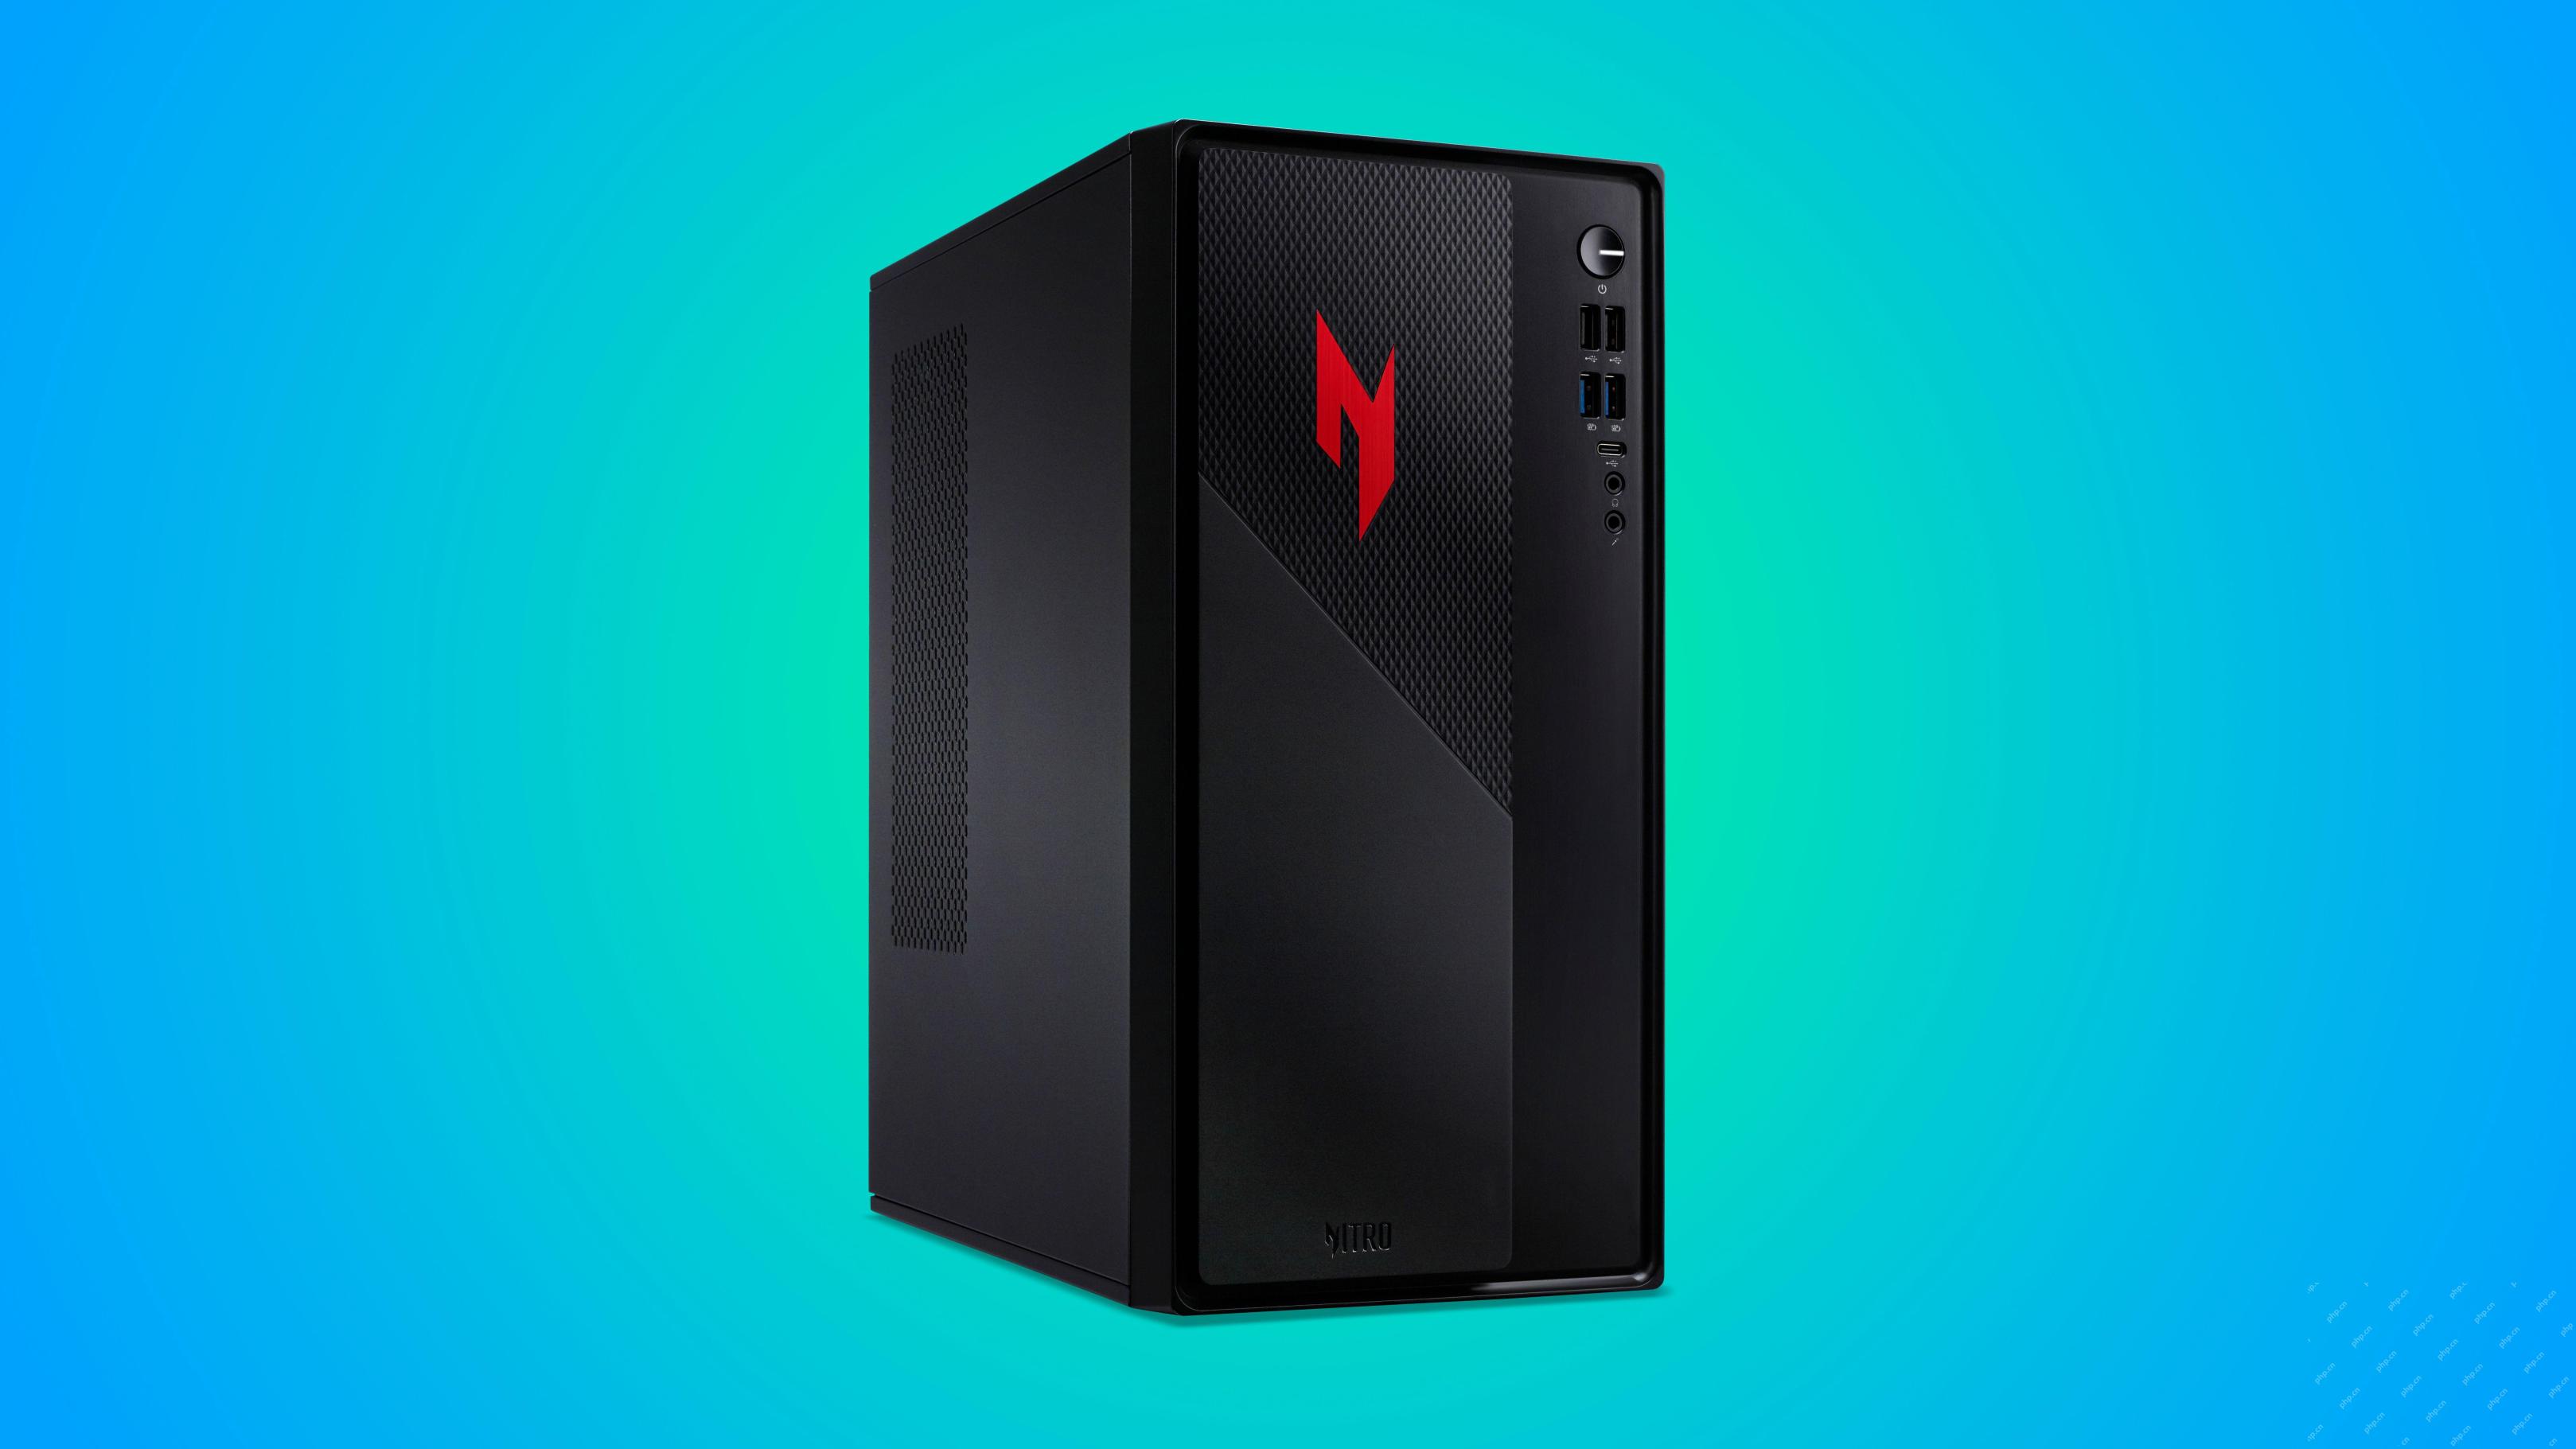 This Acer Desktop PC Has Laptop Specs, For Some ReasonApr 17, 2025 am 06:03 AM
Acer's latest gaming laptop series is stunning, but the company has also launched a desktop computer that is awkward in Acer's product line and has its own advantages and disadvantages compared to other small desktop computers. Acer today added four new laptops and a redesigned compact desktop to its popular Nitro gaming lineup. However, let's talk about desktop computers first, because it's the most unique. What makes it unique is that it uses laptop specifications. The Nitro 20 N20-100 uses an AMD Ryzen AI 9 365 processor, or the Intel Core i5-13420H desktop processor is also available. Graphics card can be equipped with up to
 This Limited-Edition 'DOOM' Release Comes In a Box That Runs 'DOOM'Apr 17, 2025 am 06:02 AM
Limited Run Games is releasing a limited-edition DOOM DOOM II: Will It Run Edition box set, a playful nod to the enduring "Can it run DOOM?" meme. This extravagant set includes remastered versions of the first two DOOM games, playable ac


Hot AI Tools

Undresser.AI Undress
AI-powered app for creating realistic nude photos

AI Clothes Remover
Online AI tool for removing clothes from photos.

Undress AI Tool
Undress images for free

Clothoff.io
AI clothes remover

AI Hentai Generator
Generate AI Hentai for free.

Hot Article
Hot Tools

Dreamweaver Mac version
Visual web development tools

mPDF
mPDF is a PHP library that can generate PDF files from UTF-8 encoded HTML. The original author, Ian Back, wrote mPDF to output PDF files "on the fly" from his website and handle different languages. It is slower than original scripts like HTML2FPDF and produces larger files when using Unicode fonts, but supports CSS styles etc. and has a lot of enhancements. Supports almost all languages, including RTL (Arabic and Hebrew) and CJK (Chinese, Japanese and Korean). Supports nested block-level elements (such as P, DIV),

SublimeText3 Chinese version
Chinese version, very easy to use

WebStorm Mac version
Useful JavaScript development tools

MinGW - Minimalist GNU for Windows
This project is in the process of being migrated to osdn.net/projects/mingw, you can continue to follow us there. MinGW: A native Windows port of the GNU Compiler Collection (GCC), freely distributable import libraries and header files for building native Windows applications; includes extensions to the MSVC runtime to support C99 functionality. All MinGW software can run on 64-bit Windows platforms.

