
 System TutorialMACTime Machine Backup: How to Use It & Set Up Destination? How to Create Data Copy? [Restore Your MacBook]
Time Machine: Your macOS Backup Solution
Regular backups are crucial, but they can be tedious. Apple's Time Machine simplifies this by automating the process. This guide explains how to use Time Machine for backups and select a backup location.
What is Time Machine?
Time Machine is macOS's built-in backup utility, introduced in Mac OS X 10.5 (Leopard). It provides a user-friendly way to save and restore files on Macs and MacBooks. It copies all data (excluding the original macOS installation) – files, folders, and settings – allowing for automatic or manual backups and restoration of individual files or your entire system. An external drive is required for backups, but Time Machine also creates temporary snapshots on your main drive for quick file restoration.
Why Use Time Machine?
Time Machine is the ideal backup solution for Macs, beneficial in various situations:
- Restoring older file or folder versions.
- Recovering accidentally deleted files or folders.
- Restoring your Mac to a previous state (e.g., after a malware attack).
- Protecting against data loss from hardware failures or security threats.
- Backing up and saving iPhone backups to your Mac.
Choosing a Backup Destination
Time Machine creates a copy of your startup disk for accessibility even if your Mac malfunctions. Several options exist:
-
Another Mac:
a. On the backup Mac, enable File Sharing in System Settings > General > Sharing. Enable SMB sharing. b. Create a shared Time Machine folder. c. On your main Mac, connect to the shared folder via Finder > Network. d. In System Settings > General > Time Machine, add the backup location.
![Time Machine Backup: How to Use It & Set Up Destination? How to Create Data Copy? [Restore Your MacBook]](/static/imghwm/default1.png)
-
External USB Drive: Simply plug in your formatted drive and select it in Time Machine settings.
-
Network-Attached Storage (NAS): Create a shared folder on your NAS, connect to it on your Mac, and select it in Time Machine settings.
-
AirPort Time Capsule (Discontinued): If you own one, ensure it's connected and select it in Time Machine settings.
![Time Machine Backup: How to Use It & Set Up Destination? How to Create Data Copy? [Restore Your MacBook]](https://img.php.cn/upload/article/000/000/000/174062545816963.jpg?x-oss-process=image/resize,p_40)
![Time Machine Backup: How to Use It & Set Up Destination? How to Create Data Copy? [Restore Your MacBook]](https://img.php.cn/upload/article/000/000/000/174062545969369.jpg?x-oss-process=image/resize,p_40)
![Time Machine Backup: How to Use It & Set Up Destination? How to Create Data Copy? [Restore Your MacBook]](https://img.php.cn/upload/article/000/000/000/174062546171046.jpg?x-oss-process=image/resize,p_40)
![Time Machine Backup: How to Use It & Set Up Destination? How to Create Data Copy? [Restore Your MacBook]](https://img.php.cn/upload/article/000/000/000/174062546293256.jpg?x-oss-process=image/resize,p_40)
![Time Machine Backup: How to Use It & Set Up Destination? How to Create Data Copy? [Restore Your MacBook]](https://img.php.cn/upload/article/000/000/000/174062546372487.jpg?x-oss-process=image/resize,p_40)
![Time Machine Backup: How to Use It & Set Up Destination? How to Create Data Copy? [Restore Your MacBook]](https://img.php.cn/upload/article/000/000/000/174062546597865.jpg?x-oss-process=image/resize,p_40)
![Time Machine Backup: How to Use It & Set Up Destination? How to Create Data Copy? [Restore Your MacBook]](https://img.php.cn/upload/article/000/000/000/174062546653045.jpg?x-oss-process=image/resize,p_40)
![Time Machine Backup: How to Use It & Set Up Destination? How to Create Data Copy? [Restore Your MacBook]](https://img.php.cn/upload/article/000/000/000/174062546892409.jpg?x-oss-process=image/resize,p_40)
![Time Machine Backup: How to Use It & Set Up Destination? How to Create Data Copy? [Restore Your MacBook]](https://img.php.cn/upload/article/000/000/000/174062546937042.jpg?x-oss-process=image/resize,p_40)
![Time Machine Backup: How to Use It & Set Up Destination? How to Create Data Copy? [Restore Your MacBook]](https://img.php.cn/upload/article/000/000/000/174062547023335.jpg?x-oss-process=image/resize,p_40)
![Time Machine Backup: How to Use It & Set Up Destination? How to Create Data Copy? [Restore Your MacBook]](https://img.php.cn/upload/article/000/000/000/174062547223730.jpg?x-oss-process=image/resize,p_40)
Manual Backups
While Time Machine defaults to hourly automatic backups, you can initiate a manual backup anytime via System Settings > Time Machine or the menu bar icon.
![Time Machine Backup: How to Use It & Set Up Destination? How to Create Data Copy? [Restore Your MacBook]](https://img.php.cn/upload/article/000/000/000/174062547312331.jpg?x-oss-process=image/resize,p_40)
![Time Machine Backup: How to Use It & Set Up Destination? How to Create Data Copy? [Restore Your MacBook]](https://img.php.cn/upload/article/000/000/000/174062547429167.jpg?x-oss-process=image/resize,p_40)
Excluding Files and Folders
To reduce backup size and time, exclude unnecessary files and folders in System Settings > Time Machine > Options.
![Time Machine Backup: How to Use It & Set Up Destination? How to Create Data Copy? [Restore Your MacBook]](https://img.php.cn/upload/article/000/000/000/174062547681942.jpg?x-oss-process=image/resize,p_40)
![Time Machine Backup: How to Use It & Set Up Destination? How to Create Data Copy? [Restore Your MacBook]](https://img.php.cn/upload/article/000/000/000/174062547755920.jpg?x-oss-process=image/resize,p_40)
Automatic Backup Settings
Adjust backup frequency (hourly, daily, weekly, or manual) in System Settings > General > Time Machine > Options.
Restoring Your Startup Disk
To restore your entire system after a malfunction, reinstall macOS and use Migration Assistant to restore from your Time Machine backup.
![Time Machine Backup: How to Use It & Set Up Destination? How to Create Data Copy? [Restore Your MacBook]](https://img.php.cn/upload/article/000/000/000/174062547826164.jpg?x-oss-process=image/resize,p_40)
![Time Machine Backup: How to Use It & Set Up Destination? How to Create Data Copy? [Restore Your MacBook]](https://img.php.cn/upload/article/000/000/000/174062547927263.jpg?x-oss-process=image/resize,p_40)
![Time Machine Backup: How to Use It & Set Up Destination? How to Create Data Copy? [Restore Your MacBook]](https://img.php.cn/upload/article/000/000/000/174062548154394.jpg?x-oss-process=image/resize,p_40)
Restoring Individual Files and Folders
Restore individual items by clicking the Time Machine menu bar icon, selecting "Browse Time Machine Backups," and selecting the desired files/folders.
Maximizing Backup Effectiveness
Time Machine provides robust protection, but consider removing unnecessary files to optimize backup size and speed. Tools like MacKeeper's Duplicates Finder can help. Supplementing Time Machine with iCloud or other cloud services adds an extra layer of security.
FAQ
- Backup Space: Aim for a backup destination at least twice the size of your startup disk.
- Backup Completion: Monitor progress in Time Machine preferences.
- Backup Time: Varies depending on data size and backup location.
- Backup Storage Location: Main backups are stored in your chosen external location; snapshots are on your main drive.
- Backup Frequency: Customizable (hourly, daily, weekly, or manual).
- Backup Scope: Backs up everything except the default macOS installation; customization via exclusions is possible.
The above is the detailed content of Time Machine Backup: How to Use It & Set Up Destination? How to Create Data Copy? [Restore Your MacBook]. For more information, please follow other related articles on the PHP Chinese website!

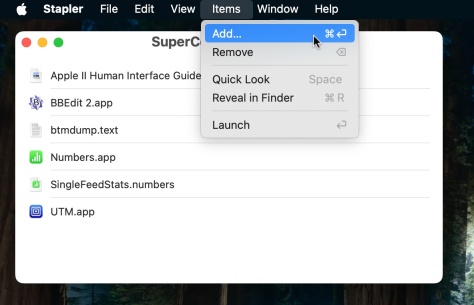 Launch All Apps & Documents Related to a Project with Stapler for MacMay 13, 2025 am 10:37 AM
Longtime Mac users may recall a handy old shareware application for the Classic Macintosh called Stapler, which essentially helped manage projects by grouping a series of apps and documents into a single document that when opened would then launch al
 How to Get Apple Intelligence on Your iPhone, iPad, or MacMay 13, 2025 am 10:32 AM
Apple Intelligence is a set of AI features that Apple is rolling out in beta, and will debut to a larger set of Apple device owners in the fall. Apple Intelligence offers many features from writing and creating text and emails, to taking actions and
 MacOS Sonoma 14.6.1 & Ventura 13.6.9 Released with Bug FixesMay 13, 2025 am 10:25 AM
If you feel like you have spent a significant amount of your time updating system software on your Apple devices lately, you’re in for a treat; another round of system software updates! This time around, Apple has released MacOS Sonoma 14.6.1 alon
 MacOS Sequoia 15 Beta 6 Available for TestingMay 13, 2025 am 10:23 AM
Apple has issued the 6th beta version of MacOS Sequoia for users enrolled in the developer beta testing program. Usually a matching public beta build arrives soon after, which in this case dev beta 6 would be versioned as public beta 4. MacOS Sequoia
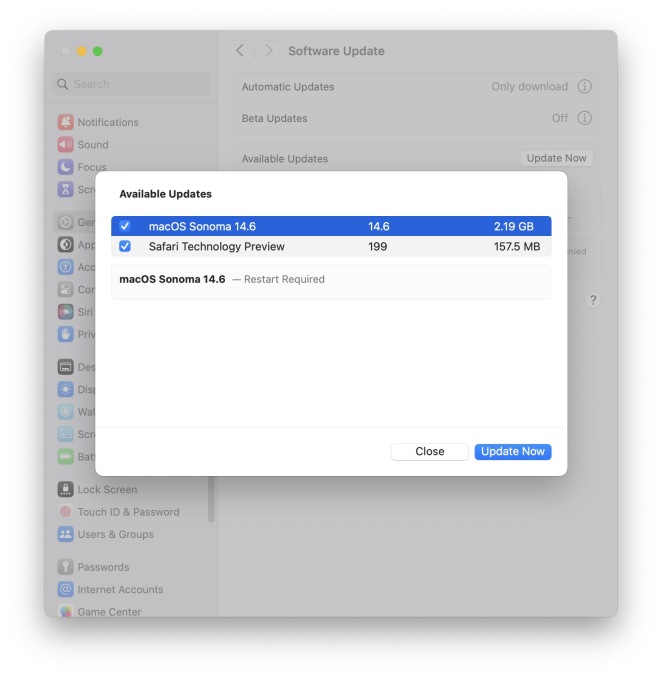 MacOS Sonoma 14.6 Update Released with Bug Fixes & Security UpdatesMay 13, 2025 am 10:20 AM
Apple has released macOS Sonoma 14.6 for Mac users running the Sonoma operating system. The MacOS Sonoma 14.6 software update primarily focuses on bug fixes and security updates for most Macs, however it does include a nice new feature specifically
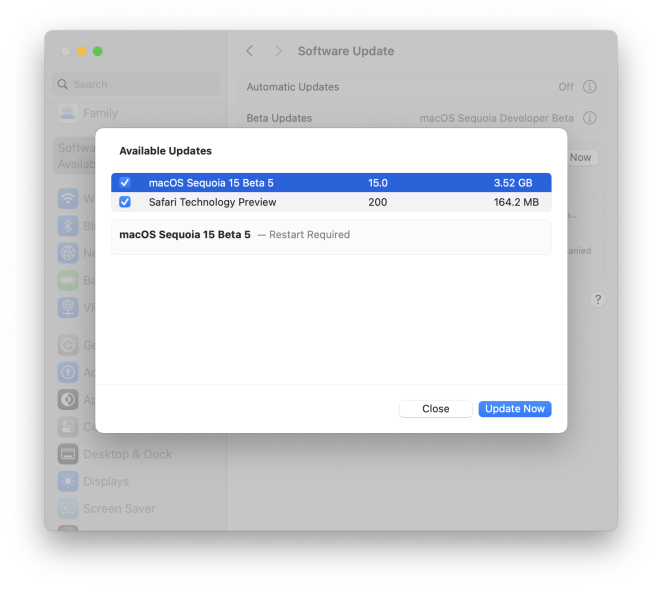 MacOS Sequoia 15 Beta 5 Available to DownloadMay 13, 2025 am 10:06 AM
MacOS Sequoia beta 5 is now available for users enrolled in the developer beta testing program to download and install onto their Macs. MacOS Sequoia beta 5 carries the build of 24A5309e, and usually a new developer beta build is soon followed by a m
 Beta 2 of iOS 18.1, MacOS Sequoia 15.1, & iPadOS 18.1 Released with Apple IntelligenceMay 13, 2025 am 09:49 AM
Apple has released the second beta of iOS 18.1, iPadOS 18.1, and MacOS Sequoia 15.1, each with support for Apple Intelligence AI features, on supported devices anyway. The release of these new beta updates is unusual in that they’re concurrent wit
 How to Uninstall VMWare Fusion on MacMay 13, 2025 am 09:44 AM
You might be aware that VMWare Fusion Pro is now free to download and install, and perhaps you installed it on a Mac to test virtual machines or to play around with, and now you’ve decided you no longer need VMware on the Mac. But VMware Fusion P


Hot AI Tools

Undresser.AI Undress
AI-powered app for creating realistic nude photos

AI Clothes Remover
Online AI tool for removing clothes from photos.

Undress AI Tool
Undress images for free

Clothoff.io
AI clothes remover

Video Face Swap
Swap faces in any video effortlessly with our completely free AI face swap tool!

Hot Article
Hot Tools

SublimeText3 Mac version
God-level code editing software (SublimeText3)

SecLists
SecLists is the ultimate security tester's companion. It is a collection of various types of lists that are frequently used during security assessments, all in one place. SecLists helps make security testing more efficient and productive by conveniently providing all the lists a security tester might need. List types include usernames, passwords, URLs, fuzzing payloads, sensitive data patterns, web shells, and more. The tester can simply pull this repository onto a new test machine and he will have access to every type of list he needs.

SAP NetWeaver Server Adapter for Eclipse
Integrate Eclipse with SAP NetWeaver application server.

DVWA
Damn Vulnerable Web App (DVWA) is a PHP/MySQL web application that is very vulnerable. Its main goals are to be an aid for security professionals to test their skills and tools in a legal environment, to help web developers better understand the process of securing web applications, and to help teachers/students teach/learn in a classroom environment Web application security. The goal of DVWA is to practice some of the most common web vulnerabilities through a simple and straightforward interface, with varying degrees of difficulty. Please note that this software

Dreamweaver CS6
Visual web development tools

