


Protect your images with watermarks! This guide shows you how to add text and image-based watermarks to your photos on Windows 11 using various methods.
Method 1: Using Paint for Text Watermarks
The simplest way to add a text watermark is with Paint. Open your image in Paint (File > Open). Click the "A" icon in the top bar to add text. Type your watermark, format it as desired, and save a copy (File > Save As).


Method 2: Drawing Watermarks with the Photos App
Windows 11's Photos app lets you draw watermarks. Open your image in Photos, click "Edit," then select the "Mark-up" tool. Choose a pen style and draw your watermark. Save a copy of the edited image.


Method 3: Advanced Watermarking with GIMP
GIMP, a free and open-source image editor, provides advanced watermarking options, including adjustable opacity. Install GIMP, open your image, and use the "Text Tool" (T) for text watermarks or "File > Open as Layers" (Ctrl Alt O) for image-based watermarks. Adjust opacity in the layers panel. Save your work using "File > Export As" (Shift Ctrl E).


Method 4: Web-Based Watermarking Tools
Online tools like iLoveIMG and Canva offer convenient watermarking without installation. Upload your image, add your watermark (text or image), and download the result.


Method 5: Batch Watermarking with FastStone Photo Resizer or IrfanView
For multiple images, use FastStone Photo Resizer or IrfanView. These apps allow you to add watermarks (text or image) to many images simultaneously.


Choose the method that best suits your needs and protect your creative work! Remember to also consider removing EXIF data for added privacy.
The above is the detailed content of How to Add a Watermark to Images on Windows 11. For more information, please follow other related articles on the PHP Chinese website!

 How to Transfer Windows to Another DriveMay 02, 2025 pm 02:01 PM
Perhaps your old hard drive is starting to slow down and fail, or maybe you’re looking to migrate your files to a disk with much more space. There are plenty of reasons to migrate Windows from one drive to another, and just as many
 How to Add a User Interface to Windows' Winget UtilityMay 02, 2025 am 06:04 AM
Does Windows lack a convenient package manager? UniGetUI is here to help you! The package manager for Linux systems is very convenient, but Windows systems lack similar tools. However, with a free open source project UniGetUI and Windows built-in command line tool winget, you can get the same functionality on Windows. The best feature for Windows missing: a convenient package manager Package Manager allows you to add and remove programs, system libraries, and drivers. You can search for programs almost instantly, retrieve information about them, and adjust settings. In other words, they are features that Microsoft stores dream of. Every Linux distribution has one
 Arch Linux Is Now in the Windows Subsystem for LinuxMay 02, 2025 am 06:02 AM
Arch Linux officially joins the Windows Subsystem for Linux (WSL) family! No external downloads are needed; installation is a breeze using PowerShell: wsl --install archlinux First-time WSL users will need to run this command first, followed by a sy
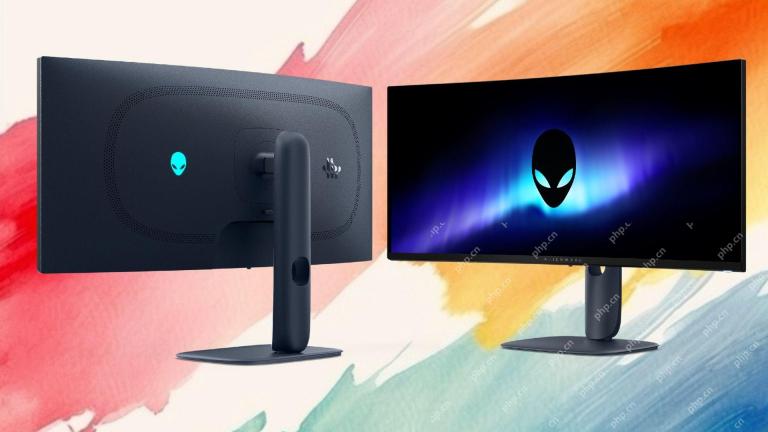 Alienware's New 240Hz 34-Inch QD-OLED Monitor Is Finally OutMay 02, 2025 am 03:05 AM
This monitor boasts extensive connectivity, featuring a DisplayPort 1.4 port (supporting up to 3440 x 1440 at 240Hz, DSC, and HDR) and two HDMI 2.1 FRL ports (also supporting 3440 x 1440 at 240Hz, FRL, HDR, and VRR). These high-speed HDMI 2.1 ports
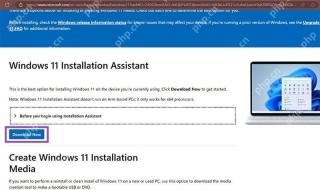 How to Install Windows 11 With No TPM 2.0May 01, 2025 pm 08:01 PM
Windows 10 support is ending in late 2025, prompting many users to upgrade to Windows 11. However, the TPM 2.0 requirement can be a significant hurdle. This guide outlines methods to install Windows 11 even without TPM 2.0, but proceed with caution.
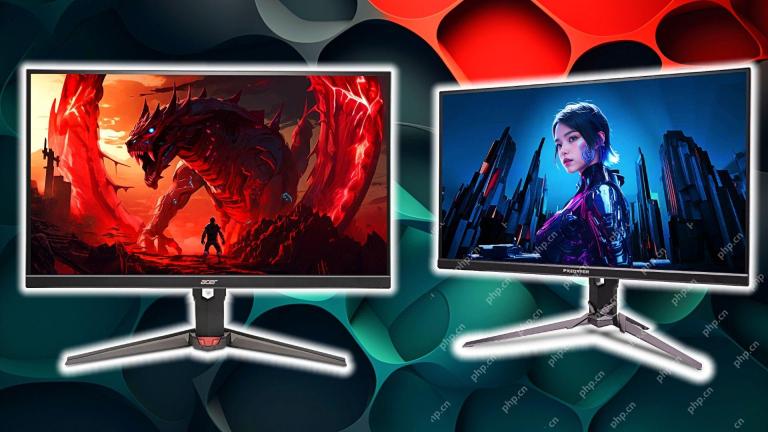 Acer Has Two New Monitors for GamingMay 01, 2025 am 06:06 AM
The Acer Predator XB323QK V4 and Nitro XV240 F6: A Tale of Two Monitors Acer offers two distinct gaming monitors catering to different needs: the color-focused XB323QK V4 and the speed-demon XV240 F6. Let's break down their key features. The XB323QK
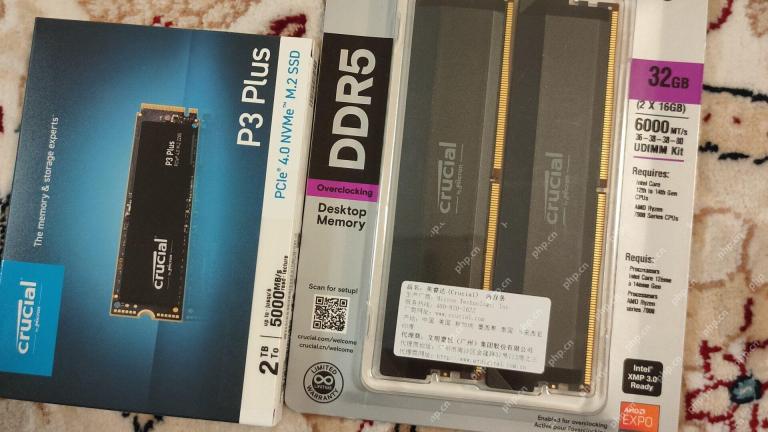 I Bought RAM and an NVMe on eBay, Here's How It WentMay 01, 2025 am 06:01 AM
eBay: A Surprisingly Good Source for New Computer Hardware? While eBay is renowned for its diverse selection of used goods, it's not always the first place that springs to mind when purchasing new computer components. However, my recent experience s
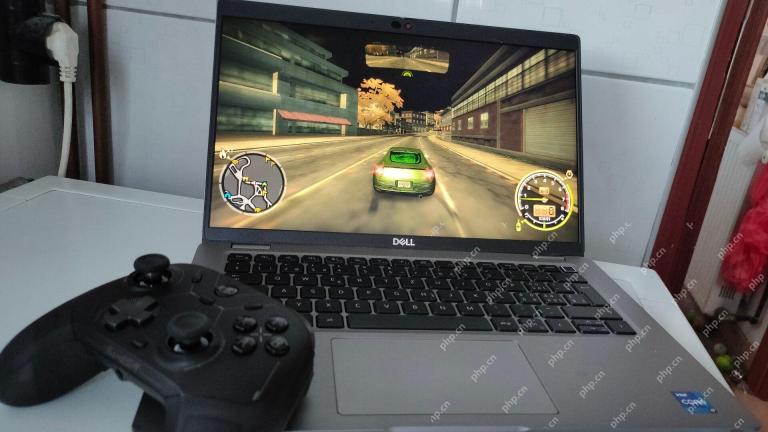 I Upgraded My Laptop's RAM, the Performance Boost Wasn't What You'd ExpectMay 01, 2025 am 03:08 AM
Upgrading your aging laptop? Adding RAM is the easiest and often the only practical upgrade besides storage. My recent experience upgrading a Dell Latitude 5420 proved surprisingly impactful. More RAM Wasn't the Initial Goal My used Dell 5420, while


Hot AI Tools

Undresser.AI Undress
AI-powered app for creating realistic nude photos

AI Clothes Remover
Online AI tool for removing clothes from photos.

Undress AI Tool
Undress images for free

Clothoff.io
AI clothes remover

Video Face Swap
Swap faces in any video effortlessly with our completely free AI face swap tool!

Hot Article
Hot Tools

SublimeText3 Chinese version
Chinese version, very easy to use

MinGW - Minimalist GNU for Windows
This project is in the process of being migrated to osdn.net/projects/mingw, you can continue to follow us there. MinGW: A native Windows port of the GNU Compiler Collection (GCC), freely distributable import libraries and header files for building native Windows applications; includes extensions to the MSVC runtime to support C99 functionality. All MinGW software can run on 64-bit Windows platforms.

Safe Exam Browser
Safe Exam Browser is a secure browser environment for taking online exams securely. This software turns any computer into a secure workstation. It controls access to any utility and prevents students from using unauthorized resources.

SecLists
SecLists is the ultimate security tester's companion. It is a collection of various types of lists that are frequently used during security assessments, all in one place. SecLists helps make security testing more efficient and productive by conveniently providing all the lists a security tester might need. List types include usernames, passwords, URLs, fuzzing payloads, sensitive data patterns, web shells, and more. The tester can simply pull this repository onto a new test machine and he will have access to every type of list he needs.

SAP NetWeaver Server Adapter for Eclipse
Integrate Eclipse with SAP NetWeaver application server.

