


You use email in your applications, right? Ok, that’s a rhetorical question. Of course you do. Despite email being over 30 years old, it’s still the most popular application on the planet, by far. Here are some stats from Pingdom, for 2012:
- 2.2 billion – Number of email users worldwide
- 144 billion – Total email traffic per day worldwide
- 4.3 billion – Number of email clients worldwide in 2012
Staggering!
Key Takeaways
- MailCatcher is a useful tool for developers that allows you to test email functionality in your applications without actually sending emails to real addresses. It runs a simple SMTP server which catches any message sent to it and displays it in a web interface.
- The MailCatcher web UI is simple and effective, listing the emails in the queue and providing detailed information about them. It’s an excellent way to verify that your code works as it should and that the mail sending workflow is functioning correctly.
- Setting up MailCatcher involves installing it on your virtual machine or Linux machine and configuring your application to send emails to the MailCatcher server. The article provides detailed instructions and sample code for this process.
- It’s important to note that MailCatcher is not designed for use in a production environment. It’s a development tool intended for use in a local development environment. Using it in a production environment can lead to lost emails and other issues.
But why another article on email?
For one simple reason, one which we’ve likely all been caught by at one point or another. Because we need to test, as close to production as we can, but without emailing our clients accidentally, and them consequently becoming confused or frustrated, or embarrassed that their clients have received test emails.
I’m sure you know what I mean. You think you’ve set your application in some kind of debug mode. Given that, you start your test, which sends a load of emails from your application. All the while, you feel comfortable in the knowledge that no one but you is ever going to see them.
Your tests pass, you congratulate yourself, and move on. A short time later, you receive a rather, let’s just say terse, Skype call from your client. She’s rather annoyed as her customers have been ringing up, asking why they’ve been receiving odd emails from her company. She’s not happy and wants answers?
Been there? Don’t want to be there again? I’m guessing you don’t. Here’s the solution – MailCatcher. If you’re not familiar with it, MailCatcher
…runs a super simple SMTP server which catches any message sent to it to display in a web interface. Run mailcatcher, set your favourite app to deliver to smtp://127.0.0.1:1025 instead of your default SMTP server, then check out http://127.0.0.1:1080 to see the mail that’s arrived so far.
Sound like a good solution? No matter if you’re tired, under pressure, new on the team, or just need to run tests – MailCatcher will ensure that no email ever gets sent outside of your network, or even outside of your development virtual machine.
In this post, I’m going to show you how to set it up and run through the interface when emails have been captured by it.
A Pre-Prepared Virtual Machine
To save you a lot of trouble of getting MailCatcher set up, I’ve created a custom Vagrant box which does it all for you. Make sure you have VirtualBox and Vagrant installed, then clone a copy of the article’s repository using the following command:
<span>git clone git@github.com:sitepoint-examples/mailcatcher-article.git</span>
Then, in the cloned project directory, run the following command:
vagrant up
This will launch the virtual machine provisioning process, displaying quite a lot of output as the provisioning process runs. The configured virtual machine is quite minimalist. It has MailCatcher, Sendmail and Nginx installed.
Nginx has a simple VHost setup, which maps the project directory to /var/www/ on the virtual machine. If you’d like to know exactly what happens during provisioning, checkout provision.sh.
Manually Installing MailCatcher
If you want to install MailCatcher yourself, and you have a virtual machine (or a Linux machine available), here are the steps to run:
<span>sudo apt-get install -y vim curl python-software-properties lynx nginx
</span><span>sudo apt-get install -y php5-fpm php5-memcache memcached php-apc
</span><span>sudo apt-get install -y build-essential libsqlite3-dev ruby1.9.3
</span><span>sudo gem install mailcatcher
</span><span>sudo mailcatcher --http-ip 0.0.0.0</span>
You may or may not have to run the third command. I did as I’m using a very minimalist Ubuntu Precise 64 Vagrant image, which needs the packages to build MailCatcher. Please be aware that if you’re on a different Linux distribution or version, the individual package names may be different.
Note: if you follow the standard MailCatcher startup process, it will only listen on IP 127.0.0.1, and port 1025. With this setup we couldn’t see it from the host machine. So I’ve added a public IP on the virtual machine, 192.168.56.111 and changed MailCatcher’s configuration so that it listens on all IPs.
The MailCatcher Web UI
Now you’ll be able to see the MailCatcher web UI at http://192.168.56.111:1080. It will look like the image below:
It’s a pretty simple interface, listing the emails in the MailCatcher queue, when available, at the top. When there are emails in the list, the bottom pane does a good job of showing you information about them, which we’ll see later.
Sample Code
For this article, I’ve created a simple PHP script, index.php, available in the project repository, and accessible at http://192.168.56.111. It uses SwiftMailer to connect to MailCatcher and send an email on load. You can see in the code below a fairly standard HTML page.
<span>git clone git@github.com:sitepoint-examples/mailcatcher-article.git</span>
It includes mail-loader.php, which is available below.
vagrant up
If you’re not familiar with SwiftMailer Aurelio’s article here on SitePoint provides an excellent introduction. Incidentally, it’s his code I’ve used for this example. Thanks Aurelio.
Basically, there’s only one line that’s important for us to note, which is the following:
<span>sudo apt-get install -y vim curl python-software-properties lynx nginx
</span><span>sudo apt-get install -y php5-fpm php5-memcache memcached php-apc
</span><span>sudo apt-get install -y build-essential libsqlite3-dev ruby1.9.3
</span><span>sudo gem install mailcatcher
</span><span>sudo mailcatcher --http-ip 0.0.0.0</span>
This creates a connection to the MailCatcher server which we’ve just set up. That’s it, nothing fancy! I’ve now reloaded the page three times, which has sent three emails. You can see that they’re listed in MailCatcher in the image below.

I’ve clicked on the first entry, which shows the received, from, to and subject details, as well as the body of the email. If we switch to the Source tab, as in the image below, we can see the raw email details:

Via the third tab, we can use Fractal to analyse the content of our email. I’ll skip that today as it’s beyond the scope of this article.
We’re All Set
With that done, we can now create emails as we otherwise would, setting recipients, subjects, attachments and so on, like I have above, and know that they will never actually go to the real addresses.
We can write tests to verify that the code works as it should. We can check the mail sending workflow, check message contents, recipients, headers and so forth. It’s as practical as it gets, without actually sending anything outside of our environment.
Now we can rest assured that our clients (and their clients) will never receive any emails that were never intended for them. What a relief.
Wrapping Up
Now, this is a rather trivial example, only using a simple SwiftMailer code snippet for the example. I’m sure that your codebases are much more complex and sophisticated than this example.
But I’m sure that in your applications, you’ll have debug and test configurations available, where you can set the host and port accordingly, differentiating it from live. By doing so, no other code will ever need to change, and you can reap the benefits of the peace of mind MailCatcher brings.
Do you already use MailCatcher? What’s your experience of integrating it? Were there any issues which caught you unaware? Share your thoughts in the comments.
Frequently Asked Questions about Mailcatcher
How do I install Mailcatcher on my system?
Installing Mailcatcher is a straightforward process. First, you need to ensure that you have Ruby and RubyGems installed on your system. Once you have these prerequisites, you can install Mailcatcher by running the command gem install mailcatcher in your terminal. After the installation is complete, you can start Mailcatcher by running the command mailcatcher in your terminal. You should now be able to access the Mailcatcher web interface at http://localhost:1080.
How do I configure my application to use Mailcatcher?
Configuring your application to use Mailcatcher involves setting your application’s SMTP settings to point to Mailcatcher’s SMTP server. The server runs on localhost and listens on port 1025. The exact process for setting these values will depend on your application’s language and framework, but in general, you will need to set the SMTP address to ‘localhost’ and the SMTP port to ‘1025’.
Can I use Mailcatcher in a production environment?
Mailcatcher is not designed for use in a production environment. It is a development tool intended for use in a local development environment. Using Mailcatcher in a production environment can lead to lost emails and other issues. For production environments, you should use a robust, production-ready SMTP server.
How do I view emails sent by my application in Mailcatcher?
Once you have configured your application to use Mailcatcher and have started the Mailcatcher server, any emails sent by your application will be caught by Mailcatcher and displayed in its web interface. You can access this interface by navigating to http://localhost:1080 in your web browser. Here, you will see a list of all emails caught by Mailcatcher, and you can click on any email to view its contents.
How do I clear emails from Mailcatcher?
Clearing emails from Mailcatcher is as simple as clicking the ‘Clear’ button in the Mailcatcher web interface. This will remove all emails from the interface. Please note that once emails are cleared, they cannot be recovered.
Can I use Mailcatcher with Docker?
Yes, you can use Mailcatcher with Docker. There are Docker images available that include Mailcatcher, and you can also create your own Dockerfile to include Mailcatcher in your Docker setup. When running Mailcatcher in a Docker container, you will need to ensure that the appropriate ports are exposed so that your application can connect to the Mailcatcher SMTP server.
How do I troubleshoot issues with Mailcatcher?
If you’re having trouble with Mailcatcher, the first step is to check the output in your terminal for any error messages. These messages can often provide clues as to what is going wrong. If you’re having trouble sending emails, ensure that your application’s SMTP settings are correctly configured to point to Mailcatcher’s SMTP server.
Can I use Mailcatcher with multiple projects?
Yes, you can use Mailcatcher with multiple projects. As long as each project is configured to send emails to the same SMTP server (i.e., Mailcatcher’s SMTP server), Mailcatcher will catch emails from all of these projects.
How do I stop the Mailcatcher server?
You can stop the Mailcatcher server by pressing Ctrl C in the terminal where you started Mailcatcher. Alternatively, if you started Mailcatcher as a background process, you can stop it by running the command killall mailcatcher.
Can I customize the look and feel of the Mailcatcher web interface?
The look and feel of the Mailcatcher web interface is not customizable out of the box. However, because Mailcatcher is open-source, you could potentially modify the source code to customize the interface. Please note that this would require a good understanding of Ruby and the Sinatra web framework, which Mailcatcher is built with.
The above is the detailed content of Email Debugging with MailCatcher. For more information, please follow other related articles on the PHP Chinese website!

 Working with Flash Session Data in LaravelMar 12, 2025 pm 05:08 PM
Laravel simplifies handling temporary session data using its intuitive flash methods. This is perfect for displaying brief messages, alerts, or notifications within your application. Data persists only for the subsequent request by default: $request-
 cURL in PHP: How to Use the PHP cURL Extension in REST APIsMar 14, 2025 am 11:42 AM
The PHP Client URL (cURL) extension is a powerful tool for developers, enabling seamless interaction with remote servers and REST APIs. By leveraging libcurl, a well-respected multi-protocol file transfer library, PHP cURL facilitates efficient execution of various network protocols, including HTTP, HTTPS, and FTP. This extension offers granular control over HTTP requests, supports multiple concurrent operations, and provides built-in security features.
 Simplified HTTP Response Mocking in Laravel TestsMar 12, 2025 pm 05:09 PM
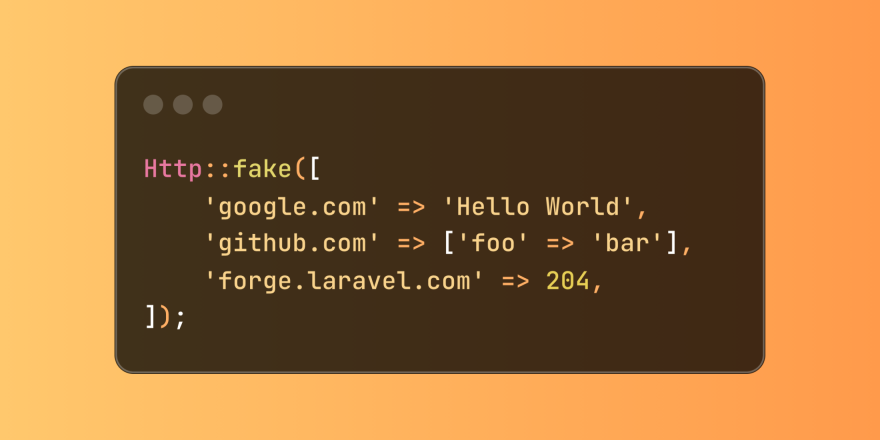
Laravel provides concise HTTP response simulation syntax, simplifying HTTP interaction testing. This approach significantly reduces code redundancy while making your test simulation more intuitive. The basic implementation provides a variety of response type shortcuts: use Illuminate\Support\Facades\Http; Http::fake([ 'google.com' => 'Hello World', 'github.com' => ['foo' => 'bar'], 'forge.laravel.com' =>
 12 Best PHP Chat Scripts on CodeCanyonMar 13, 2025 pm 12:08 PM
Do you want to provide real-time, instant solutions to your customers' most pressing problems? Live chat lets you have real-time conversations with customers and resolve their problems instantly. It allows you to provide faster service to your custom
 Explain the concept of late static binding in PHP.Mar 21, 2025 pm 01:33 PM
Article discusses late static binding (LSB) in PHP, introduced in PHP 5.3, allowing runtime resolution of static method calls for more flexible inheritance.Main issue: LSB vs. traditional polymorphism; LSB's practical applications and potential perfo
 PHP Logging: Best Practices for PHP Log AnalysisMar 10, 2025 pm 02:32 PM
PHP logging is essential for monitoring and debugging web applications, as well as capturing critical events, errors, and runtime behavior. It provides valuable insights into system performance, helps identify issues, and supports faster troubleshoot
 Discover File Downloads in Laravel with Storage::downloadMar 06, 2025 am 02:22 AM
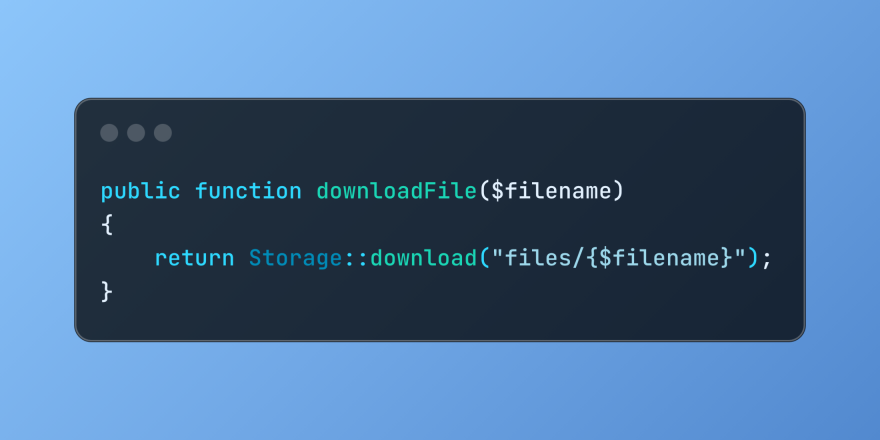
The Storage::download method of the Laravel framework provides a concise API for safely handling file downloads while managing abstractions of file storage. Here is an example of using Storage::download() in the example controller:
 HTTP Method Verification in LaravelMar 05, 2025 pm 04:14 PM
Laravel simplifies HTTP verb handling in incoming requests, streamlining diverse operation management within your applications. The method() and isMethod() methods efficiently identify and validate request types. This feature is crucial for building


Hot AI Tools

Undresser.AI Undress
AI-powered app for creating realistic nude photos

AI Clothes Remover
Online AI tool for removing clothes from photos.

Undress AI Tool
Undress images for free

Clothoff.io
AI clothes remover

AI Hentai Generator
Generate AI Hentai for free.

Hot Article
Hot Tools

EditPlus Chinese cracked version
Small size, syntax highlighting, does not support code prompt function

SublimeText3 Linux new version
SublimeText3 Linux latest version

ZendStudio 13.5.1 Mac
Powerful PHP integrated development environment

Notepad++7.3.1
Easy-to-use and free code editor

SublimeText3 English version
Recommended: Win version, supports code prompts!

