


This article guides PHP developers through building a blog using Sculpin, a PHP-based static site generator. It emphasizes the advantages of using a familiar language for blog development, simplifying the addition of functionalities.

Key Benefits:
- PHP Familiarity: Leverage existing PHP skills for streamlined blog development.
- Easy Setup: Quick installation and blog creation using the Sculpin Blog Skeleton.
-
Simple Configuration: Effortless blog customization via
sculpin_site.ymlandsculpin_kernel.yml. - Flexible Customization: Edit HTML templates and utilize Twig for dynamic content rendering.
- GitHub Pages Deployment: Seamlessly deploy your blog to GitHub Pages.
- Enhanced Functionality: Integrate features like Disqus comments and pagination.
Sculpin Installation:
Install Sculpin using the command line (requires a modern PHP version, 5.6 recommended):
wget https://download.sculpin.io/sculpin.phar
chmod +x sculpin.phar
sudo mv sculpin.phar /usr/local/bin/sculpin
Alternatively, place sculpin.phar in a convenient directory and execute it directly.
Blog Creation:
- Clone the Sculpin Blog Skeleton:
git clone https://github.com/sculpin/sculpin-blog-skeleton.git myblog - Navigate to the directory:
cd myblog - Install dependencies:
sculpin install - Generate and serve the site (for development):
sculpin generate --watch --server(access athttp://localhost:8000) - Generate a production-ready site:
sculpin generate --env prod(output inoutput_prod)

Configuration:
Sculpin's configuration is managed through sculpin_site.yml (global settings, Disqus username, etc.) and sculpin_kernel.yml (theme, permalinks).
Blogging with Sculpin:
Sculpin uses .md files for blog posts. A helpful touch.php script simplifies post creation:
<?php
$date = date('Y-m-d');
if(!empty($argv[2])){ $date = $argv[2]; }
$file = 'source/_posts/' . $date . '-' . str_replace('_', '-', $argv[1]) . '.md';
$title = ucwords(str_replace('_', ' ', $argv[1]));
$handle = fopen($file, 'w');
$data = "---\ntitle: {$title}\ntags: []\ncategories: []\n\n---\n\n";
fwrite($handle, $data);
?>
Use it like this: php touch.php my-new-post 2024-10-27
Site Customization:
The article details customizing the homepage (source/index.html), leveraging Twig templating and the pagination generator for displaying posts. It also covers creating individual post pages (_views/post.html) and adding Disqus comments. Custom CSS is used to style the blog.

Deployment to GitHub Pages:
- Generate the production site (
sculpin generate --env prod). - Initialize a Git repository in
output_prod. - Commit and push to your
your_username.github.iorepository.
Conclusion:
Sculpin offers a powerful and developer-friendly approach to static site blogging for PHP developers. The provided GitHub repository contains the code examples. The FAQ section addresses common questions about Sculpin and blog customization.
The above is the detailed content of Sculpin Extended: Customizing Your Static Site Blog. For more information, please follow other related articles on the PHP Chinese website!

 Working with Flash Session Data in LaravelMar 12, 2025 pm 05:08 PM
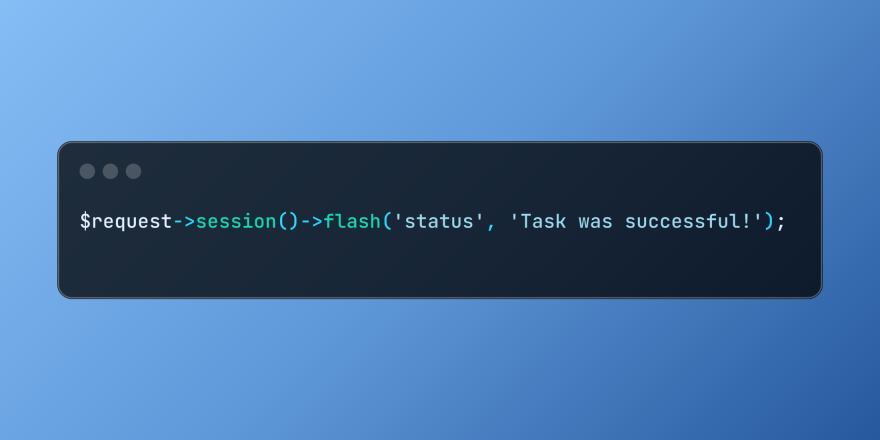
Laravel simplifies handling temporary session data using its intuitive flash methods. This is perfect for displaying brief messages, alerts, or notifications within your application. Data persists only for the subsequent request by default: $request-
 cURL in PHP: How to Use the PHP cURL Extension in REST APIsMar 14, 2025 am 11:42 AM
The PHP Client URL (cURL) extension is a powerful tool for developers, enabling seamless interaction with remote servers and REST APIs. By leveraging libcurl, a well-respected multi-protocol file transfer library, PHP cURL facilitates efficient execution of various network protocols, including HTTP, HTTPS, and FTP. This extension offers granular control over HTTP requests, supports multiple concurrent operations, and provides built-in security features.
 Simplified HTTP Response Mocking in Laravel TestsMar 12, 2025 pm 05:09 PM
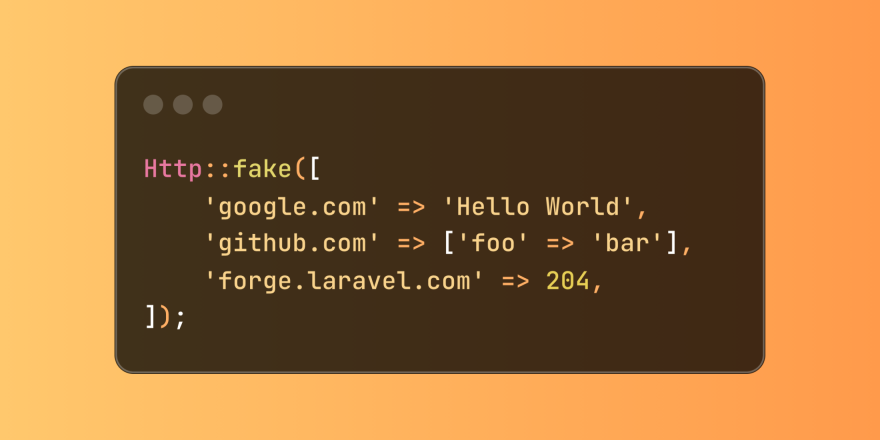
Laravel provides concise HTTP response simulation syntax, simplifying HTTP interaction testing. This approach significantly reduces code redundancy while making your test simulation more intuitive. The basic implementation provides a variety of response type shortcuts: use Illuminate\Support\Facades\Http; Http::fake([ 'google.com' => 'Hello World', 'github.com' => ['foo' => 'bar'], 'forge.laravel.com' =>
 12 Best PHP Chat Scripts on CodeCanyonMar 13, 2025 pm 12:08 PM
Do you want to provide real-time, instant solutions to your customers' most pressing problems? Live chat lets you have real-time conversations with customers and resolve their problems instantly. It allows you to provide faster service to your custom
 Explain the concept of late static binding in PHP.Mar 21, 2025 pm 01:33 PM
Article discusses late static binding (LSB) in PHP, introduced in PHP 5.3, allowing runtime resolution of static method calls for more flexible inheritance.Main issue: LSB vs. traditional polymorphism; LSB's practical applications and potential perfo
 PHP Logging: Best Practices for PHP Log AnalysisMar 10, 2025 pm 02:32 PM
PHP logging is essential for monitoring and debugging web applications, as well as capturing critical events, errors, and runtime behavior. It provides valuable insights into system performance, helps identify issues, and supports faster troubleshoot
 Discover File Downloads in Laravel with Storage::downloadMar 06, 2025 am 02:22 AM
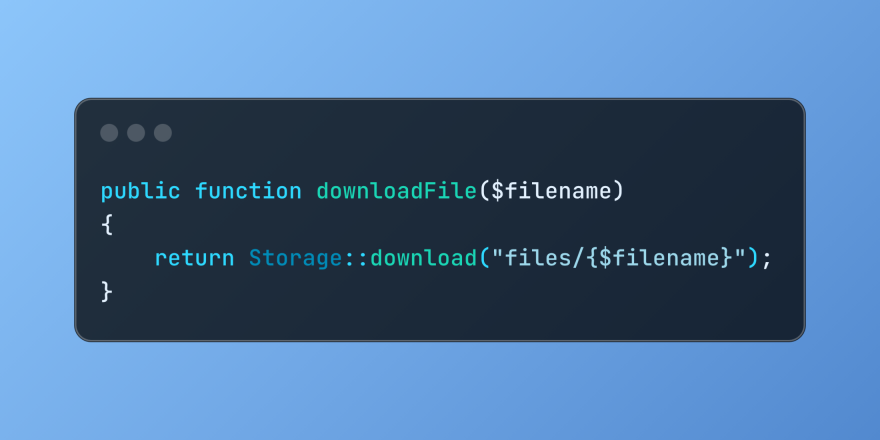
The Storage::download method of the Laravel framework provides a concise API for safely handling file downloads while managing abstractions of file storage. Here is an example of using Storage::download() in the example controller:
 HTTP Method Verification in LaravelMar 05, 2025 pm 04:14 PM
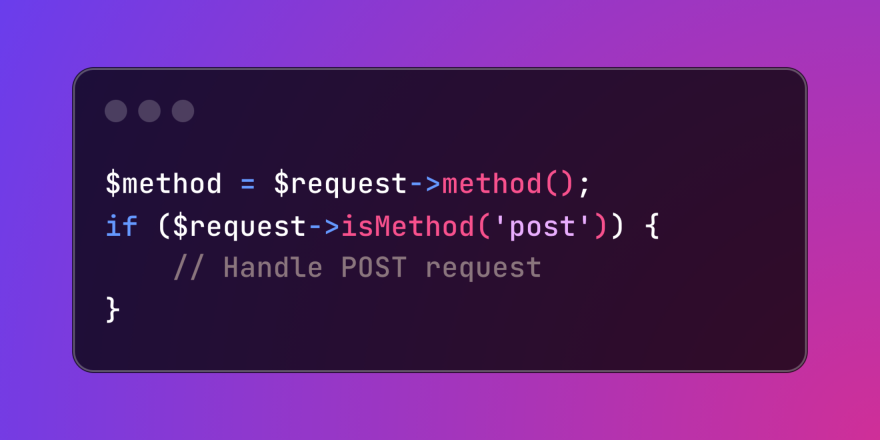
Laravel simplifies HTTP verb handling in incoming requests, streamlining diverse operation management within your applications. The method() and isMethod() methods efficiently identify and validate request types. This feature is crucial for building


Hot AI Tools

Undresser.AI Undress
AI-powered app for creating realistic nude photos

AI Clothes Remover
Online AI tool for removing clothes from photos.

Undress AI Tool
Undress images for free

Clothoff.io
AI clothes remover

AI Hentai Generator
Generate AI Hentai for free.

Hot Article
Hot Tools

PhpStorm Mac version
The latest (2018.2.1) professional PHP integrated development tool

Dreamweaver Mac version
Visual web development tools

Notepad++7.3.1
Easy-to-use and free code editor

MinGW - Minimalist GNU for Windows
This project is in the process of being migrated to osdn.net/projects/mingw, you can continue to follow us there. MinGW: A native Windows port of the GNU Compiler Collection (GCC), freely distributable import libraries and header files for building native Windows applications; includes extensions to the MSVC runtime to support C99 functionality. All MinGW software can run on 64-bit Windows platforms.

SublimeText3 Mac version
God-level code editing software (SublimeText3)

