


Seamless File Sharing Between Mac and Windows: A Step-by-Step Guide
Sharing files across Mac and Windows devices shouldn't be a complex task. With a few simple configuration changes, you can establish a robust home network for efficient file transfer.
Why Share Files Directly?
You likely already know how to share files between Macs or between a Mac and a Linux system. However, since Windows and macOS are the dominant operating systems, many users have both. Direct network sharing offers a faster and more secure alternative to cloud services or external drives, eliminating extra steps and potential hassles.
Before you begin, ensure both your Mac and Windows computers are connected to the same network (Wi-Fi or Ethernet).
Mac Network Configuration:
Verify your Mac's network connection via the Wi-Fi status in the menu bar or by navigating to System Settings > Network.

Windows Network Configuration:
On your Windows machine, open Settings > Network & Internet and check your connection status under Wi-Fi or Ethernet.

Enabling File Sharing on macOS:
- Access System Settings > General > Sharing and activate "File Sharing."
- Click the small icon next to the toggle to open Shared Folders settings.
- Select "Options," ensure SMB File Sharing is enabled, and authorize your account for Windows file sharing.
- Click "Done."

Managing Shared Folders and User Access on macOS:
- In the Shared Folders window, click " " to add folders. Configure access permissions (Read Only or Read & Write) for each user.
- Use the " " and "–" buttons to add or remove users.


Accessing macOS Shared Folders from Windows:
- Open File Explorer and select "Network." Your Mac should appear.
- Open the desired shared folder and enter your Mac credentials. (Consider selecting "Remember my Credentials.")
- If your Mac isn't visible, enter its IP address in the address bar. Find the IP address in System Information (Apple menu > System Information > Network > IPv4 Address). For improved network visibility, consider installing wssd-native.

Enabling File Sharing on Windows:
- Open Settings (Win I) and navigate to Network & Internet > Advanced network settings.
- Select "Advanced sharing settings," then enable "Network discovery" and "File and printer sharing."
- Optionally disable "Password-protected sharing" if your network is secure.

Sharing Folders on Windows:
- Right-click the folder you wish to share in File Explorer and select "Properties."
- Go to the "Sharing" tab, click "Share," select the user with access, and click "Share" again. Click "Done."

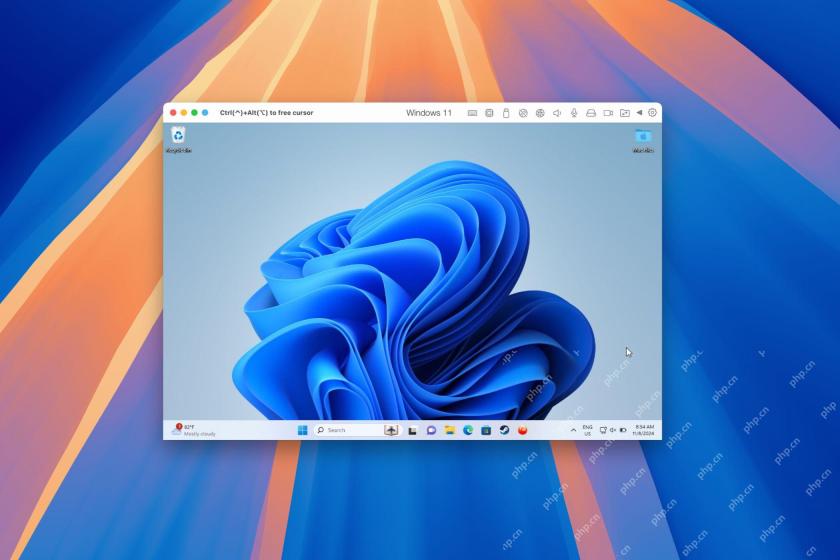
Accessing Windows Shared Folders from macOS:
- Open Finder, select "Network," and locate your Windows machine.
- Click "Connect As" and enter your Windows credentials.

Conclusion:
You've successfully configured file sharing between your Mac and Windows devices! Enjoy the streamlined workflow and enhanced productivity of a seamlessly connected home network. For wireless sharing options across multiple platforms, explore LocalSend.
The above is the detailed content of How to Share Files Between Mac and Windows. For more information, please follow other related articles on the PHP Chinese website!

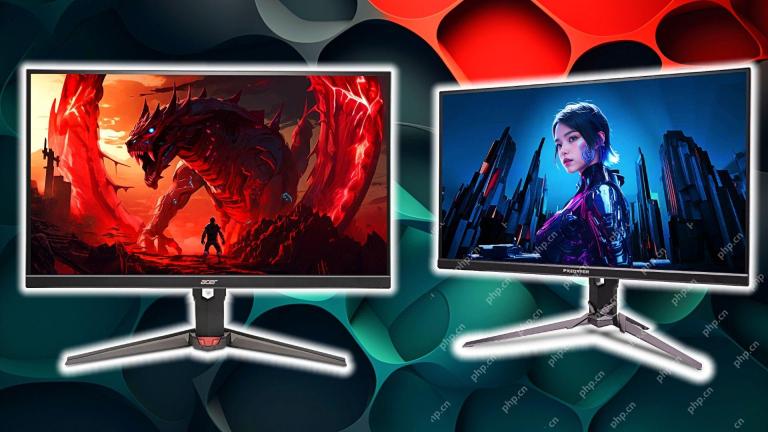 Acer Has Two New Monitors for GamingMay 01, 2025 am 06:06 AM
The Acer Predator XB323QK V4 and Nitro XV240 F6: A Tale of Two Monitors Acer offers two distinct gaming monitors catering to different needs: the color-focused XB323QK V4 and the speed-demon XV240 F6. Let's break down their key features. The XB323QK
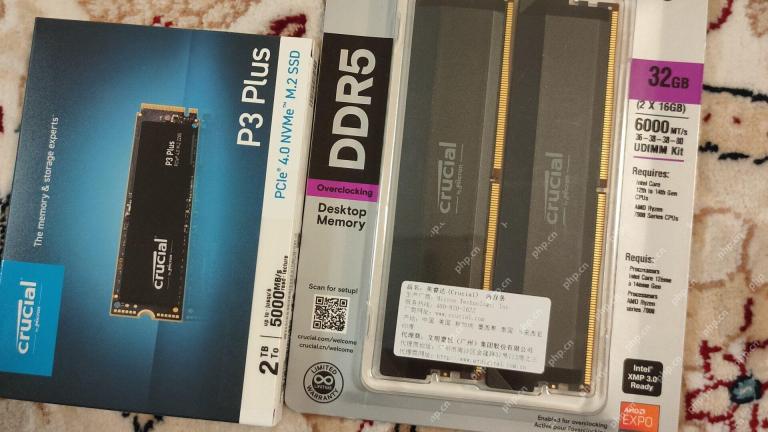 I Bought RAM and an NVMe on eBay, Here's How It WentMay 01, 2025 am 06:01 AM
eBay: A Surprisingly Good Source for New Computer Hardware? While eBay is renowned for its diverse selection of used goods, it's not always the first place that springs to mind when purchasing new computer components. However, my recent experience s
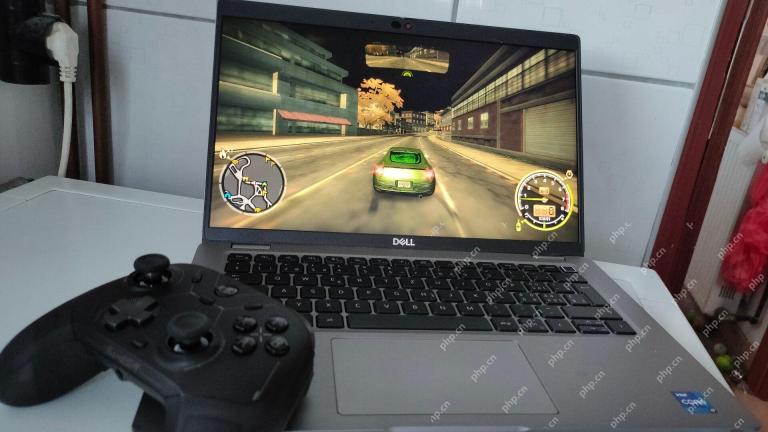 I Upgraded My Laptop's RAM, the Performance Boost Wasn't What You'd ExpectMay 01, 2025 am 03:08 AM
Upgrading your aging laptop? Adding RAM is the easiest and often the only practical upgrade besides storage. My recent experience upgrading a Dell Latitude 5420 proved surprisingly impactful. More RAM Wasn't the Initial Goal My used Dell 5420, while
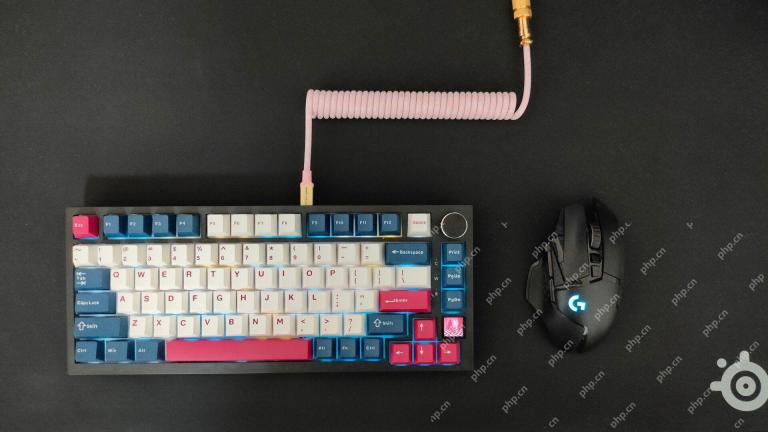 5 Reasons Why I Love Coiled Keyboard CablesMay 01, 2025 am 03:07 AM
Let's be honest: unless you're a keyboard enthusiast, you've probably overlooked the cable bundled with your keyboard. But for those who appreciate the finer details, even a simple USB cable can be a source of aesthetic pleasure. 5 Reasons Why Coiled
 Today's NYT Connections Hints and Answer for April 30th (#689)May 01, 2025 am 03:05 AM
Today's NYT Connections Game Hints and Answers Need a hand with today's Connections game? Here are some clues to get you started: Yellow: Think about what's under your feet. Green: Where you rest your head (or bottom!). Blue: How others see you. Pu
 Don't Waste Your Money on RGB, Buy a Better MotherboardMay 01, 2025 am 03:04 AM
Building a new PC? Don't get sidetracked by flashy RGB lighting! While those vibrant fans and memory sticks are tempting, overlooking the motherboard is a critical mistake. This often-underappreciated component is crucial for your PC's performance
 Razer Monitor Stand Chroma Review: Compact RGB Stand With 4-Port HubMay 01, 2025 am 03:03 AM
Razer Monitor Stand Chroma Review: Take into account both high-end design and practicality? The Razer Monitor Stand Chroma is a high-end compact aluminum stand with RGB lighting and a USB hub, but its relatively small size and high price limits its overall appeal. Rating: 7/10 Advantages and Disadvantages: advantage: Streamlined design Sturdy and durable USB hub performs well Remapable buttons shortcoming: The bracket is relatively shallow The included USB-C cable is too short Fingerprints easily contaminated on the surface The maximum brightness of RGB lights is low Extremely expensive Price and purchase channels: Razer Mo
 Parallels Desktop 20.3 Improves OBS Video and USB Tunneling SupportMay 01, 2025 am 12:58 AM
Parallels Desktop 20.3: Enhanced Mac Integration and New Features Parallels Desktop 20.3 boasts several significant updates, enhancing both user experience and functionality. A standout addition is OBS virtual camera tunneling, allowing users to str


Hot AI Tools

Undresser.AI Undress
AI-powered app for creating realistic nude photos

AI Clothes Remover
Online AI tool for removing clothes from photos.

Undress AI Tool
Undress images for free

Clothoff.io
AI clothes remover

Video Face Swap
Swap faces in any video effortlessly with our completely free AI face swap tool!

Hot Article
Hot Tools

SecLists
SecLists is the ultimate security tester's companion. It is a collection of various types of lists that are frequently used during security assessments, all in one place. SecLists helps make security testing more efficient and productive by conveniently providing all the lists a security tester might need. List types include usernames, passwords, URLs, fuzzing payloads, sensitive data patterns, web shells, and more. The tester can simply pull this repository onto a new test machine and he will have access to every type of list he needs.

SublimeText3 Mac version
God-level code editing software (SublimeText3)

EditPlus Chinese cracked version
Small size, syntax highlighting, does not support code prompt function

SublimeText3 Linux new version
SublimeText3 Linux latest version

Zend Studio 13.0.1
Powerful PHP integrated development environment

