


This guide shows you how to display multiple time zones on your Windows 11 PC, making it easier to work across different time zones. We'll explore several methods, from the simple to the more advanced.
1. Adding Additional Clocks Using the Date and Time Settings
This method adds secondary clocks to your system tray.
-
Scroll to the bottom of the Date & Time settings and select "Additional clocks."

-
Enable "Show this clock," select your preferred time zone from the dropdown menu, and enter a display name. Repeat for additional clocks as needed. Click "Apply" then "OK."
-
View your added clocks by clicking the current time in the Windows bottom-right corner.


2. Using the Built-in Clock App for Multiple Time Zones
Windows 11's Clock app provides a dedicated world clock feature.
-
Open the Clock app (search for "Clock" in Windows Search).
-
Click the hamburger menu (three horizontal lines) and select "World Clock."
-
Click "Add a new city" ( icon), enter the city name, select it from the suggestions, and click "Add." Repeat as needed. Right-click to delete cities. You can also pin cities to your Start Menu for quick access.


3. Setting a Different System Time Zone
To change your system's default time zone:
-
Open Settings (Windows key I), go to "Time & Language," then "Date & Time."
-
Turn off "Set time zone automatically" and select your desired time zone from the dropdown.


4. Configuring Outlook for Secondary Time Zones
For both Outlook (new and classic):
-
Outlook (New): Go to Settings (gear icon), Calendar > View, scroll to "Time Zones," and click "Add Time Zone." Search for the city, add a label, enable "Show in Calendar," and save.
-
Outlook (Classic): Open Outlook, select "File," "Options," "Calendar," enable "Show a Second Time Zone" (or third), specify the label and time zone, and click "OK."


5. Using PowerShell to Manage Time Zones (Advanced)
PowerShell offers command-line control over time zones. Open PowerShell as administrator and use the following cmdlets:
-
Get-TimeZone: Shows your current time zone. -
Get-TimeZone -ListAvailable: Lists all available time zones. -
Set-TimeZone -Name "Time Zone ID": Sets your time zone (replace"Time Zone ID"with the actual ID).


These methods provide various ways to manage multiple time zones in Windows 11, enhancing productivity for users working across global time zones. Remember to replace placeholder image URLs with actual image URLs.
The above is the detailed content of Working on Windows 11 Across Timezones? Learn These 5 Tricks. For more information, please follow other related articles on the PHP Chinese website!

 How to Transfer Windows to Another DriveMay 02, 2025 pm 02:01 PM
Perhaps your old hard drive is starting to slow down and fail, or maybe you’re looking to migrate your files to a disk with much more space. There are plenty of reasons to migrate Windows from one drive to another, and just as many
 How to Add a User Interface to Windows' Winget UtilityMay 02, 2025 am 06:04 AM
Does Windows lack a convenient package manager? UniGetUI is here to help you! The package manager for Linux systems is very convenient, but Windows systems lack similar tools. However, with a free open source project UniGetUI and Windows built-in command line tool winget, you can get the same functionality on Windows. The best feature for Windows missing: a convenient package manager Package Manager allows you to add and remove programs, system libraries, and drivers. You can search for programs almost instantly, retrieve information about them, and adjust settings. In other words, they are features that Microsoft stores dream of. Every Linux distribution has one
 Arch Linux Is Now in the Windows Subsystem for LinuxMay 02, 2025 am 06:02 AM
Arch Linux officially joins the Windows Subsystem for Linux (WSL) family! No external downloads are needed; installation is a breeze using PowerShell: wsl --install archlinux First-time WSL users will need to run this command first, followed by a sy
 Alienware's New 240Hz 34-Inch QD-OLED Monitor Is Finally OutMay 02, 2025 am 03:05 AM
This monitor boasts extensive connectivity, featuring a DisplayPort 1.4 port (supporting up to 3440 x 1440 at 240Hz, DSC, and HDR) and two HDMI 2.1 FRL ports (also supporting 3440 x 1440 at 240Hz, FRL, HDR, and VRR). These high-speed HDMI 2.1 ports
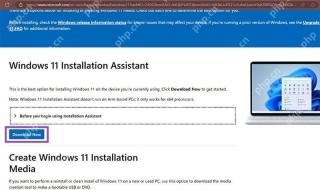 How to Install Windows 11 With No TPM 2.0May 01, 2025 pm 08:01 PM
Windows 10 support is ending in late 2025, prompting many users to upgrade to Windows 11. However, the TPM 2.0 requirement can be a significant hurdle. This guide outlines methods to install Windows 11 even without TPM 2.0, but proceed with caution.
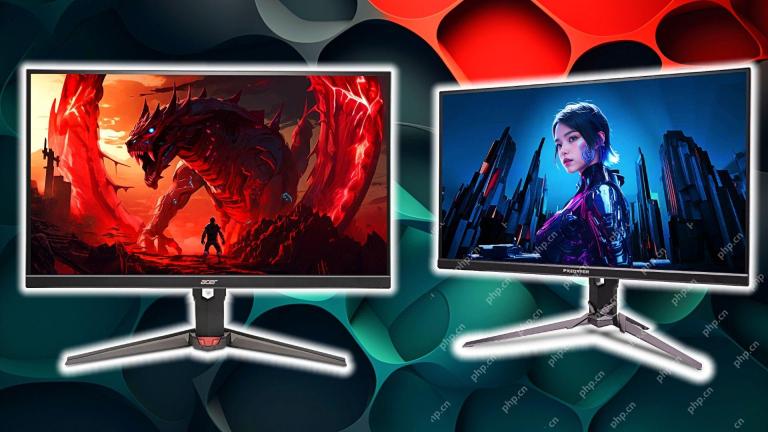 Acer Has Two New Monitors for GamingMay 01, 2025 am 06:06 AM
The Acer Predator XB323QK V4 and Nitro XV240 F6: A Tale of Two Monitors Acer offers two distinct gaming monitors catering to different needs: the color-focused XB323QK V4 and the speed-demon XV240 F6. Let's break down their key features. The XB323QK
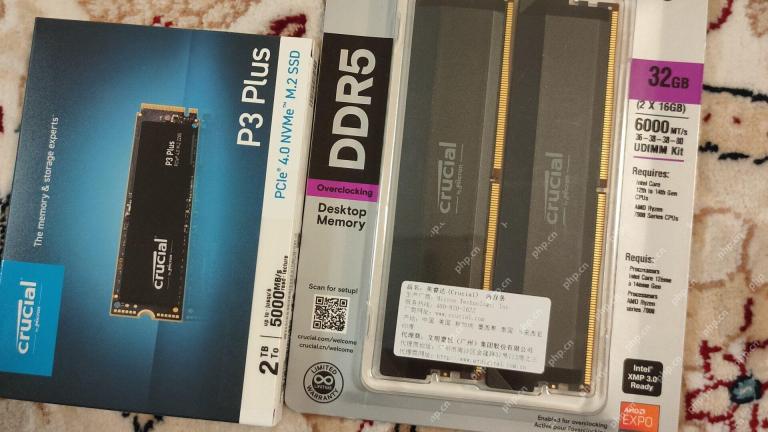 I Bought RAM and an NVMe on eBay, Here's How It WentMay 01, 2025 am 06:01 AM
eBay: A Surprisingly Good Source for New Computer Hardware? While eBay is renowned for its diverse selection of used goods, it's not always the first place that springs to mind when purchasing new computer components. However, my recent experience s
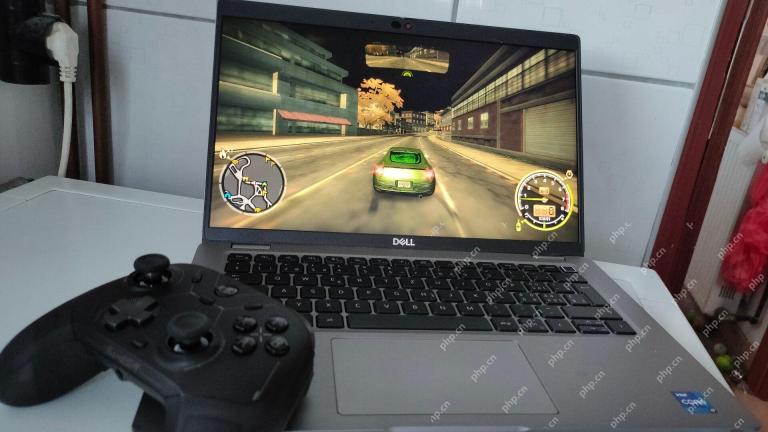 I Upgraded My Laptop's RAM, the Performance Boost Wasn't What You'd ExpectMay 01, 2025 am 03:08 AM
Upgrading your aging laptop? Adding RAM is the easiest and often the only practical upgrade besides storage. My recent experience upgrading a Dell Latitude 5420 proved surprisingly impactful. More RAM Wasn't the Initial Goal My used Dell 5420, while


Hot AI Tools

Undresser.AI Undress
AI-powered app for creating realistic nude photos

AI Clothes Remover
Online AI tool for removing clothes from photos.

Undress AI Tool
Undress images for free

Clothoff.io
AI clothes remover

Video Face Swap
Swap faces in any video effortlessly with our completely free AI face swap tool!

Hot Article
Hot Tools

Dreamweaver CS6
Visual web development tools

mPDF
mPDF is a PHP library that can generate PDF files from UTF-8 encoded HTML. The original author, Ian Back, wrote mPDF to output PDF files "on the fly" from his website and handle different languages. It is slower than original scripts like HTML2FPDF and produces larger files when using Unicode fonts, but supports CSS styles etc. and has a lot of enhancements. Supports almost all languages, including RTL (Arabic and Hebrew) and CJK (Chinese, Japanese and Korean). Supports nested block-level elements (such as P, DIV),

Zend Studio 13.0.1
Powerful PHP integrated development environment

SublimeText3 Linux new version
SublimeText3 Linux latest version

ZendStudio 13.5.1 Mac
Powerful PHP integrated development environment

