 Mobile Game Tutorial
 Mobile Game Guide
 Ys Memoire: The Oath In Felghana - Illburns Ruins Walkthrough
Ys Memoire: The Oath in Felghana is a beloved entry in the highly underrated Ys series, offering a banger soundtrack, excellent characters, and intense action that will keep you locked in from start to finish. While it takes a little while to get going, you will constantly be surprised by the boss encounters and plot points once everything kicks off.

And it's right around the Illburns Ruins when things begin to get interesting in this game, leading to many shocking events that ultimately lead you to your first dungeon. This is also when the combat becomes a bit more involved, which helps out tremendously as well!
How To Complete Illburns Ruins In Ys Memoire: The Oath In Felghana

After clearing the Tigray Quarry and returning to Redmont Town, Adol will be given the key to enter Illburns Ruins, allowing him to further investigate the sudden appearance of monsters on Felghana. However, before you head to Illburns Ruins, ensure you upgrade your Equipment and complete all available Side Quests, as it will be a while before you return.
Once everything is in order, head to Illburns Ruins by taking the pathway leading north from Redmont Town, then head east to reach the locked gate. Save your progress at the Travel Monument, then use the key you were given to enter the Ancient Pagan Site!
It is crucial you do all available Side Quests before heading to Illburns Ruins as they not only grant you lots of Raval Ore, but some will be unavailable after you return to Redmont Town. This will be your last chance to get any upgrades before setting off, so make sure you use this time wisely!
Navigating The Illburns Ruins In Ys Memoire: The Oath In Felghana

One of the first enemies you will encounter after entering the Illburns Ruins will be the Fazle. This owl can be tricky to attack as it soars above the ground, periodically performing swooping attacks on you. Performing a leaping strike will make quick work of it, but you can often miss it if you aren't lined up just right, so keep that in mind.
You will also encounter a Sigled, a purple wolf that wields a whip that can occasionally be a tad annoying to deal with. They are fast enemies and can deal considerable damage, even if your gear is upgraded. Physical attacks work well on them, so try getting up close and personal with them to finish them off quickly!
Heading Inside Of The Illburns Ruins In Ys Memoire: The Oath In Felghana

Entering the interior of the Illburns Ruins for the first time will have you encounter a Seean and a pair of Eagers. The Seean is a weak Sorcerer who can deal tremendous amounts of damage from a decent distance and teleport to get out of harm's way. Wait for them to reappear after teleporting, then lay into them, as that is when they are the most vulnerable.
Eagers, on the other hand, can take a bit more of a beating and are floating heads that are perpetually on fire. Fire won't work on them, so your Ignis Bracelet won't be of use here. Fortunately, you should have no problem getting in on them to unleash several attacks with your Sword. Be careful, though, as defeating them will cause them to explode after a brief period, so ensure that space is created after slaying them!
Back Outside

Following the path straight ahead after defeating the Seean and Eagers will lead you back outside into an open courtyard of sorts with a few Fazles roaming around. Dispatch the Fazles and then take the left path instead of the right one to discover three Sigleds on an elevated part of the courtyard.
Take care of the three Sigleds and then smash open the Pot in the upper right corner to receive a hefty amount of Gold. If you're struggling against the three Sigleds, activate Boost to give yourself more Defense and Strength, allowing you to make quick work of them!
Follow The Right Pathway

From here, follow the pathway to the right to encounter more Fazles on your way. Dispatch them the same way you've been and continue following this long walkway until you reach another entrance leading to the Illburns Ruins' interior yet again.
If you are low on health, you can continue to go in and outside to keep respawning the Fazles, allowing you to farm them for Healing Herbs to restore Adol's health. Leveling up will also fully replenish his HP, so if you're close to your next Level, you can focus on that as well!
Back Inside Of The Illburns Ruins In Ys Memoire: The Oath In Felghana

Back inside the interior of the Illburns Ruins, you will encounter a couple of Eagers right from the jump. Take care of them like you did previously, being mindful of their exploding properties when defeated, and continue pushing forward to the right.
Here, you will encounter even more Eagers and a couple of Seeans, which can be challenging to deal with. Wait for the Seeans to teleport and reappear, then target them and quickly dispatch them. We recommend focusing on them first, as the exploding nature of the Eagers can be disastrous in this tight space!
Lighting The Unlit Torch

Before exiting this room, you will notice an unlit torch on the wall near a sizeable box-like object on the ground. Leap onto the box and use your Ignis Bracelet to light the torch, raising a floating platform directly behind you. And... that's it. For now. Unfortunately.
Currently, you do not have the ability to jump from the newly raised platform onto the further elevated platform that's just out of reach. You must come back later to see what's up there. The good news is you activated it, and it will remain active when you return a bit later in your journey!
Outside Yet Again

Lighting the torch means you're ready to move forward, ultimately leading you outside yet again, where you will encounter a new enemy. These enemies are Gulgs, crab-like enemies with extremely strong shells. They are immune to fire-based attacks and most physical attacks.
Fortunately, you can deal substantial damage to them with plunging attacks by leaping into the air and attacking the moment Adol begins his descent. Not only does this deal lots of damage, but it also has a high chance of Stunning them, making standard ground attacks viable.
Now that you know how to deal with these pesky enemies, you can push forward to run into even more Gulgs and a couple of Sigleds. We recommend focusing on the Sigleds first, as they are far more aggressive and can deal substantial damage in pairs. After taking care of them, head inside the Illburns Ruins' interior again!
Navigating The Interior Of The Illburns Ruins In Ys Memoire: The Oath In Felghana

Continue pushing inside the interior of the Illburns Ruins to find a Seean and four Eagers. This can get extremely bad and fast, so we recommend focusing on the lone Seean first, then picking off the Eagers. Again, be mindful of the exploding head of the Eagers, as they can deal substantial damage if you're caught in the blast radius.
Surviving the onslaught of Eagers, you will notice you have three pathways you can explore. You can either head up, down, or straight ahead. Going straight will continue you on the critical path, so let's investigate the other areas first, as some goodies are awaiting you in them!
Obtaining The Small Shield (South Path)

First, let's head down the South Path, as that has the best reward and will be very useful for the next area. As you enter the next room, you will be greeted by a Seean. Take them down and proceed forward to run into a group of five Seeans. Yeah, it's as bad as it sounds.
Luckily, a drop-off leads to the bottom section of the room, so they will constantly be teleporting above and below you, making their attacks easy to avoid. Wait for them to teleport on your level, then quickly eliminate them before they can recover. Rinse and repeat until all five Seeans are disposed of.
Hop down into the bottom of the room and head left to find a Red Chest at the end of the room. Open the Chest to find a Small Shield, which will likely be substantially better than the one you currently have equipped, even if it is fully upgraded. Equip the Small Shield if that's the case, and then head back to the main room!
Obtaining Raval Ore (North Path)

Now that you have the Small Shield make your way back to the central area and head up the North Pathway to reach a sizable room filled with a new enemy. These enemies are Barls and will leap violently at you while emitting a perpetual flame that can deal massive damage to you if you aren't careful.
Physical attacks work best against them, so we strongly recommend utilizing your Boost to dispatch them quickly. Your newly acquired Small Shield will help mitigate most of the damage, so you shouldn't have to worry too much, but it will still be a challenge if you're being careless.
Cutting your way through the five Barls will allow you to finally open the Chest in the room to obtain a whopping 12 Raval Ore. While you can't do much with it now, it will be extremely useful when you finally make your way back to Redmont Town!
Continuing Through The Illburns Ruins (East Path)

Scooping up the Small Shield and Raval Ore means you can continue navigating through the Illburns Ruins, so head back to the central area and down the East Path to progress further. As you begin running down the long hallway, you will notice an unlit torch on the wall. Use your Ignis Bracelet to light it and continue forward.
You will eventually encounter another unlit torch, except this one has a lone Seean in front of it. Dispatch the Seean, then relight the torch before continuing. Keep moving forward until you find another torch that has been extinguished. Eliminate the Barl in front of it, and ignite the torch to raise a floating platform just ahead.
Before jumping on the platform, continue pushing to the right while remaining on the ground floor to run into more Barls with a Chest at the far end of the room. Defeat the Barls and open the Chest to obtain Six Raval Ore. From here, head back to the platform you raised and begin jumping toward the top.
On your left will be another unlit torch. Use your Ignis Bracelet to light it, raising another platform, allowing you to leap onto it. From here, jump to the other platform on the right and begin following the long hallway into the next area, further into the Illburns Ruins!
Heading Further Inside The Illburns Ruins In Ys Memoire: The Oath In Felghana

Pushing even more inside the Illburns Ruins will have you run into another Barl just before a branching pathway. So, quickly dispatch the Barl and remain put for the time being. Like earlier, heading straight ahead will follow the critical path, so we recommend exploring the southern area first.
Obtaining The Katol Elixir (South Path)

Entering the following room will have the gate close and lock behind you, trapping you in a room with a new enemy type. These enemies are much stronger mages than the Seeans and are known as Sizarians, who fire multiple blasts of magic toward you, dealing substantially more damage as a result. They also take much more damage to defeat.
Additionally, you will also find a handful of Barls in the room with them, making this encounter chaotic and highly challenging. There will be so much happening on your screen that it can be difficult to focus, but we strongly urge you to activate Boost and concentrate on the Sizarians first.
There will be roughly five Sizarians and three Barls in this room, so your top priority should be the Sizarians, as they will deal immense amounts of damage in short bursts, which only gets more drastic the more of them there are. After dispatching them and the Barls, open the Chest to obtain a Katol Elixir, which permanently raises Adol's Max HP when consumed!
Moving Further Through The Illburns Ruins (East Path)

Head back out into the main hallway and follow the East Path until you run into a group of Eagers and a Sizarian. Focus on the Sizarian first, then eliminate the Eagers, and watch out for their explosion when defeated. From here, continue pushing forward until you run into some Barls, and take them down before moving onward.
Again, you will have two paths to take here, with the path straight ahead being the critical route. So, as per usual, we recommend taking the Nothern Path to explore an optional room to get your hands on a valuable item!
Obtaining Raval Ore (North Path)

Heading into the room from the North Path, you will run into a Sizarian immediately as you enter. Dispatch them quickly, then follow the pathway to the right to run into another Sizarian and a few Eagers. Like always, target the Sizarian first, then the Eagers.
An unlit torch will be on the wall. Use your Ignis Bracelet to ignite it, then head to where you defeated the first Sizarian to see that lighting the torch lifted a hidden wall, allowing you to enter the west wing of the room. Head further to the left to run into yet another Sizarian and a few more Eagers.
Do exactly what you did earlier to eliminate the Sizarian and Eagers, and then continue pushing left until you find a Chest on the far end of the room. Open the Chest to obtain Eight Raval Ore, which will be extremely useful much later in your adventures!
Moving Further Ahead (East Path)

Run back to the main hallway and then begin following the East Path to make your way further through the Illburns Ruins. You will eventually run into a couple of Sizarians, but they shouldn't be too much of a hassle to deal with, considering all you've been through so far.
Beat down the Sizarians and continue heading to the right until you reach the next area, which will bring you back to the outside portion of the Illburns Ruins, meaning we are inching closer and closer to the end of this region!
Outside Of The Illburns Ruins Once More In Ys Memoire: The Oath In Felghana

In an almost refreshing way, we are back outside within the Illburns Ruins once again, this time being greeted by more Gulgs and a new enemy type. The new enemies are the Diegleds, which are vastly stronger and much more annoying than Sigleds, so be prepared.
Deal with the Gulgs, as always, by performing a plunging attack after jumping. For the Diegleds, they are handled largely the same as their Sigled counterparts, except they are far more agile, so they can outmaneuver you and make you pay for it, so don't take them lightly. If they leap backward, create distance, evade their advancing attack, then punish them.
With the new Diegled defeat, push slightly forward to run into more Gulgs. Defeat them with plunging attacks and take note of the cracked wall to the north. While you cannot do anything with it at the moment, you will eventually be able to, so make a mental note of it and return later when you have the right tools for the job.
Go down the stairs to see a hodgepodge of Gulgs, Diegleds, and Fazles, creating one of the more irritating encounters so far. If you want to run past them and into the next area, we understand. Otherwise, focus on the Diegleds first, then the Gulgs, and finally the Fazles. It won't be easy, but the EXP is well worth the effort!
Inside Again...

We're back inside the Illburns Ruins' interior, meaning we are nearly at the end of the region, so continue pushing forward. You will eventually run into a Sizarian and a few Barls, allowing you to swiftly eliminate them as you've been doing, then proceed to move through the Ruins.
Here, you will run into two Barls and two Sizarians. Eliminate the two Sizarians first, then the Barls, then proceed forward until you come across four Sizarians standing in the center of a large room that branches into three more pathways. Make quick work of them, and then it's time to explore!
Obtaining The Ruby (South Path)

We recommend heading down the South Path first, as its reward is substantially better. As you enter the room, you will see a pathway that leads straight ahead, with two more, one to the right and one to the left. The ones on the right and left lead to Pots that can be smashed to receive Healing Herbs and Gold, so don't worry about them for now unless you need healing.
There will be many Sizarians and Barls in this room, so focus on the Sizarians first before turning your attention to the Barls. After defeating the enemies, follow the pathway straight ahead to find a Red Chest and open it up to receive a Ruby, further upgrading the damage and MP recovery of Adol's Ignis Bracelet!
Obtaining Gold (North Path)

Now that the Ruby is yours head back to the central area and then take the North Path into the next room. Once here, jump up the short incline to find a lone Pot sitting at the edge of the walkway. Smash this Pot open to obtain a decent chunk of Gold. That's it. While it will be very useful later, we'd be lying if we said this isn't a letdown.
Nonetheless, pocket the Gold, head to the central area, and then follow the critical pathway to reach the final area of the Illburns Ruins to finally complete this region!
Finishing The Illburns Ruins In Ys Memoire: The Oath In Felghana

Move down the East Path and follow it out until you reach a Travel Monument, the first and only one inside of the Illburns Ruins. Activate it and Save your progress before moving any further, then push forward until you trigger a brief interaction between Father Jean Pierre and Chester.
Chester will notice Adol and will make his way toward him, exclaiming that he warned you not to get involved in this. After a brief dialogue, Chester draws his weapon on Adol, kicking off an encounter against him, which can be a tad tricky to deal with!
Defeat Chester

When the encounter begins, you will notice that Chester is extremely agile and deals tons of damage to you, so you're going to have to focus up if you want to take him down. If you want a more detailed look at Chester's attacks, how to counter them, and how to defeat him, we have that covered in a separate guide here.
Furthermore, after defeating Chester, McGuire crashes the party with his soldiers, allowing him and Chester to force Adol to follow them to a ledge that leads from the Illburns Ruins down into the Zone of Lava. After an exchanging of words, Chester kicks Adol down into the Zone of Lava and into the first proper Dungeon of Ys Memoire: The Oath in Felghana!

The above is the detailed content of Ys Memoire: The Oath In Felghana - Illburns Ruins Walkthrough. For more information, please follow other related articles on the PHP Chinese website!
 Pokemon Go: May 2025 Max Battle GuideApr 30, 2025 pm 12:04 PM
Max Battles were a recent Pokemon Go addition, a feature added to the game within the last year that allows you to battle against and acquire different Dynamax and Gigantamax Pokemon. Each month, Pokemon Go changes the Pokemon that are available thro
 Pokemon Go: May 2025 Raid GuideApr 30, 2025 pm 12:03 PM
Many of Pokemon Go's strongest Pokemon can be obtained through their Raiding feature, cooperative battles where you can team up with others to challenge powerful Pokemon on the battlefield. Each month, Pokemon Go changes the Pokemon that are availabl
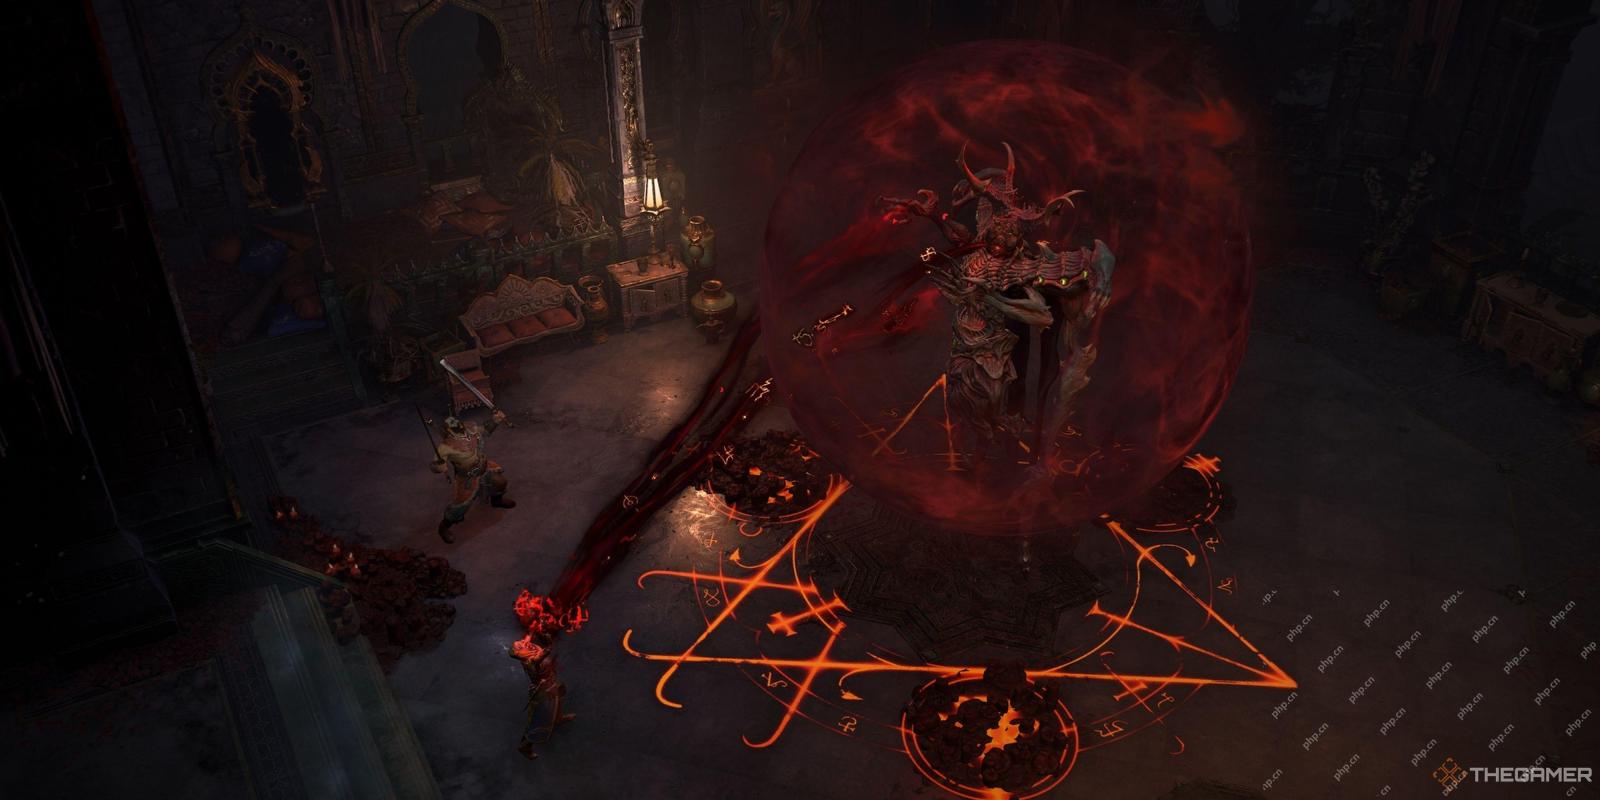 Diablo 4: Belial's Return - Boss Powers GuideApr 30, 2025 am 10:08 AM
Diablo IV Season 8: Belial's Return unleashes powerful boss abilities upon players. This season introduces a new mechanic: Boss Powers, mirroring the devastating attacks of Diablo IV's endgame bosses. Master Lilith's spike attack, Ashava's poisonou
 NYT Strands Answers And Hints - April 30, 2025 Solution #423Apr 30, 2025 am 10:06 AM
Stuck on today's Strands puzzle? Don't despair! This guide provides hints and the full solution if you're struggling to find the right words. We'll help you maintain your winning streak and avoid feeling stranded. This helpful guide offers insight
 Infinity Nikki: How To Get Unyielding LeatherApr 30, 2025 am 10:05 AM
In the enchanting world of Infinity Nikki, rare materials await those brave enough to conquer challenging Esselings. The Competitive Belt, a formidable foe with aggressive attacks and impenetrable defense, presents a unique challenge. To overcome i
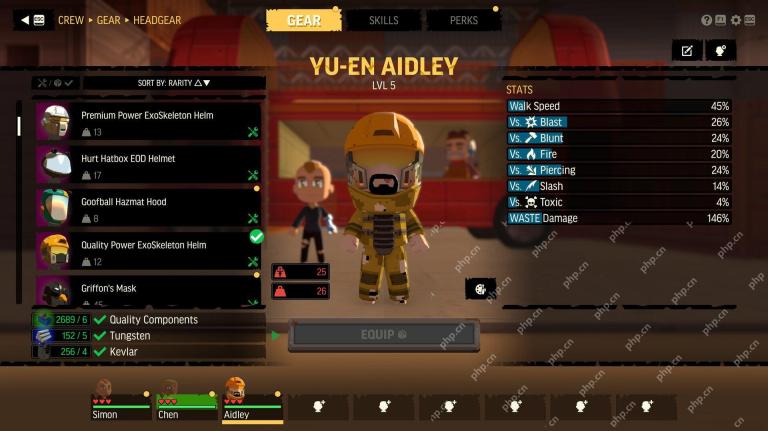 How to Increase Crew Size in Badlands CrewApr 30, 2025 am 09:59 AM
Has encountered a fierce gun battle but insufficient staff? Don't worry, this article will guide you how to unlock more player slots and get rid of the squad's limited size. How to get more team members Conquer strongholds (not outposts) You cannot scale up your ranks until you defeat the enemy stronghold. The outpost doesn't count. These major enemy bases will be clearly marked on the map. Once you conquer your first stronghold (such as the Gunman stronghold), you can unlock the ability to scale up your team. Until then, your team members will be limited. Unlock Upgrades with the Training Manual Once you have conquered the stronghold, head to your camp and view the upgrade menu. Find team size upgrade options. The first upgrade requires 5 training manuals. Note: The training manual is also used to improve the initial level of recruits, which is a single


Hot AI Tools

Undresser.AI Undress
AI-powered app for creating realistic nude photos

AI Clothes Remover
Online AI tool for removing clothes from photos.

Undress AI Tool
Undress images for free

Clothoff.io
AI clothes remover

Video Face Swap
Swap faces in any video effortlessly with our completely free AI face swap tool!

Hot Article

Hot Tools

SublimeText3 Chinese version
Chinese version, very easy to use

EditPlus Chinese cracked version
Small size, syntax highlighting, does not support code prompt function

Safe Exam Browser
Safe Exam Browser is a secure browser environment for taking online exams securely. This software turns any computer into a secure workstation. It controls access to any utility and prevents students from using unauthorized resources.

WebStorm Mac version
Useful JavaScript development tools

PhpStorm Mac version
The latest (2018.2.1) professional PHP integrated development tool


