While Act 1 of Fantasian Neo Dimension is a more curated, guided experience, Act 2 is the exact opposite. Leo is free to explore the world as he sees fit, taking any quest in any order, and that applies to which companions he chooses to save first as well.

Saving Kina and Cheryl is a bit more involved than others, but gives you back two of your party members after an exceedingly long absence. Saving them isn't easy though, and that's after you've figured out how to reach them.
Entering The Wormhole
Gathering the Chests

To get started on finding Kina and Cheryl, you should head to the giant Wormhole hovering over Vence. Approach it, and a cutscene will trigger that has Leo dismayed that they cannot reach this one, before remembering the open Wormhole in the Machine Realm where Vam was fought. Warp here now.
After some brief conversation, the party will leap into the Wormhole, only to find themselves landing on a roof in the Old District of Vence. Disappointed but not yet disheartened, Clicker recommends you keep on jumping until you find Kina and Cheryl.
Before that though, you might notice that you are on the building where a chest has been resting ever since you first entered En. You might even recall the other just slightly out-of-reach chests across the world. This is how you reach them. So head on back to the Machine Realm and start leaping.
Here is every chest, in order and what they contain:
- En, Old District - Hero Vest.
- Vence, Central - Sacred Stone.
- Ancient Hill - Ruby L.
- Vence, Western - Valiant Belt.
- Ancient Mountain Path - Opal L.
- Chaos Fields - Dragonfly (weapon for Ez).
After the Ancient Hill, you will briefly enter the Wormhole proper. Head below to learn more about that.
After landing in all these locations, Leo will start to cycle through them again. Turns out, this isn't the way to go after all. The game doesn't give too much indication on what you're actually meant to do next, either.
The Wormhole Horde

With your fourth jump into the Wormhole, you'll end up in the dark space in between realms. This is the space in which Cheryl and Kina are trapped, though you unfortunately don't get to remain here for very long. This is more a taste of what's to come.
Here, you will be put into a battle against 100 enemies, many of them quite strong, and most of them brand new. Make sure you've healed up before taking that leap.
This isn't a massively challenging encounter, but it can go on for quite a while, so it's worth being tactical. Piercing attacks are the way to go to slice through the ranks quicker, and Valrika's Arrow Rain is of particular assistance here.
There is also a chance for Orblings carrying Machine Keys to spawn here, so make sure to defeat them before they have a chance to escape.
Once all of the enemies are defeated, you will simply return to the Human Realm, landing in Vence once again. Back to the Machine Realm Wormhole you go.
Navigating The Wormhole

Finding The Real Wormhole
With the Machine Realm Wormhole being a bust, you have no choice but to return to the Wormhole over Vence and, somehow, hope for something different to happen this time. And lucky Leo, it sure does.
The spirit of Queen Cynthana speaks to Leo, and after a brief attempt to focus on her voice, she requests he save her daughters, and creates a bridge from the Uzra up to the Wormhole. Leo walks up this bridge and enters the Wormhole immediately.
Once you enter the Wormhole, you are free to leave again and Warp back if you don't feel up to it right now.
Without any chance of being suddenly booted from the Wormhole like before, you can actually dedicate your time to finding Kina and Cheryl. This area does have a recommended level of 40, so try to hit approximately that level before heading in.
Exploring The Wormhole

After all the effort to reach the Wormhole, it's actually quite short and linear. That said though, it has a wonderful amount of powerful items, some of which will help in the upcoming boss battle. As the area is quite straightforward, you can see every chest in your path, and the map is quite simple to navigate from the pause menu.
Here's every item you can find:
- An Ether L.
- An SP Capsule.
- A Lapis Lazuli, which casts Regen at the start of every battle.
- A Whetstone.
- A Heal Stone.
- An Emerald L, which massively boosts defence.
- An Elixir.
- A Whetstone.
- A Pezzottaite L, which recovers MP when an enemy is killed.
- A Phantom Quartz, which nullifies the curse effect.
- Two more Whetstones.
- Some Order Motes.
Quite a large selection! These are all incredibly useful, of course, but the Emerald L is the most powerful for the upcoming boss. They hit obscenely hard, even with boosted defences and a barrier, so you'll need all the extra support you can get.
Actually reaching the boss is quite easy. By time you reach the next Save Point, the boss is just ahead. Make sure to clear out your Dimengeon beforehand for some extra EXP, and maybe some Machine Keys too.
How To Defeat Lagrange Wind
Party Set-Up

Before you jump into battling Lagrange Wind, make sure you have your party set-up properly. By this point we had rescued both Ez and Zinikr, so we had a fairly diverse party for both offense and defense during this battle. Here's our recommended set-up:
- Leo - Nanomic Blade 2.0, Ruby L, and Emerald L.
- Ez - Harpe, Hermes Stone.
- Zinikr - Delta Knuckles, Emerald M.
- Valrika - Anima Stone, Opal M.
- Prickle - Poisonthrower, Opal M.
From the Growth Map, we invested in some key skills as well. For Leo, we got Samidare Hits , and the Fire version of the attack. Quick All is very helpful for Ez to give the party some extra turns, especially when the boss is winding up their most powerful attacks. Barrier All and Revive are an incredible help here as well for Prickle. Try to get Holy Strike for Zinikr as well, as this is the boss' only weakness.
We also acquired Leo and Zinikr's Tension skills, which were very helpful in scraping away the boss' final bit of HP.
The Hero Vest and Valiant Belt you got before while jumping through the Wormhole will be a great help here as well, so make sure you have them equipped.
Battling Lagrange Wind
Let's get started. This fight is functionally quite different from any other in the game because of how the boss moves. Lagrange Wind doesn't stay still, nor do they change phase as they get lower on HP. Instead, they consistently change phase as it pleases them
,and that means you have to change strategy every once in a while too.When you start the fight, Lagrange Wind will grab the crystal holding Kina and Cheryl and fly off. They don't fight back during this turn, but you are under something of a time limit. During this segment, you must strike the boss' weak points
, continually progressing up the body until you reach the face. <script> window.adsNinja = window.adsNinja || {}; window.adsNinja.queue = window.adsNinja.queue || []; window.adsNinja.queue.push(function(){ window.adsNinja.queue.push(function(){ var fallbackContent = ` <video> <source src='https://video.thegamerimages.com/2024/11/fantasian-neo-dimension-lagrange-wind-boss-fight-made-with-clipchamp-1732895707.mp4' type='video/mp4'> Your browser does not support the video tag. `; try{ var result = window.adsNinja.monetizeVideo('.emaki-video-player-38e9753839915027', JSON.parse(`{\"name\":\"Instream-InContent\",\"groupName\":\"content\"}`), JSON.parse(`{\"trackingId\":\"in-content\",\"playlist\":[{\"title\":\"Fantasian Neo Dimension Lagrange Wind Boss Fight\",\"description\":\"\",\"length\":\"5:25\",\"mimeType\":\"video\/mp4\",\"url\":\"https:\/\/video.thegamerimages.com\/2024\/11\/fantasian-neo-dimension-lagrange-wind-boss-fight-made-with-clipchamp-1732895707.mp4\",\"thumbnailLink\":\"https:\/\/static1.thegamerimages.com\/wordpress\/wordpress\/wp-content\/uploads\/wm\/2024\/11\/20241128001058_1.jpg?fit=crop&w=1024&h=576\",\"textTracks\":[{\"kind\":\"subtitles\",\"label\":\"English\",\"language\":\"en\",\"url\":\"https:\/\/video.thegamerimages.com\/2024\/11\/fantasian-neo-dimension-lagrange-wind-boss-fight-made-with-clipchamp-1732895707-1732896736.vtt\",\"default\":false}]}]}`)); if(!result){ console.warn('Failed to load AdsNinja video player.'); document.getElementById('emaki-video-player-38e9753839915027').innerHTML = fallbackContent; } } catch(error){ console.warn('Failed to load AdsNinja video player.'); document.getElementById('emaki-video-player-38e9753839915027').innerHTML = fallbackContent; } }); }); </script>The challenge here is making sure to actually hit the weak point. The boss' body continually shifts, at times covering the weak point and blocking your attack entirely. Make sure to attack only when you can actually see the weak point so you don't waste a turn.
If you take too long to destroy a weak point, it restores the previous one and kicks you back a stage.
Once you reach the face, the boss will attack, but only with a simple physical attack that strikes the whole party for a decent chunk of damage, but nothing you'd have to worry about. The benefit of this phase is that it gives you time to heal and buff your party. With two characters attacking each turn and one healing and buffing, you should be perfectly capable of still destroying all the weak points in time.
Once you've beaten up the face enough, the crystal will drop onto your platform, and the boss will come face-to-pincer with you. This is where the bulk of the battle occurs, and it's no easy feat. Let's check out its moves to begin with.
|
Effect | ||||||||||||||
|---|---|---|---|---|---|---|---|---|---|---|---|---|---|---|---|
| Regular Attack | The boss performs a non-elemental attack for significant damage on a single character. | ||||||||||||||
| Fire | The boss spits a ball of fire from its mouth that attacks a single character with fire-elemental damage. | ||||||||||||||
| Reset | The boss removes every debuff cast on them. | ||||||||||||||
| Mucus | Attacks the whole party for high damage and has a chance of slowing them. | ||||||||||||||
| Petrifying Stare | Can Petrify a single character. | ||||||||||||||
| Scissor Cross | Prepares its claws to strike on the next turn. Will activate even if both claws are destroyed. |
While there may not be a massive amount of moves, they all give you something different to worry about. This boss is quite fast as well, so you'll be relying on Ez's Quick All quite a bit during this battle.
Petrifying Stare has a much higher chance to fail if you cast Mist on the boss with Valrika.
While you can tank the regular attack and fire, you may want to rely on Zinikr to cast Iron Wall for the party's defence boost to free up some turns for Ez to heal and cast other buffs. Quick All is especially helpful after the party has been hit with Mucus.
Scissor Slice is the big move to worry about. The boss will fly back, bearing its claws. Both of them can be attacked independently and are only weak to Holy. Try to destroy these as quickly as you can, but prioritise healing. Even if both arms are destroyed, the move will still activate, though dramatically weakened.
If you don't think you can destroy the arms, heal up as much as possible, cast Iron Wall with Zinikr, and swap in Prickle to cast Barrier All. If your party is buffed and on high HP, this should be enough to stop the party being wiped, though it's handy to have Revive on Prickle just in case.
After each use of Scissor Cross, the boss will return to their original phase, which gives you some time to revive and heal any party members that might have just died. This pattern repeats for the rest of the fight, with Mucus being the only new move that is introduced.
After they are finally defeated, Kina and Cheryl will rejoin the party (and be boosted up to level 30), and gain their respective Divine Artefacts, too.

The above is the detailed content of Fantasian Neo Dimension: Through The Wormhole Walkthrough. For more information, please follow other related articles on the PHP Chinese website!
 Wordle Answer And Hints - May 6 2025 Solution #1,417May 05, 2025 pm 06:03 PM
How's your Wordle game going today? Ready to challenge yourself with hard mode? If you're hitting a wall, we've got your back. No peeking at answers here! We've carefully hidden all letters and solutions to prevent accidental spoilers. But we do h
 NYT Mini Crossword Answers And Hints - May 5, 2025May 05, 2025 pm 12:03 PM
Stuck on today's NYT Mini Crossword? Need a fresh perspective on those tricky clues? Don't worry, you're not alone! Many clues reference obscure pop culture details. But that doesn't mean your winning streak has to end. Sometimes, a different clu
 NYT Strands Answers And Hints - May 5, 2025 Solution #428May 05, 2025 am 10:02 AM
Stuck on today's Strands puzzle? Don't fret! This guide provides hints and the full solution if you're struggling to unravel the word puzzle. We'll help you maintain your winning streak and avoid getting stranded. This helpful guide offers clues a
 Oblivion Remastered: Baiting The Trap Quest WalkthroughMay 05, 2025 am 08:02 AM
Oblivion Remastered: Obtaining the Unique Dawnfang/Duskfang Sword In the vast world of The Elder Scrolls IV: Oblivion Remastered, acquiring powerful weapons is crucial. This guide focuses on obtaining the unique Dawnfang/Duskfang sword, a remarkable
 Oblivion Remastered: Ushnar's Terror Quest WalkthroughMay 05, 2025 am 06:06 AM
The age-old cats vs. dogs debate finds a humorous twist in The Elder Scrolls IV: Oblivion Remastered. A quirky side quest in the Shivering Isles pits a cat-lover against a dog-lover in a silent feud. You're the unlikely mediator. The conflict cente
 Fortnite: Chapter 6, Season 3 - How To Fix The TIE FighterMay 05, 2025 am 06:05 AM
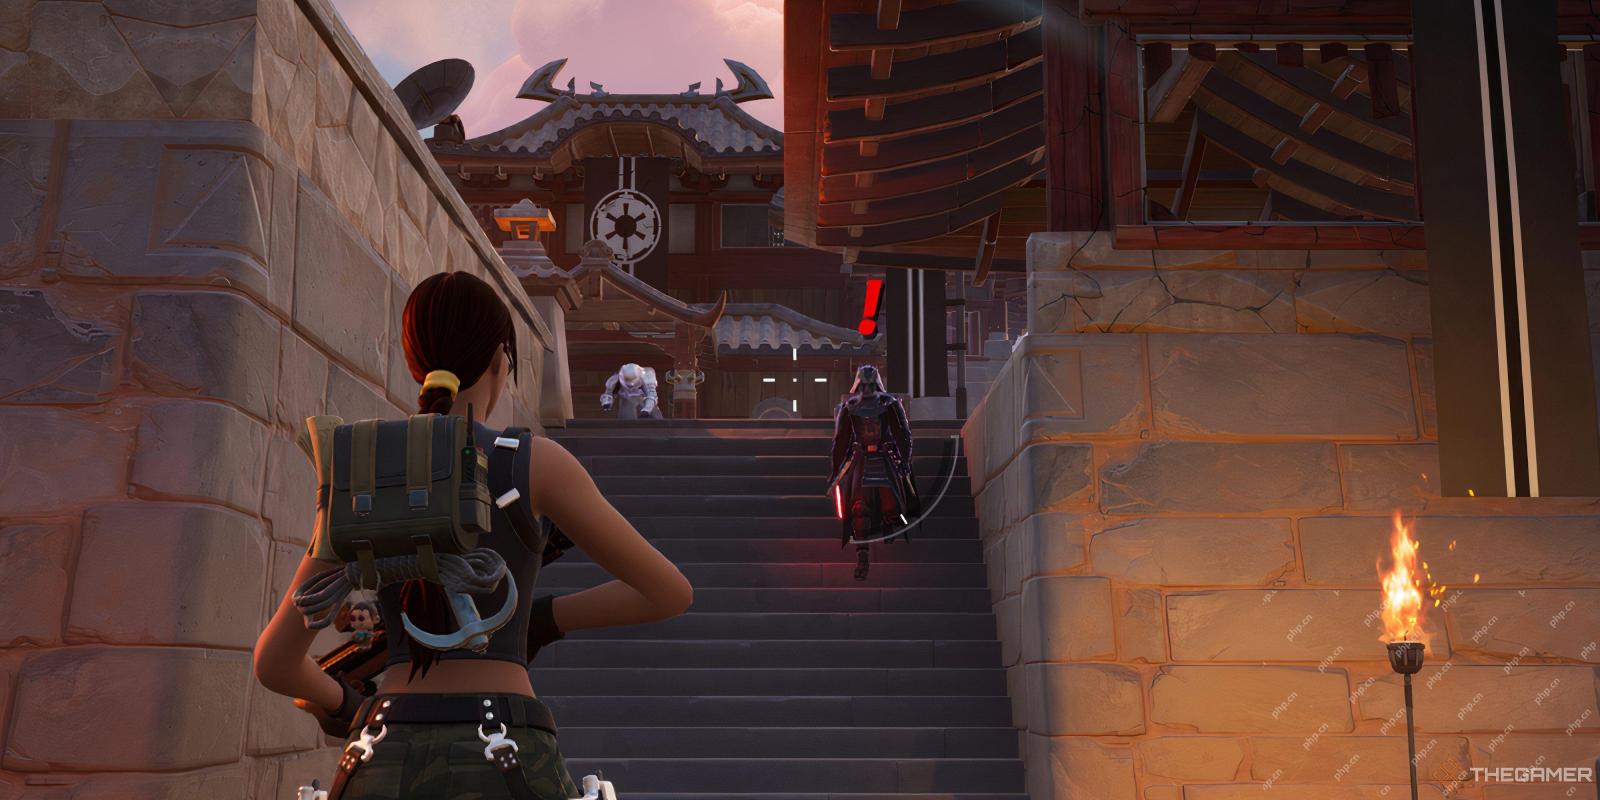
Fortnite Chapter 6 Season 3: Repairing TIE Fighter Mission Guide "Fortnite" Chapter 6 Season 3 has been officially launched, and Star Wars fans will be immersed in a new season full of Star Wars elements. The season is themed on Star Wars, with Lightsaber, First Legion Base, and iconic characters such as General Griffles, Bo Dameron and Darth Vader. The quest line of this season is different from before, and you need to find quests yourself in the designated area. One of these missions requires repair of TIE fighter jets, and this guide will guide you through this mission in detail. How to Fix TIE Fighter First, you need to find the damaged TIE fighter that needs to be repaired. It is located in a rebel outpost south of the Flooded Frogs.
 Lego Fortnite Odyssey: Star Wars First Order Lego Pass GuideMay 05, 2025 am 04:07 AM
Fortnite Chapter 6 Season 3 is officially launched, bringing a brand new Lego Pass: Star Wars First Legion! This theme pass contains a lot of brand new content, offering a variety of rewards, including skins, emoticons, badges and decorative sets, waiting for players to unlock. Want to know everything about this brand new pass? We have put together a complete overview of all available items to give you a clear idea of what rewards you can earn and to judge for yourself whether this season is worth buying. List of Star Wars 1 Lego Pass Rewards The Star Wars First Lego Pass contains four pages of unlockable rewards. Here is a detailed list of contents per page: Page 1 Rewards Item Type Captain Fasma Skin First Legion Control Room Decoration Set First Legion
 Fortnite: Chapter 6, Season 3 - How To Get And Use LightsabersMay 05, 2025 am 04:05 AM
Fortnite's Chapter 6 brings a galaxy far, far away to the battle royale! This Star Wars-themed season features a revamped map with iconic locations, new battle pass skins, and—most importantly—lightsabers! Traditional weaponry has been replaced with


Hot AI Tools

Undresser.AI Undress
AI-powered app for creating realistic nude photos

AI Clothes Remover
Online AI tool for removing clothes from photos.

Undress AI Tool
Undress images for free

Clothoff.io
AI clothes remover

Video Face Swap
Swap faces in any video effortlessly with our completely free AI face swap tool!

Hot Article

Hot Tools

mPDF
mPDF is a PHP library that can generate PDF files from UTF-8 encoded HTML. The original author, Ian Back, wrote mPDF to output PDF files "on the fly" from his website and handle different languages. It is slower than original scripts like HTML2FPDF and produces larger files when using Unicode fonts, but supports CSS styles etc. and has a lot of enhancements. Supports almost all languages, including RTL (Arabic and Hebrew) and CJK (Chinese, Japanese and Korean). Supports nested block-level elements (such as P, DIV),

Atom editor mac version download
The most popular open source editor

SecLists
SecLists is the ultimate security tester's companion. It is a collection of various types of lists that are frequently used during security assessments, all in one place. SecLists helps make security testing more efficient and productive by conveniently providing all the lists a security tester might need. List types include usernames, passwords, URLs, fuzzing payloads, sensitive data patterns, web shells, and more. The tester can simply pull this repository onto a new test machine and he will have access to every type of list he needs.

SAP NetWeaver Server Adapter for Eclipse
Integrate Eclipse with SAP NetWeaver application server.

SublimeText3 Chinese version
Chinese version, very easy to use


