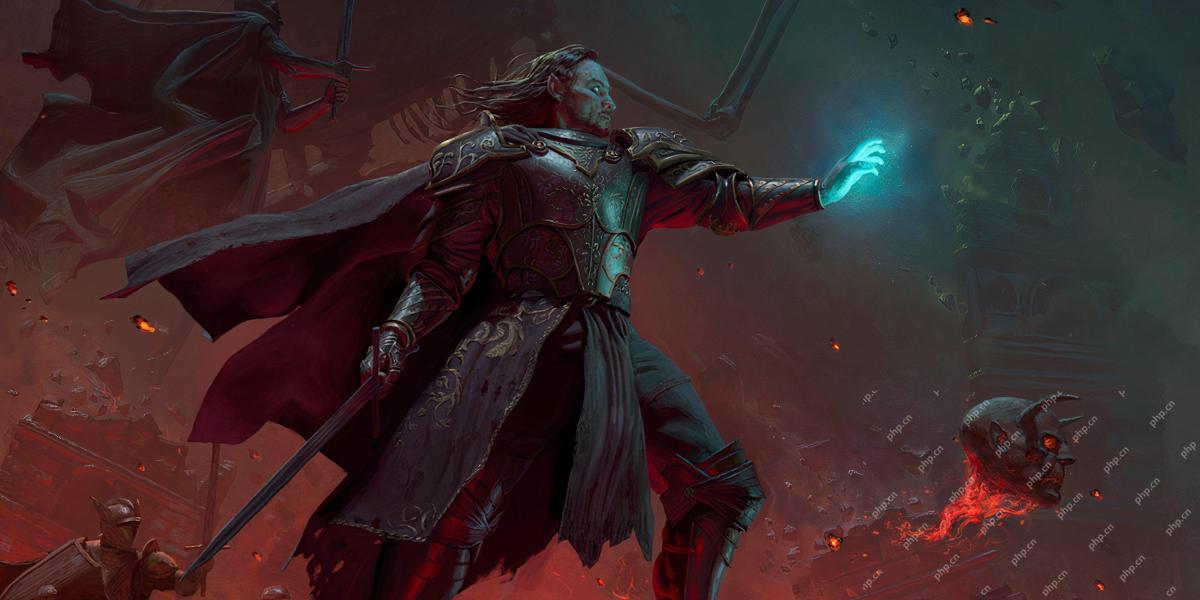
Stalker 2: Heart of Chornobyl has its fair share of eerie and downright terrifying missions, with The Lost Boys being one of the earliest you can access, having you uncover a mystery of a missing squad while trudging through an abandoned base that is littered with carnage.

While it may not be the most action-packed side mission in the game, it's undoubtedly one of the best, as it has all the suspense and dreadful atmosphere you'd expect from the Stalker series. From start to finish, this quest will have you on the edge of your seat, forcing you to make tough decisions and watch how they play out!
How To Start The Lost Boys In Stalker 2: Heart Of Chornobyl

To begin The Lost Boys in Stalker 2: Heart of Chornobyl, head to Lens in Zalissya and ask if he has any available work for you, having him talk about a missing squad of diggers. After he gives you the rundown of where they are and what happened to them, agree to look for them to begin the side mission.
From here, you will be searching for Mastiff's Group, who haven't returned from an expedition they set out on a few days prior. Lens had a terrible feeling about where they were going before they even left, so he's visibly worried about them and wants you to see if they're okay.
Head To Where Mastiff's Group Last Was

Exit Lens' room and begin following the blue marker on your compass, moving across desolate fields and abandoned tunnels until you reach a small structure with an open door. This is where Mastiff's Group was last seen, so enter the building and descend the steps, pressing further into the bunker.
There won't be many enemies in here, but there will be many Anomalies, so have your Screw ready to bypass them. Also, make sure you have a spare Medkit available, as you will need it for this portion of the quest. If you don't have enough, we strongly urge you to find extras and then returning.
Find Out What Happened To Mastiff's Group

As soon as you enter the bunker, turn left and then take another sharp left to see a narrow walkway that leads to a corpse. Make your way over to the corpse to find a small device on the ground beside them. Pick it up and read what's on it to begin piecing together what happened to Mastiff's Group inside the bunker.
Navigate Through The Bunker

Continue moving through the bunker, following the main pathway, until you reach a bag on the ground next to a shotgun. Loot the bag to find a Fuse amongst some ammunition, bandages, and food. With the Fuse now in your possession, head into the room directly to the left of the bag to find the Fuse Box.
Place the Fuse in the Fuse Box and then leave the room, following the main pathway. This will be crucial a bit later in the bunker, but for now, you did all you could with the Fuse Box.
Continue Navigating The Bunker

Move forward until you reach a room filled with Electricity Anomalies. Switch to your Screw and toss it at the Anomalies to activate them, allowing you to move through them after they deactivate briefly. Keep doing this until you are in the next room, where there will be a handful of Rats.
Toss the Screw into the transparent orb Anomaly to rip apart most of the Rats in the room, then finish the rest off with your guns. After doing this, you will hear someone in severe pain on the opposite end of the room, make your way over to them, and use a Medkit to heal them.
Speak to Max Saturday and ask him what happened to Mastiff's Group, telling him that Lens sent you to check on them. He will explain that a Monolithian ambushed the squad and kidnapped Mastiff after wiping out everyone else. Agree to find Mastiff and have him mark where they went on your map.
Find The Secret Room In The Bunker

Walk up the stairs behind Max and throw the lever on the wall to open the doorway that leads to the exit. However, instead of going through it, turn around and head back to the bunker's entrance, where you found the first body. Once you get to this area, you will see a newly opened room.
Enter the room to find a large duffle bag, several boxes of healing items, ammunition, food, and an Aurora Gas Mask resting on top of a shelf. Gather everything in this room, then make your way back to where Max Saturday was and make your way through the exit.
Exit The Bunker

After looting everything in the secret room of the bunker, make your way through the exit behind where Max was to find another series of Electricity Anomalies. Use your Screw to temporarily deactivate them, then make a quick break out and into the open fields yet again. Now it's time to find Mastiff.
Find Mastiff

Just southeast of the bunker is where the Monolithian took Mastiff, so begin following your waypoint until you reach a lone house deep in the forest, surrounded by what appears to be tombstones and skulls. Approach the house cautiously and try to open the front door only to find it locked.
This will trigger a group of Blind Dogs to ambush you, forcing you to deal with them before exploring further. Fortunately, they can be dealt with relatively quickly. There are roughly five of them, so ensure you're hitting your shots, as you don't want to waste too much of your ammunition here.
Enter The House Where Mastiff Is

With the Blind Dogs taken care of, go behind the house to find a shed with a padlock on it and use your knife to break it, allowing you to enter. Once inside, you will see a cave entrance that leads to an underground tunnel, giving you direct access to the inside of the house.
Follow the tunnel until you're inside the locked house, and push forward into the next room to find a wounded Mastiff lying on a bed. On the wall to the left will be a ladder that leads into the attic of the house. Take it up to find the Monolithian praying while anticipating your arrival.
Should You Kill Or Save The Ninth In Stalker 2: Heart Of Chornobyl?

Confronting the Monolithian will have you learn his name in The Ninth, allowing you to ask him questions about Mastiff and what happened in the bunker. He will claim that a mutant wiped the group out, that he's the one who saved Mastiff, and that Mastiff is only alive because he treated his wounds and gave him a place to rest.
Do not attack him yet if you want to, as this will lead to another interaction where a group of people looking for The Ninth will show up outside, giving you another choice to make. You can tell The Ninth that you want to help, allowing you to leave the attack and go outside—something we recommend doing.
Talk To Dew

Head outside and speak with Dew, who is also looking to put a stop to The Ninth. Say that you're there for Mastiff, then select the "I got it" option next. From here, you will be given the final choice to side with Mastiff, the Monolithian, or simply not get involved in the matter at all.
If it wasn't clear from the recount of the events that transpired by Max in the bunker or why Dew is here, the Monolithian isn't a good person at all, so it's in your best interest to eliminate him and save Mastiff. Siding with The Ninth here will have you eliminate Dew and his partner, leaving Mastiff to suffer at the hands of the Monolithian.
Ultimately, the choice is yours, but we strongly recommend teaming up with Dew here to defeat The Ninth, saving Mastiff in the process.
Defeat The Ninth

Siding with Dew and Mastiff will toss you into battle against The Ninth, so prepare to use lots of ammunition. The thing about Monolithians is, for some reason, they can take a beating and are extremely hard to take down. Fortunately for you, you now have Dew and his partner on your side, giving you extra firepower.
After eliminating The Ninth, search his body, loot his PDA, and give it a listen to learn more about his reasonings for why he was doing this. From here, all you have to do is make it back to Lens in Zalissya to complete the mission.
Return To Lens In Zalissya

Make the long haul back to Zalissya and speak with Lens, giving him the details of what transpired in the bunker, what happened to Mastiff's Group, and where Mastiff currently is, letting him know that a Monolithian took him to an abandoned house. After this, he will thank you for saving Mastiff and will give you a whopping 1,000 Credits, making it all worthwhile in the end!

The above is the detailed content of Stalker 2: Heart Of Chornobyl - The Lost Boys Walkthrough. For more information, please follow other related articles on the PHP Chinese website!
 Runescape: Dragonwilds - How To Craft AdhesiveApr 19, 2025 pm 04:04 PM
Runescape: Dragonwilds – A Guide to Crafting Adhesive One of the most enjoyable aspects of Runescape: Dragonwilds is the continuous equipment upgrade system. Unlike many survival crafting games where progression is painstakingly slow, Dragonwilds all
 Runescape: Dragonwilds - How To Fast TravelApr 19, 2025 pm 04:03 PM
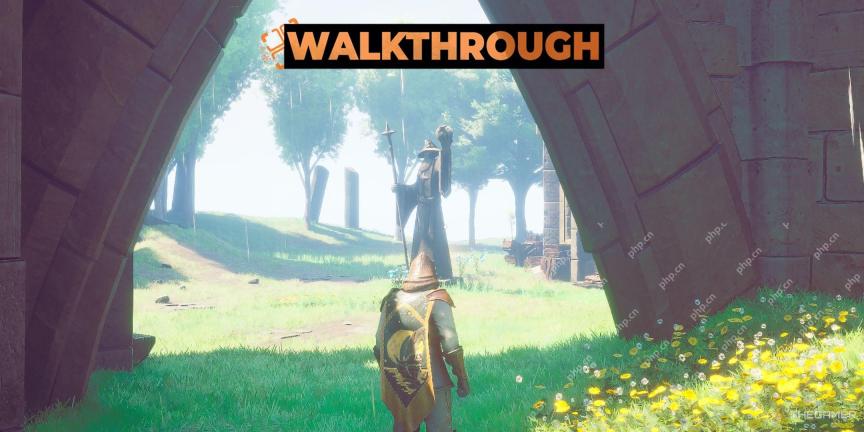
Runescape: Dragonwild's expansive map initially obscures exploration with a pervasive fog. While the fog reveals the map's overall size, traversing it without fast travel is challenging. Fortunately, Dragonwild offers a flexible fast travel system.
 Runescape: Dragonwilds - How To Craft Rough ClothApr 19, 2025 pm 04:02 PM
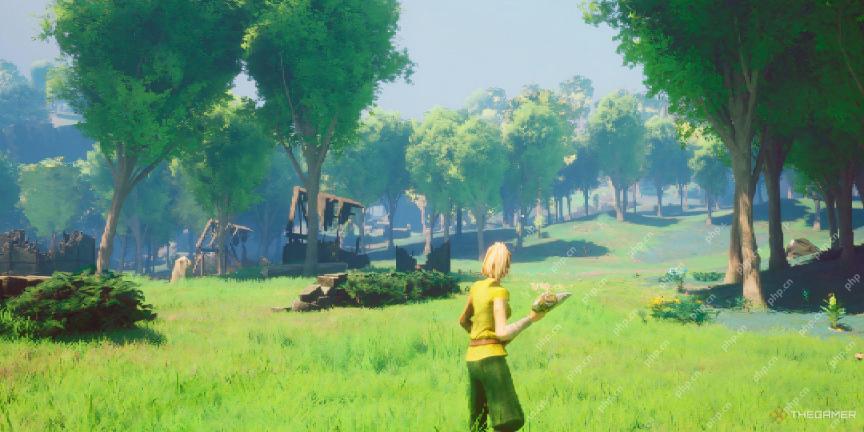
Early game in Runescape: Dragonwilds is a breeze, but tougher enemies in later areas demand better armor. Upgrading your armor requires Rough Cloth, a crafting item with several steps to obtain. Crafting Rough Cloth: A Step-by-Step Guide The journ
 Hollywood Animal: How To NegotiateApr 19, 2025 am 11:47 AM
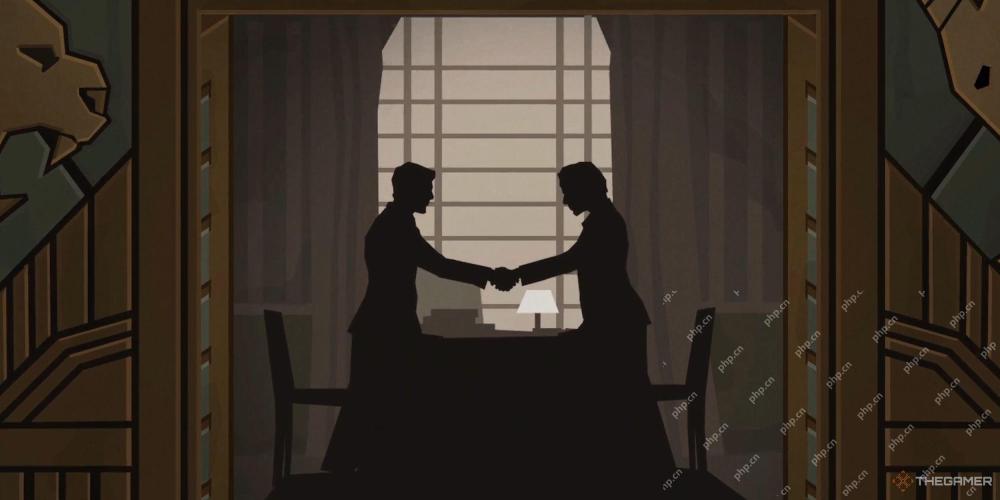
In Hollywood Animal, building a successful movie studio requires securing deals with top talent. Understanding your needs and your crew's strengths is crucial for creating a lasting impact. Mastering contract negotiation is key to profitability. T
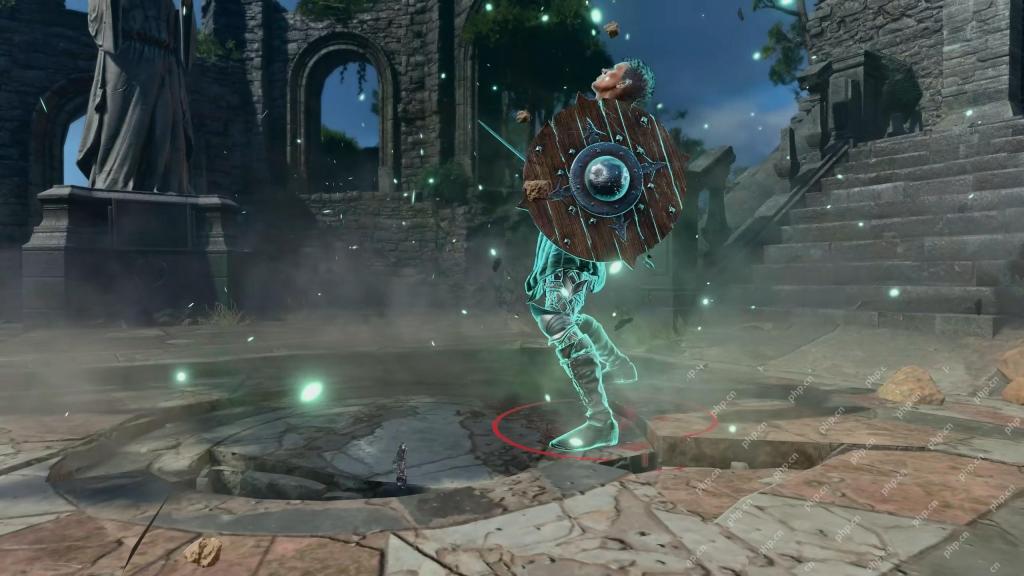 Baldur's Gate 3: Best patch 8 subclasses ranked from Edgelord of the Dead to Tipsy TusslerApr 19, 2025 am 11:28 AM
Baldur's Gate 3 Patch 8 introduces twelve exciting new subclasses, revolutionizing gameplay in Larian's epic RPG. From swashbuckling pirates to shadowy companions, these subclasses offer diverse playstyles, either standalone or integrated with other
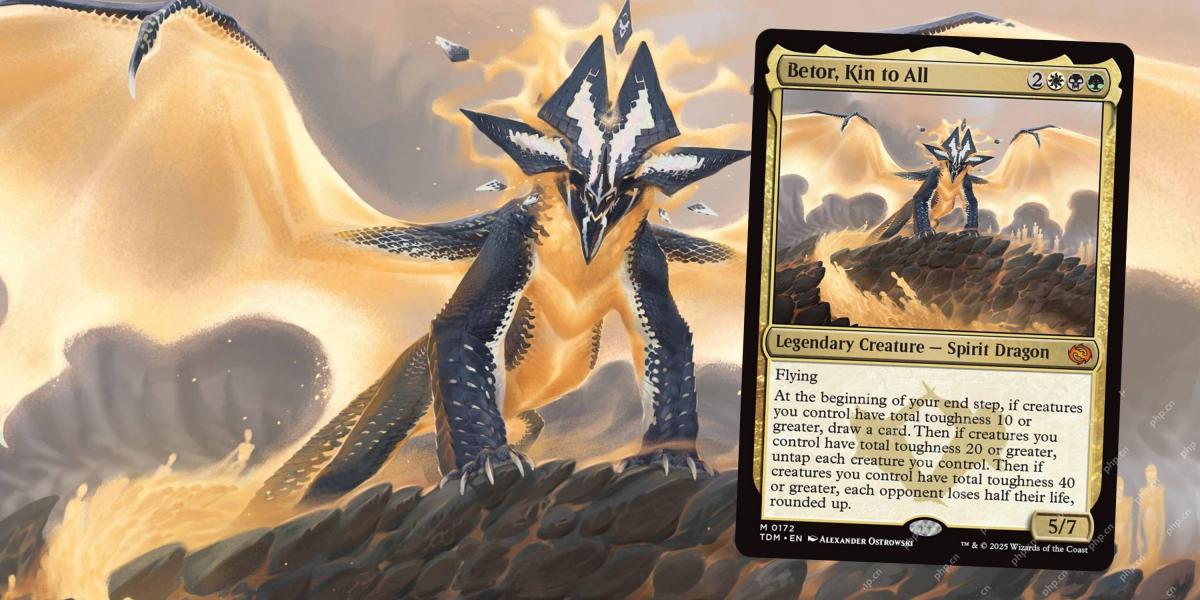 Magic: The Gathering - Ureni Of The Unwritten Commander Deck GuideApr 19, 2025 am 11:04 AM
Unleash the Power of Dragons with Ureni of the Unwritten! This Commander deck, built around the Temur (Green/Blue/Red) legendary creature Ureni of the Unwritten, focuses on aggressively deploying a horde of Dragons onto the battlefield. While a soli


Hot AI Tools

Undresser.AI Undress
AI-powered app for creating realistic nude photos

AI Clothes Remover
Online AI tool for removing clothes from photos.

Undress AI Tool
Undress images for free

Clothoff.io
AI clothes remover

AI Hentai Generator
Generate AI Hentai for free.

Hot Article

Hot Tools

SecLists
SecLists is the ultimate security tester's companion. It is a collection of various types of lists that are frequently used during security assessments, all in one place. SecLists helps make security testing more efficient and productive by conveniently providing all the lists a security tester might need. List types include usernames, passwords, URLs, fuzzing payloads, sensitive data patterns, web shells, and more. The tester can simply pull this repository onto a new test machine and he will have access to every type of list he needs.

EditPlus Chinese cracked version
Small size, syntax highlighting, does not support code prompt function

Zend Studio 13.0.1
Powerful PHP integrated development environment

SublimeText3 English version
Recommended: Win version, supports code prompts!

PhpStorm Mac version
The latest (2018.2.1) professional PHP integrated development tool


