Before Broly became the symbol of Saiyan rage in the Dragon Ball world, we always had Gohan, the son of Goku, whose anger could topple giants. In Dragon Ball: Sparking Zero, this reluctant fighter shines from an early age to his adult days.

This guide will cover which Gohan is the best to main, their strengths and weaknesses, and their roles in the game. Gohan has had many transformations across the years, and while they may not be as many as the ones his father has, they are still fondly remembered by the community.
Gohan (Kid)

|
Move Name |
Input |
Cost |
Effect |
|---|---|---|---|
| Super Unyielding Spirit | R2/RT Up on the D-Pad | 3 Skill Count | Enter Sparking Mode and gain offensive buffs. |
| Afterimage Strike | R2/RT Left on the D-Pad | 3 Skill Count | Dodge all attacks except for Ki blasts for 15 seconds. |
| Masenko | R2/RT Square/X | 3 Ki Bars | Fires a Beam Super that does a bar of damage when fully charged. |
| Energy Blast Barrage | R2/RT Triangle/Y | 2 Ki Bars | Fire several projectiles that can deal up to half a bar of damage. |
| Wild Rush Blaster | R2/RT Circle/B (when in Sparking Mode) | Full Ki Bar | Rush Ultimate that does nearly two bars of damage. |
Gohan (Kid) In Versus And Online Matches

As a child character, this Gohan has many of the vulnerabilities you would expect him to have, like a low health pool and Skill Count. However, this also comes with the very low DP cost of three, making him a great character to fill out teams, and some fantastic skills to surprise your opponent.
You often won’t use the kid version of Gohan for an entire match, but he is great at closing them out. His Afterimage Strike is great for doing combos against your opponent unscathed, while Super Unyielding Spirit can lead to an explosive finish, since it puts you in Sparking Mode with several offensive buffs.
Gohan (Teen)

|
Move Name |
Input |
Cost |
Effect |
|---|---|---|---|
| Wild Sense | R2/RT Up on the D-Pad | 2 Skill Count | Dodge the next melee attack and counter it. |
| Full-Power Charge | R2/RT Left on the D-Pad | 2 Skill Count | Fully charge your Ki. |
| Super Masenko | R2/RT Square/X | 3 Ki Bars | Fires a Beam Super that does nearly a bar of damage when fully charged. |
| Energy Blast Barrage | R2/RT Triangle/Y | 2 Ki Bars | Fire several projectiles that can deal up to half a bar of damage. |
| Super Kamehameha | R2/RT Circle/B (when in Sparking Mode) | Full Ki Bar | Beam Ultimate that does a bar and a half of damage. |
Gohan (Teen) In Versus And Online Matches

The teen version of Gohan is mostly known for its Super Saiyan 2 form, making the base version rarely picked. There is nothing particularly special about his skills, with his damage potential can at times seem even less than that of his kid counterpart.
This is because the whole point of this Gohan is to transform into his Super Saiyan state. The Super Saiyan forms cost between six and seven DP, so being able to have them in your team for only four DP (the cost of this base form) can make for some powerful, low-cost teams.
Gohan (Teen) Super Saiyan

|
Move Name |
Input |
Cost |
Effect |
|---|---|---|---|
| Explosive Wave | R2/RT Up on the D-Pad | 2 Skill Count | Sends out an explosive wave that knocks enemies back. |
| Full Power | R2/RT Left on the D-Pad | 3 Skill Count | Enter Sparking Mode. |
| Super Kamehameha | R2/RT Square/X | 3 Ki Bars | Fires a Beam Super that does over a bar of damage when fully charged up. |
| Super Assault Combo | R2/RT Triangle/Y | 3 Ki Bars | Triggers a Rush Super that does a bar of damage. |
| Raging Masenko | R2/RT Circle/B (when in Sparking Mode) | Full Ki Bar | Fires several projectiles that trigger a scene, dealing nearly two bars of damage. |
Gohan (Teen) Super Saiyan In Versus And Online Matches

While not as good as the Super Saiyan 2 version, this Gohan is highly competitive, making it a great transition between the base and the final form. Explosive Wave as a combo breaker and Full Power as a way to easily enter Sparking Mode are incredibly useful tools.
It should be noted that Raging Masenko, while it starts off as a series of projectiles, triggers a scene that does decent damage. The issue with it is that it can’t challenge other Beam Supers, so use the Super Kamehameha if you want to have a Beam Clash.
Gohan (Teen) Super Saiyan 2

|
Move Name |
Input |
Cost |
Effect |
|---|---|---|---|
| Explosive Wave | R2/RT Up on the D-Pad | 2 Skill Count | Sends out an explosive wave that knocks enemies back. |
| Unforgivable | R2/RT Left on the D-Pad | 3 Skill Count | Enter Sparking Mode and gain offensive and defensive buffs. |
| Super Kamehameha | R2/RT Square/X | 2 Ki Bars | Fires a Beam Super that does nearly a bar of damage. |
| Explosive Rush | R2/RT Triangle/Y | 3 Ki Bars | Triggers a Rush Super that does over a bar of damage. |
| Father-Son Kamehameha | R2/RT Circle/B (when in Sparking Mode) | Full Ki Bar | Unblockable Beam Ultimate that does nearly two bars of damage. |
Gohan (Teen) Super Saiyan 2 In Versus And Online Matches

This is one of the best forms of Gohan, with all the good parts of its previous forms improved. Unforgivable not only makes Gohan enter Sparking Mode but buffs him greatly, while his Ultimate move is an unblockable Beam, making it far easier to land than other similar abilities.
Gohan (Adult)

|
Move Name |
Input |
Cost |
Effect |
|---|---|---|---|
| Wild Sense | R2/RT Up on the D-Pad | 2 Skill Count | Dodge the next melee attack and counter it. |
| Full-Power Charge | R2/RT Left on the D-Pad | 2 Skill Count | Fully charge your Ki. |
| Explosive Cannon | R2/RT Square/X | 2 Ki Bars | Fires a short-range Beam Super that does nearly a bar of damage. |
| Explosive Flash Strike | R2/RT Triangle/Y | 3 Ki Bars | Triggers a Rush Super that does nearly a bar of damage. |
| Super Kamehameha | R2/RT Circle/B (when in Sparking Mode) | Full Ki Bar | Beam Ultimate that does a bar and a half of damage. |
Gohan (Adult) In Versus And Online Matches

Similar to his teen version, this Gohan costs only four DP and is meant to be picked to get easy access to his Super Saiyan forms. He even has the same skills, but his Explosive Cannon super is quite different: it is a Close-range ability meant for stunning and pushing enemies away.
Explosive Cannon can’t clash with Beam supers.
Gohan (Adult) Super Saiyan

|
Move Name |
Input |
Cost |
Effect |
|---|---|---|---|
| Explosive Wave | R2/RT Up on the D-Pad | 2 Skill Count | Sends out an explosive wave that knocks enemies back. |
| Full-Power Charge | R2/RT Left on the D-Pad | 2 Skill Count | Fully charge your Ki. |
| Explosive Cannon | R2/RT Square/X | 2 Ki Bars | Fires a short-range Beam Super that does nearly a bar of damage. |
| Full-Power Energy Blast Volley | R2/RT Triangle/Y | 3 Ki Bars | Fire several projectiles that can deal up to a bar damage. |
| Brothers’ Kamehameha | R2/RT Circle/B (when in Sparking Mode) | Full Ki Bar | Unblockable Beam Ultimate that does nearly two bars of damage. |
Gohan (Adult) Super Saiyan In Versus And Online Matches

The adult version of Gohan doesn’t vary too wildly between his Super Saiyan and Super Saiyan 2 forms, with both having Explosive Wave to break combos and Explosive Cannon to push enemies away. This form, however, has the better Ultimate, since it is unblockable.
Gohan (Adult) Super Saiyan 2

|
Move Name |
Input |
Cost |
Effect |
|---|---|---|---|
| Explosive Wave | R2/RT Up on the D-Pad | 2 Skill Count | Sends out an explosive wave that knocks enemies back. |
| Full Power | R2/RT Left on the D-Pad | 3 Skill Count | Enter Sparking Mode. |
| Super Explosive Cannon | R2/RT Square/X | 2 Ki Bars | Fires a short-range Beam Super that does nearly a bar of damage. |
| Super Explosive Flash Strike | R2/RT Triangle/Y | 3 Ki Bars | Triggers a Rush Super that does over a bar of damage. |
| Super Kamehameha | R2/RT Circle/B (when in Sparking Mode) | Full Ki Bar | Beam Ultimate that does nearly two bars of damage. |
Gohan (Adult) Super Saiyan 2 In Versus And Online Matches

The best part about this version of Gohan is the Full Power skill, but other than that, it simply feels like a lesser version of his teen days. Of course, that is deliberate, since it was like that in the series as well, but it is hard to recommend this Gohan when a superior form exists.
Great Saiyaman

|
Move Name |
Input |
Cost |
Effect |
|---|---|---|---|
| Justice Pose | R2/RT Up on the D-Pad | 3 Skill Count | Raise attack damage. |
| Justice Finishing Pose | R2/RT Left on the D-Pad | 3 Skill Count | Raise Super attack damage. |
| Justice Bomber | R2/RT Square/X | 4 Ki Bars | Huge area-of-effect explosive wave that deals a bar of damage. |
| Justice Rush | R2/RT Triangle/Y | 3 Ki Bars | Triggers a Rush Super that does nearly a bar of damage. |
| Justice Judgment | R2/RT Circle/B (when in Sparking Mode) | Full Ki Bar | Rush Ultimate that does a bar and a half of damage. |
Great Saiyaman In Versus And Online Matches

Much like Mr Satan, the Great Saiyaman is more of a joke character than anything you should take seriously. However, when compared to his base form, this version of Gohan may appeal to some people, especially if you enjoy buff gameplay or access to wide area-of-effect abilities.
If you try to use him in DP battle, however, he becomes quite cumbersome, at least if you aim to use his Super Saiyan forms. This is because he first needs to spend a Skill Count to go back to base form, and only then can he transform into the Super Saiyan forms.
Gohan (Future)

|
Move Name |
Input |
Cost |
Effect |
|---|---|---|---|
| Wild Sense | R2/RT Up on the D-Pad | 2 Skill Count | Dodge the next melee attack and counter it. |
| Full-Power Charge | R2/RT Left on the D-Pad | 2 Skill Count | Fully charge your Ki. |
| Masenko | R2/RT Square/X | 3 Ki Bars | Fires a Beam Super that does nearly a bar of damage. |
| Super Destructive Wave | R2/RT Triangle/Y | 4 Ki Bars | Huge area-of-effect explosive wave that deals nearly a bar of damage. |
| Super Kamehameha | R2/RT Circle/B (when in Sparking Mode) | Full Ki Bar | Beam Ultimate that does a bar and a half of damage. |
Gohan (Future) In Versus And Online Matches

The one-armed version of Gohan still has the same skills as the previous base forms, but he costs five DP instead of four, making him a bit of a lesser choice in that regard. He does have priority when it comes to grabs (since he can’t grab-clash), but that is something that rarely comes up.
Gohan (Future) Super Saiyan

|
Move Name |
Input |
Cost |
Effect |
|---|---|---|---|
| Evil Barrier | R2/RT Up on the D-Pad | 3 Skill Count | Sends out an explosive wave that knocks enemies back. |
| Power up to the very limit | R2/RT Left on the D-Pad | 3 Skill Count | Enter Sparking Mode and gain offensive and defensive buffs. |
| Hyper Masenko | R2/RT Square/X | 3 Ki Bars | Fires a Beam Super that does a bar of damage. |
| Special Beam Cannon | R2/RT Triangle/Y | 3 Ki Bars | Fires a Beam Super that does a bar and a half of damage when fully charged. |
| Fierce Combination | R2/RT Circle/B (when in Sparking Mode) | Full Ki Bar | Rush Ultimate that does nearly two bars of damage. |
Gohan (Future) Super Saiyan In Versus And Online Matches

When compared solely to the other Super Saiyan forms, this Gohan can be surprisingly viable. He can instantly enter Sparking Mode with buffs just like the most powerful Gohans, with decent Beam abilities to keep enemies at bay.
However, his Evil Barrier is like a more expensive Explosive Wave, while Special Beam Cannon can be hard to aim, so use him at your own discretion. He maintains the grab priority, so if the meta ever shifts to become grab-heavy, then this is your guy to master.
Gohan (Ultimate)

|
Move Name |
Input |
Cost |
Effect |
|---|---|---|---|
| Wild Sense | R2/RT Up on the D-Pad | 3 Skill Count | Dodge the next melee attack and counter it. |
| Power up to the very limit | R2/RT Left on the D-Pad | 3 Skill Count | Enter Sparking Mode. |
| Super Kamehameha | R2/RT Square/X | 3 Ki Bars | Fires a Beam Super that over a bar of damage when fully charged. |
| Fierce Combination | R2/RT Triangle/Y | 3 Ki Bars | Triggers a Rush Super that does a bar of damage. |
| Burst Rush | R2/RT Circle/B (when in Sparking Mode) | Full Ki Bar | Rush Ultimate that does nearly two bars of damage. |
Gohan (Adult) In Versus And Online Matches

While this is meant to be the final form of Gohan, he is hardly the best one in the game. He works similarly to the other base forms of Gohan, with Wild Sense and a healthy dose of Beam and Rush supers to adjust to any situation.
In a vacuum, he is perfectly fine to master, without any glaring weaknesses. But when compared to the other Gohans, particularly the ones that cost seven DP, he hardly compares to his teen days.

The above is the detailed content of Dragon Ball: Sparking Zero - Gohan Character Guide. For more information, please follow other related articles on the PHP Chinese website!
 Wordle Answer And Hints - May 6 2025 Solution #1,417May 05, 2025 pm 06:03 PM
How's your Wordle game going today? Ready to challenge yourself with hard mode? If you're hitting a wall, we've got your back. No peeking at answers here! We've carefully hidden all letters and solutions to prevent accidental spoilers. But we do h
 NYT Mini Crossword Answers And Hints - May 5, 2025May 05, 2025 pm 12:03 PM
Stuck on today's NYT Mini Crossword? Need a fresh perspective on those tricky clues? Don't worry, you're not alone! Many clues reference obscure pop culture details. But that doesn't mean your winning streak has to end. Sometimes, a different clu
 NYT Strands Answers And Hints - May 5, 2025 Solution #428May 05, 2025 am 10:02 AM
Stuck on today's Strands puzzle? Don't fret! This guide provides hints and the full solution if you're struggling to unravel the word puzzle. We'll help you maintain your winning streak and avoid getting stranded. This helpful guide offers clues a
 Oblivion Remastered: Baiting The Trap Quest WalkthroughMay 05, 2025 am 08:02 AM
Oblivion Remastered: Obtaining the Unique Dawnfang/Duskfang Sword In the vast world of The Elder Scrolls IV: Oblivion Remastered, acquiring powerful weapons is crucial. This guide focuses on obtaining the unique Dawnfang/Duskfang sword, a remarkable
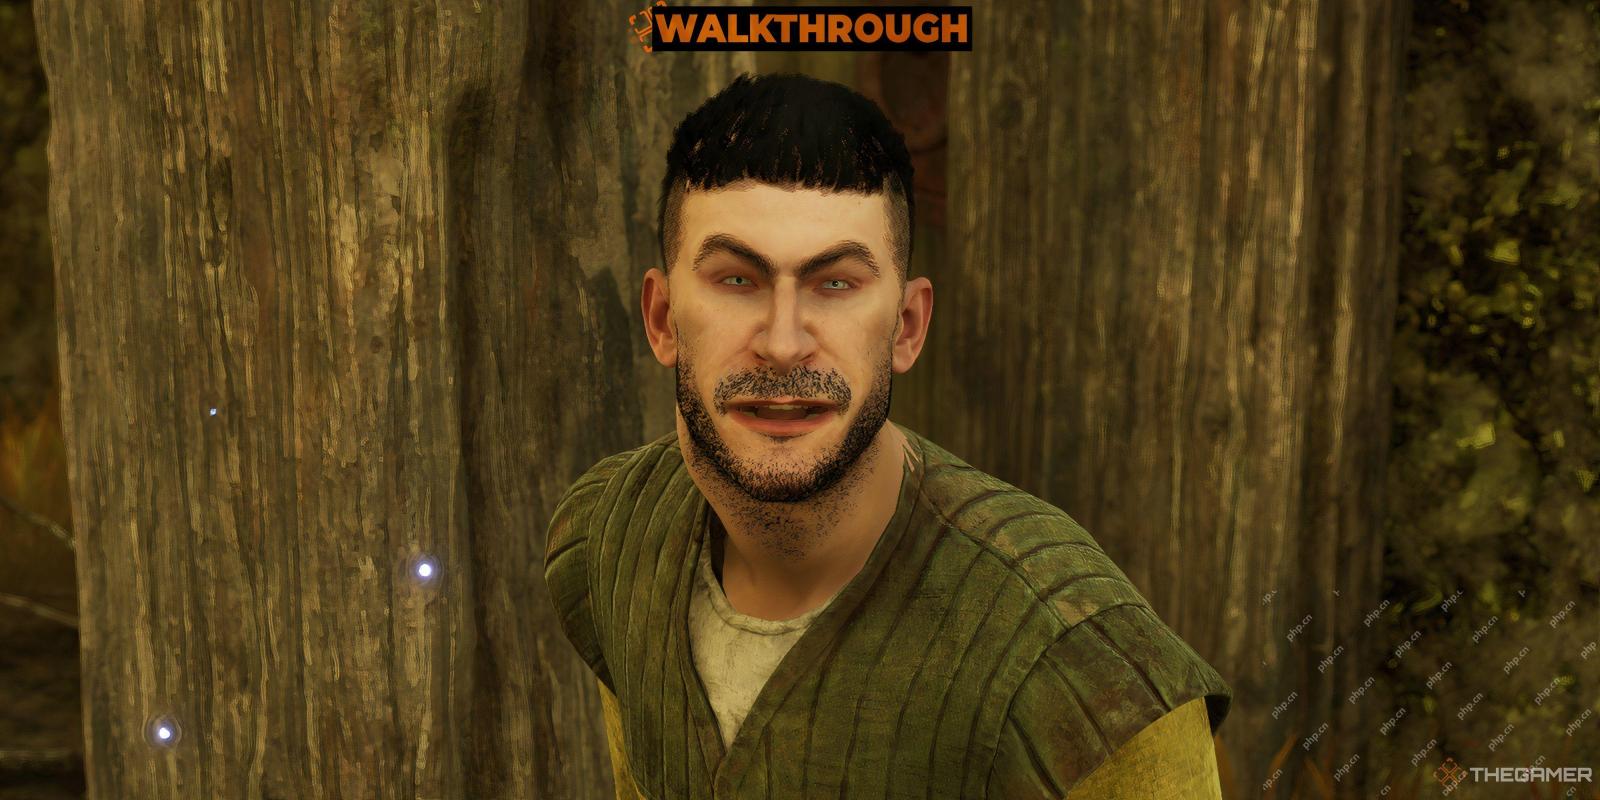 Oblivion Remastered: Ushnar's Terror Quest WalkthroughMay 05, 2025 am 06:06 AM
The age-old cats vs. dogs debate finds a humorous twist in The Elder Scrolls IV: Oblivion Remastered. A quirky side quest in the Shivering Isles pits a cat-lover against a dog-lover in a silent feud. You're the unlikely mediator. The conflict cente
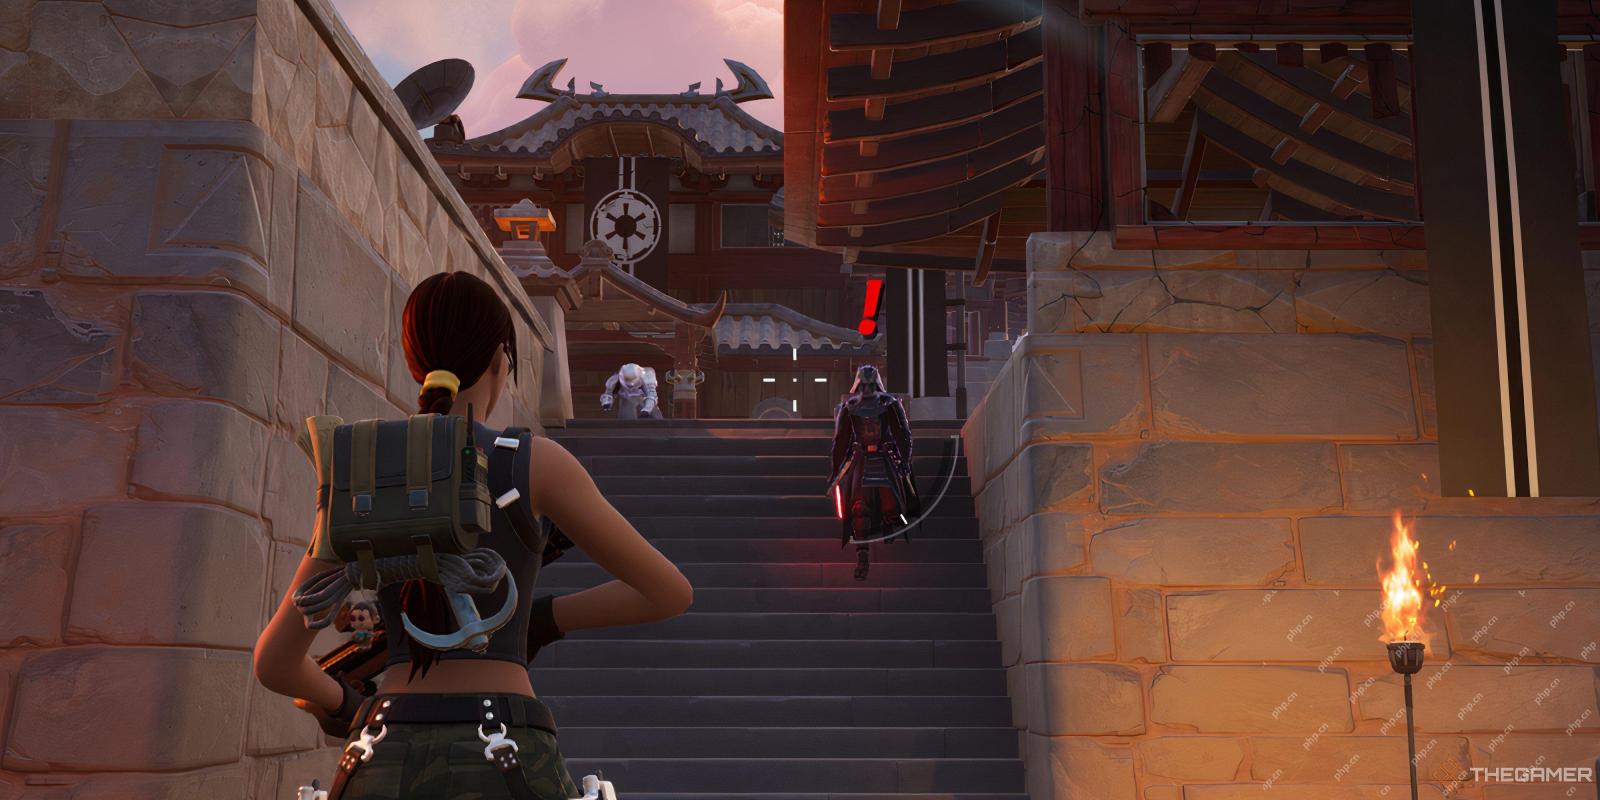 Fortnite: Chapter 6, Season 3 - How To Fix The TIE FighterMay 05, 2025 am 06:05 AM
Fortnite Chapter 6 Season 3: Repairing TIE Fighter Mission Guide "Fortnite" Chapter 6 Season 3 has been officially launched, and Star Wars fans will be immersed in a new season full of Star Wars elements. The season is themed on Star Wars, with Lightsaber, First Legion Base, and iconic characters such as General Griffles, Bo Dameron and Darth Vader. The quest line of this season is different from before, and you need to find quests yourself in the designated area. One of these missions requires repair of TIE fighter jets, and this guide will guide you through this mission in detail. How to Fix TIE Fighter First, you need to find the damaged TIE fighter that needs to be repaired. It is located in a rebel outpost south of the Flooded Frogs.
 Lego Fortnite Odyssey: Star Wars First Order Lego Pass GuideMay 05, 2025 am 04:07 AM
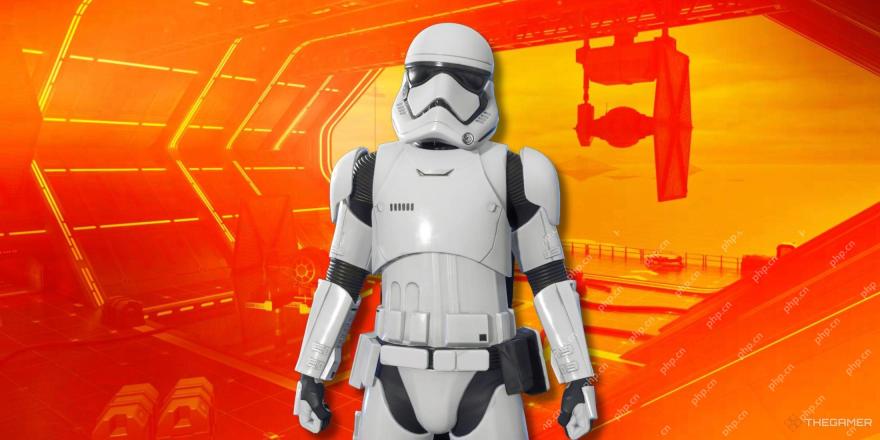
Fortnite Chapter 6 Season 3 is officially launched, bringing a brand new Lego Pass: Star Wars First Legion! This theme pass contains a lot of brand new content, offering a variety of rewards, including skins, emoticons, badges and decorative sets, waiting for players to unlock. Want to know everything about this brand new pass? We have put together a complete overview of all available items to give you a clear idea of what rewards you can earn and to judge for yourself whether this season is worth buying. List of Star Wars 1 Lego Pass Rewards The Star Wars First Lego Pass contains four pages of unlockable rewards. Here is a detailed list of contents per page: Page 1 Rewards Item Type Captain Fasma Skin First Legion Control Room Decoration Set First Legion
 Fortnite: Chapter 6, Season 3 - How To Get And Use LightsabersMay 05, 2025 am 04:05 AM
Fortnite's Chapter 6 brings a galaxy far, far away to the battle royale! This Star Wars-themed season features a revamped map with iconic locations, new battle pass skins, and—most importantly—lightsabers! Traditional weaponry has been replaced with


Hot AI Tools

Undresser.AI Undress
AI-powered app for creating realistic nude photos

AI Clothes Remover
Online AI tool for removing clothes from photos.

Undress AI Tool
Undress images for free

Clothoff.io
AI clothes remover

Video Face Swap
Swap faces in any video effortlessly with our completely free AI face swap tool!

Hot Article

Hot Tools

SublimeText3 Linux new version
SublimeText3 Linux latest version

MinGW - Minimalist GNU for Windows
This project is in the process of being migrated to osdn.net/projects/mingw, you can continue to follow us there. MinGW: A native Windows port of the GNU Compiler Collection (GCC), freely distributable import libraries and header files for building native Windows applications; includes extensions to the MSVC runtime to support C99 functionality. All MinGW software can run on 64-bit Windows platforms.

SAP NetWeaver Server Adapter for Eclipse
Integrate Eclipse with SAP NetWeaver application server.

mPDF
mPDF is a PHP library that can generate PDF files from UTF-8 encoded HTML. The original author, Ian Back, wrote mPDF to output PDF files "on the fly" from his website and handle different languages. It is slower than original scripts like HTML2FPDF and produces larger files when using Unicode fonts, but supports CSS styles etc. and has a lot of enhancements. Supports almost all languages, including RTL (Arabic and Hebrew) and CJK (Chinese, Japanese and Korean). Supports nested block-level elements (such as P, DIV),

Dreamweaver CS6
Visual web development tools


