


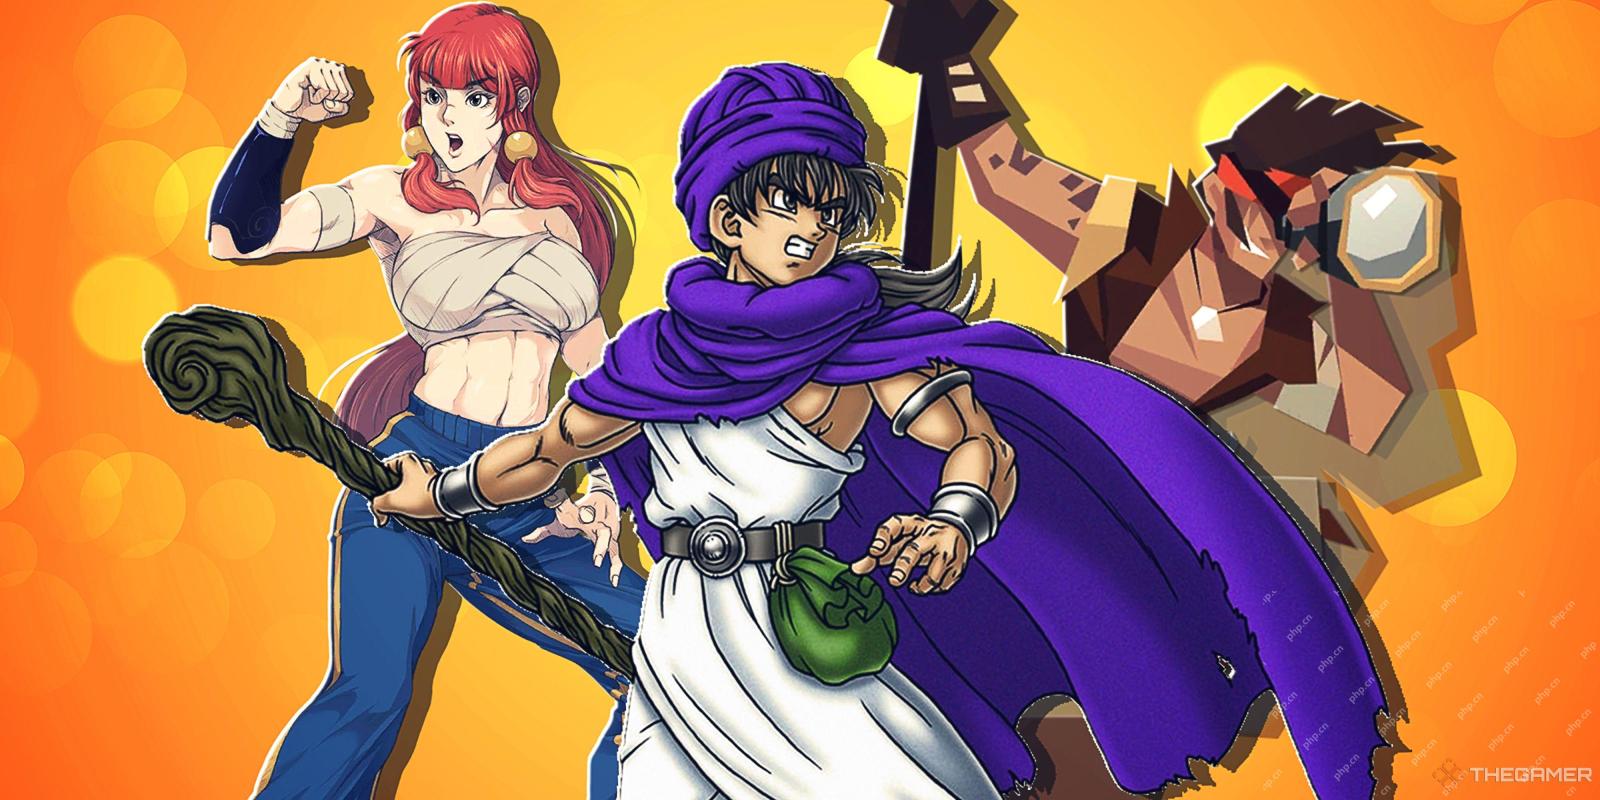
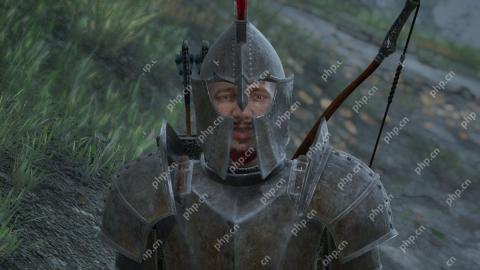
While Baramos' Lair might have seemed like the grand finale to Dragon Quest 3 Remake before, this is it for real this time. Zoma's Citadel is the final stop before you come against the man himself and his legions of powerful minions. It won't be easy.

Zoma's Citadel isn't the longest dungeon in the game, though it's packed with powerful enemies, and even more powerful treasures. While your Hero should already be well-kitted at this stage, the items in here are a great help against the hordes you have to fight to reach Zoma.
How To Reach Zoma's Citadel

Reaching Zoma's Citadel is the main puzzle of Alefgard. As soon as you reach Tantegel, you will see Zoma's Citadel looming in the distance, covered in a purple haze. And while the island is right there, just beyond the shore, it is encased in tall mountains and hills that you can't reach by sea.
So you must acquire the Rainbow Drop. This, in turn, require you to collect the Sunstone from Tantegel, the Staff of Rain from the Shrine of Spirits, and the Sacred Amulet from the Tower of Rubiss. With all of these in hand, you can bring them to the Sanctum on an island to the south-east to be given the Rainbow Drop.
All you have to do now is head to the location shared with you by the priest, the peninsula north of Cantlin, and the Rainbow Drop will form a bridge for you.
Navigating Zoma's Citadel

Once you get into Zoma's Citadel, you'll be facing lots of long corridors and false passageways designed to make you run into as many enemies as much as possible. From the entrance, you must take either the left or right corridor, and then follow the inner corridor all the way south until you reach the central room. The two side passages only lead to a looping staircase on the lower floor.
Once you enter the central room, you will be forced into battle with a series of Living Statues. They're not all that different from other Living Statues you've fought so use the same tactics as usual. Keep in mind that they will spawn in waves rather than ending as soon as you defeat the initial set.
After defeating the Living Statues and heading into the northern room, cast Safe Passage if you have the Spell so you can safely walk on the electrified flooring and interact with the throne to make it move. Head down the really revealed stairs to floor B1, a winding staircase.
At the end of these stairs, you will arrive in floor B2. Ignore the stairs to the right and head into the north room instead. This room will be filled with the same coloured tiles as in the Tower of Rubiss that twist your controls. This rotates them 90 degrees clockwise or counter-clockwise, so walk with the D-pad for safety.
The two side passages contain treasure, while the north is where we're aiming for. Take the stairs down to floor B3. This room is quite simple, with only one exit all the way on the top-right, though you'll encounter plenty of enemies, so make sure to heal up.
After taking the stairs down to floor B4, you'll finally come face-to-face with Ortega, the Hero's missing father. After your sorrowful farewell, continuing northwards. While this area looks somewhat complex, you just need to circle it clockwise to reach the next staircase.
Which will bring you to the Altar of Sacrifice. There will be a Teleportal here as you move forward, so make sure to use this to heal up at an inn before heading any further. This is the final showdown awaiting you. You'll want to be as prepared as possible.
Every Optional Item

Reaching Zoma isn't the hardest part of this dungeon. The actual most difficult part is staying alive while you gather up all the amazing treasures. There's some real good ones here, including a unique item that is very helpful during the final battle, so make sure not to miss them.
Here's where to find all of them:
|
Item |
Floor |
Directions |
|---|---|---|
| Hapless Helm | B1 | Take one of the side passages in 1F down, and find this in a chest to the north. |
| Mini Medal | 1F | Interact with the seat of the throne. |
| 4.989 Gold Coins | B2 | In the right passage past the coloured tiles. |
| Scourge Whip | B2 | In the left passage past the coloured tiles. |
| Bastard Sword | B3 | After falling from B2 or taking the right stairs down, find this in the lower left corner in the north section of the floor. |
| Liquid Metal Slime (Monster) | B3 | In the top left corner. |
| Dragon Dojo Duds | B3 | In the small room just north of the staircase you entered this room from B2 into. |
| Flayer (Monster) | B3 | In the small room in the lower left corner. |
| Double-edged Sword | B3 | In the same room as the monster. |
| Mini Medal | B4 | In the leftmost chest in the large room with a red carpet. |
| Dieamend | B4 | In the second to the left chest in the large room with a red carpet. |
| Yggdrasil Leaf | B4 | In the left central chest in the large room with a red carpet. |
| Sage's Stone | B4 | In the right central chest in the large room with a red carpet. |
| Prayer Ring | B4 | In the second to the right chest in the large room with a red carpet. |
| Shimmering Dress | B4 | In the rightmost chest in the large room with a red carpet. |
The above is the detailed content of Dragon Quest 3 Remake: Zoma's Citadel Walkthrough. For more information, please follow other related articles on the PHP Chinese website!

 Mafia: The Old Country Pre-Order Guide - Editions, Prices, And BonusesMay 09, 2025 pm 06:04 PM
Mafia is back! Almost a decade after the last main installment, the series returns with Mafia: The Old Country, a prequel set in early 1900s Sicily. This departure from the previous urban settings offers a fresh perspective, showcasing protagonist
 Wordle Answer And Hints - May 10 2025 Solution #1,421May 09, 2025 pm 06:03 PM
Today's Wordle challenge awaits! Think you can conquer it? Want to make it even tougher? Try hard mode! Need a little assistance? We've got you covered. All solutions and letters remain hidden to prevent accidental spoilers. However, we offer som
 NYT Mini Crossword Answers And Hints - May 9, 2025May 09, 2025 pm 12:02 PM
Stuck on today's NYT Mini Crossword? Need a fresh perspective on those tricky clues? Don't worry, we've got you covered! Sometimes a different angle is all you need to crack the code. Whether you're looking for subtle nudges or outright answers, w
 All Pokémon TCG Pocket Secret Missions listedMay 09, 2025 am 11:27 AM
Secret Missions in Pokémon TCG Pocket are exactly what they sound like - missions which you won't know exist when you first start Pokémon Pocket. In fact, the game will only let you know they exist when you collect all of t
 Pokémon Go May Field Research tasks and their rewards explainedMay 09, 2025 am 11:26 AM
Pokémon Go's field survey mission joined the game in 2018, giving players new missions. Complete these tasks to receive unique rewards, such as research breakthrough rewards, while special research tasks can help you discover unprecedented Pokémon, including the elusive Pokémon Dream. This article covers: Pokémon Go May field survey mission and research breakthrough rewards Detailed explanation of Pokémon Go field survey mission Detailed explanation of research breakthroughs What are special research tasks? Pokémon Go Research Mission Everything else you need to know Examples of task types include: Capture one or two specific Pokémons (e.g. 3 Little Radas or Dark Ravens) Capture specific genus
 Pokémon GO Mega Evolutions list and how to get Mega EnergyMay 09, 2025 am 11:18 AM
Pokémon Go Mega Evolution: Your Guide to Powerful Transformations Mega Evolutions in Pokémon Go temporarily boost your Pokémon to incredible power. First seen in Pokémon X and Y, they now require Mega Energy in Pokémon Go. A major update in April 20
 Best mods in Oblivion Remastered and how to install themMay 09, 2025 am 11:15 AM
Oblivion Remastered: Enhance Your Experience with the Best Mods Oblivion Remastered beautifully revitalizes the original game while retaining its charm. However, as with other Bethesda titles, the modding community is already hard at work, offering
 How to remove bounty in Oblivion RemasteredMay 09, 2025 am 11:05 AM
Oblivion Remastered: Various ways to clear bounty In the remake of "The Elder Scrolls IV: Annihilation", clearing the bounty can not only clear the charges, become a new person, but also get rid of the guards' pursuit and continue your criminal career. The choice is in your hands, depending on what role you want to play. Fortunately, the game offers several ways to clear bounty, some of which depend on the amount of your coins, and the other requires you to maintain good behavior for a while. Here are a few ways to clear the bounty in the Elder Scrolls IV: Annihilation remake: Pay a fine to the guard As long as the bounty is not more than 5,000 gold coins, you can pay the guards a fine. When the guard catches you, the "Pay fine" option appears on the left side of the screen. Need a note


Hot AI Tools

Undresser.AI Undress
AI-powered app for creating realistic nude photos

AI Clothes Remover
Online AI tool for removing clothes from photos.

Undress AI Tool
Undress images for free

Clothoff.io
AI clothes remover

Video Face Swap
Swap faces in any video effortlessly with our completely free AI face swap tool!

Hot Article
Hot Tools

Dreamweaver Mac version
Visual web development tools

SAP NetWeaver Server Adapter for Eclipse
Integrate Eclipse with SAP NetWeaver application server.

SublimeText3 Chinese version
Chinese version, very easy to use

MantisBT
Mantis is an easy-to-deploy web-based defect tracking tool designed to aid in product defect tracking. It requires PHP, MySQL and a web server. Check out our demo and hosting services.

DVWA
Damn Vulnerable Web App (DVWA) is a PHP/MySQL web application that is very vulnerable. Its main goals are to be an aid for security professionals to test their skills and tools in a legal environment, to help web developers better understand the process of securing web applications, and to help teachers/students teach/learn in a classroom environment Web application security. The goal of DVWA is to practice some of the most common web vulnerabilities through a simple and straightforward interface, with varying degrees of difficulty. Please note that this software

