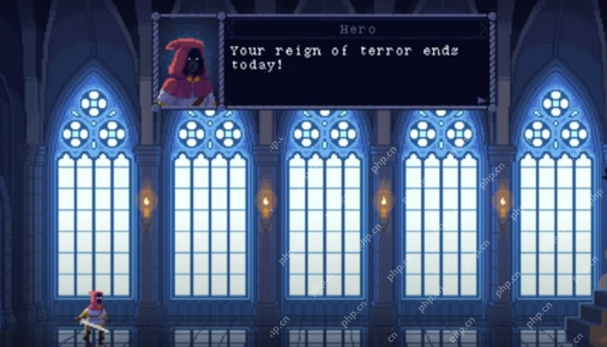
Leona Heidern is the final unlockable character in METAL SLUG Tactics. You can't recruit her until you've achieved victory with every other character at least once, but she's worth the wait. Her playstyle is easily the most advanced in the game, but by the time she's on your roster you'll be more than up to the challenge.

Mastering Leona's combat abilities will definitely take practice, but once you've got a handle on her skillset she's a fierce fighter with almost-limitless versatility. Here's everything you need to know about this blue-haired brawler.
Leona's Core Ability - Afterimages

Many of Leona's powers allow her to create Afterimages, illusory copies of herself, on the battlefield. She can further upgrade and interact with Afterimages, but the basic version has the folloiwing characteristics:
- Afterimages cannot be targeted or damaged.
- Characters can move through Afterimages, but can't occupy the same tile as one.
- Afterimages can't be given orders, either to move or attack.
- Afterimages will contribute to Sync Attacks for targets within range, dealing three damage. They ignore obstacles and elevation when targeting.
- Afterimages disappear at the start each turn.
Hyperfocused
Leona always has access to the Hyperfocused Passive. This causes her to create an Afterimage whenever she contributes to a frag, spawning in on the spot where the defeated enemy was standing. In most builds, this is her primary means of creating Afterimages.
Leona's Special Actions

Leona's abilities are centered around interacting with and empowering her Afterimages, sometimes drastically altering their capabilities.
|
Name |
Cost |
Range |
Effect(s) |
|---|---|---|---|
| Convergence | 3 | 1-5 | Moves an Afterimage within range to another tile that is also within range. The Afterimage becomes Solid and applies Spolight to all squadmates nearby, taking damage for them the next time they are hit. |
| Flare | 5 | 1-4 | Moves an Afterimage within range to another tile that is also within range. After the Afterimage moves, it is destroyed, dealing 4 damage to all enemies and objects within its attack range. |
| Glint | 3 | 1-5 | Targets an Afterimage and a unit (friend or foe), both within range, and swaps their positions. If the targeted unit was an enemy, they take 4 damage. |
| Light Speed | 4 | 1-6 | Deals 3 damage to a single target within range. Repeats the process on the same target for every Afterimage currently in play. |
| Moon Drop | 5 | 1-4 | Creates an Afterimage on an empty tile within range. The Afterimage immediately becomes Solid. If an Afterimage created by Moon Drop is attacked, it deals 4 damage to all adjacent units. If the Afterimage created by Moon Drop is the only Afterimage in play, Leona gets a Bonus Action. |
| Overkill | 4 | 1-6 | Deals 4 damage to a single target within range. If the target dies, Leona gets a Bonus Move, and the next time she moves, she creates an Afterimage on her previous position. |
| Refraction | 2 | 1-4 | Moves an Afterimage within range to another tile that is also within range. The Afterimage becomes Solid, and Leona gets a Bonus Action. |
| Refuel | 3 | 1-4 | Leona grants up to two Afterimages within range the Afterglow status, with prevents them from disappearing at the start of the next turn. Leona gets a Bonus Action. |
Solid Afterimages
An Afterimage that becomes Solid as a result of an ability can be attacked, loses its invulnerability, and has 4 HP.
Leona Classic Loadout

It's a good idea to stick with Leona's basic loadout for your first few outings with her. Timing and order of operations are critical to winning battles with Leona, so you need to master the fundamentals before you try to get fancy.
The first thing to learn is to use Moon Drop before attacking or Synchronizing. This lets you get an extra Afterimage on the field, since it only allows a Bonus Action if the clone it creates is the only one that exists. Once the Moon Drop Afterimage is in place, fire away, either with other squadmates or Leona's handgun. Any frags that Leona or the Afterimage contributes to will generate more Afterimages.
Leona's Laser Rifle only has Eight shots, so you'll want to be sparing with its ammo. However, if you can line up a bunch of Afterimages and then send a laser burst down the line and trigger several Syncs all at once, it will result in a devastating combo.
Recommended Passives
- Versatility leverages the Bonus Action from Moon Drop, netting you a Bonus Move at the same time.
- Magnify increases the attack range of Afterimages, and can be used to offset the range penalty of Flash, which lets them attack in an area.
- Team Player should generate plenty of Adrenaline to power Leona's Special Actions, which is especially handy once she starts learning more than just Moon Drop.

Team Snipes Loadout

Once you've beaten Morden with Leona at least once, you'll be able to use Team Snipes, a variant of her standard loadout that takes better advantage of Synchronizing with Afterimages. The Molotov Cocktail has a much shorter range than the Handgun, but its area damage is better at triggering Sync Attacks and it has the added bonus of starting fires.
The Light Rifle, despite its name and appearance, fires physical bullets rather than laser beams. That means it can only hit a single target. On the plus side, it has more shots than the standard Laser, and its Max Sync ability lets Leona save tons of Adrenaline as long as she triggers at least two Sync Attacks... which shouldn't be a problem with help from the Afterimages.
Recommended Passives
- Since Moon Drop is part of the starting loadout, Versatility remains a strong selection.
- Prism allows Afterimages to start fires as well, adding to the inferno that you'll be starting with the Molotov Cocktail.
- As always, Magnify and Flash are exceptional for the amount of extra value they provide each and every Afterimage.
Burning Light Loadout

Burning Light has the shortest range of Leona's loadouts, but its potential for raw damage is a sight to behold. Her melee weapon, the Punisher, is an honest-to-goodness meat cleaver, which ignores cover and deals damage not only to the target, but to anyone standing behind the target as well. Leona also has a Flamethrower with a surprising reach and a wide spread, letting her bring the heat almost anywhere she likes.
Given that this loadout starts with Overkill, you'll be spoiled for choices when it comes time to attack. Burning Light might actually be an instance of having too much of a good thing!
Recommended Passives
- Special Rush is practically mandatory, as it allows Overkill to provide a Bonus Action in addition to a Bonus Move. You can move, drop an Afterimage, then Overkill again, or use the Bonus Action to swing the cleaver or unleash the flames.
- Parkour ensures that there's nowhere to hide from Leona and her Punisher.
- Beacon helps Afterimages stick around by giving the first one you spawn each turn Afterglow.
- Prism, like with Team Snipes, adds more burning tiles beyond just what your Flamethrower can produce.
Explosive Radius Loadout

This loadout has Max Sync on its primary weapon, potentially allowing for Leona to trigger Motivation multiple times in a turn. It's worth swinging for the fences and taking Special Actions like Flare and Refuel, since you can usually recoup your Adrenaline costs by getting Afterimages in on Sync Attacks.
If all else fails, the Core Blaster lets Leona deal heavy damage to nearby enemies, with or without Afterimage support.
Recommended Passives
- Special Rush is even more vital, as you'll be relying on more than just Overkill as Leona levels up.
- Magnify and Flash are essential for triggering Max Sync off of your handgun shots at every opportunity.
- Beacon keeps the pressure on by helping Afterimages stay on the board.

The above is the detailed content of METAL SLUG Tactics: Leona Character Guide. For more information, please follow other related articles on the PHP Chinese website!
 NYT Mini Crossword Answers And Hints - May 9, 2025May 09, 2025 pm 12:02 PM
Stuck on today's NYT Mini Crossword? Need a fresh perspective on those tricky clues? Don't worry, we've got you covered! Sometimes a different angle is all you need to crack the code. Whether you're looking for subtle nudges or outright answers, w
 All Pokémon TCG Pocket Secret Missions listedMay 09, 2025 am 11:27 AM
Secret Missions in Pokémon TCG Pocket are exactly what they sound like - missions which you won't know exist when you first start Pokémon Pocket. In fact, the game will only let you know they exist when you collect all of t
 Pokémon Go May Field Research tasks and their rewards explainedMay 09, 2025 am 11:26 AM
Pokémon Go's field survey mission joined the game in 2018, giving players new missions. Complete these tasks to receive unique rewards, such as research breakthrough rewards, while special research tasks can help you discover unprecedented Pokémon, including the elusive Pokémon Dream. This article covers: Pokémon Go May field survey mission and research breakthrough rewards Detailed explanation of Pokémon Go field survey mission Detailed explanation of research breakthroughs What are special research tasks? Pokémon Go Research Mission Everything else you need to know Examples of task types include: Capture one or two specific Pokémons (e.g. 3 Little Radas or Dark Ravens) Capture specific genus
 Pokémon GO Mega Evolutions list and how to get Mega EnergyMay 09, 2025 am 11:18 AM
Pokémon Go Mega Evolution: Your Guide to Powerful Transformations Mega Evolutions in Pokémon Go temporarily boost your Pokémon to incredible power. First seen in Pokémon X and Y, they now require Mega Energy in Pokémon Go. A major update in April 20
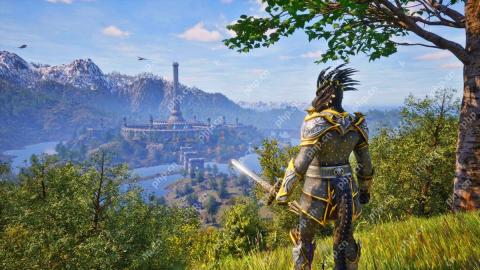 Best mods in Oblivion Remastered and how to install themMay 09, 2025 am 11:15 AM
Oblivion Remastered: Enhance Your Experience with the Best Mods Oblivion Remastered beautifully revitalizes the original game while retaining its charm. However, as with other Bethesda titles, the modding community is already hard at work, offering
 How to remove bounty in Oblivion RemasteredMay 09, 2025 am 11:05 AM
Oblivion Remastered: Various ways to clear bounty In the remake of "The Elder Scrolls IV: Annihilation", clearing the bounty can not only clear the charges, become a new person, but also get rid of the guards' pursuit and continue your criminal career. The choice is in your hands, depending on what role you want to play. Fortunately, the game offers several ways to clear bounty, some of which depend on the amount of your coins, and the other requires you to maintain good behavior for a while. Here are a few ways to clear the bounty in the Elder Scrolls IV: Annihilation remake: Pay a fine to the guard As long as the bounty is not more than 5,000 gold coins, you can pay the guards a fine. When the guard catches you, the "Pay fine" option appears on the left side of the screen. Need a note
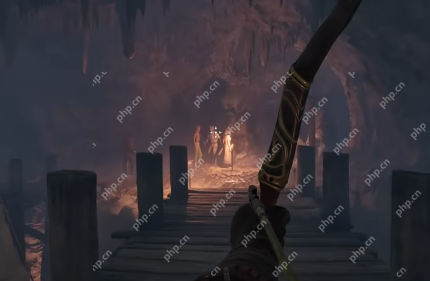 How to Enchant Arrows in Oblivion RemasteredMay 09, 2025 am 11:02 AM
Oblivion Remastered: Can You Enchant Arrows? A Comprehensive Guide You've mastered archery, you've got a potent enchanting altar at your disposal, but can you enchant arrows in Oblivion Remastered? Let's find out. Enchanting Arrows in Vanilla Obliv


Hot AI Tools

Undresser.AI Undress
AI-powered app for creating realistic nude photos

AI Clothes Remover
Online AI tool for removing clothes from photos.

Undress AI Tool
Undress images for free

Clothoff.io
AI clothes remover

Video Face Swap
Swap faces in any video effortlessly with our completely free AI face swap tool!

Hot Article

Hot Tools

Safe Exam Browser
Safe Exam Browser is a secure browser environment for taking online exams securely. This software turns any computer into a secure workstation. It controls access to any utility and prevents students from using unauthorized resources.

SublimeText3 Mac version
God-level code editing software (SublimeText3)

mPDF
mPDF is a PHP library that can generate PDF files from UTF-8 encoded HTML. The original author, Ian Back, wrote mPDF to output PDF files "on the fly" from his website and handle different languages. It is slower than original scripts like HTML2FPDF and produces larger files when using Unicode fonts, but supports CSS styles etc. and has a lot of enhancements. Supports almost all languages, including RTL (Arabic and Hebrew) and CJK (Chinese, Japanese and Korean). Supports nested block-level elements (such as P, DIV),

Notepad++7.3.1
Easy-to-use and free code editor

WebStorm Mac version
Useful JavaScript development tools


