
 System TutorialWindows SeriesHow to set the default device for Win10 printer How to set the default printer for Win10
How to set the default device for Win10 printer How to set the default printer for Win10

In busy work, if you need to print documents from computers connected to multiple printers, you need to manually select the printer every time, which will undoubtedly waste a lot of time. To solve this problem, PHP editor Strawberry will explain in detail how to set the default printer in Windows 10 system, so that you can say goodbye to the trouble of manual selection. This article will guide you through the setup process step by step, improving your office efficiency and saving valuable time.
How to set the default printer in win10:
1. The "win i" shortcut key opens the "Settings" interface. After entering the new interface, you need to click on the "Device" option.

2. In the new interface that opens, you need to click the "Printers and Scanners" option in the left column.

3. Then find "Let Windows manage the default printer" on the right and uncheck the small box.

4. Then in the "Printers and Scanners" column, select the printer you want to set as the default and click the "Manage" button.

5. Finally, click the "Set as Default" button.

The above is the detailed content of How to set the default device for Win10 printer How to set the default printer for Win10. For more information, please follow other related articles on the PHP Chinese website!

 The Death of Windows 10 Could Net You a Bunch of Free Linux PCsApr 28, 2025 am 06:03 AM
Windows 11 elimination wave: Your old computer is ushering in a new life! A large number of businesses are about to eliminate computers that cannot run Windows 11, but this is a great opportunity for Linux users! Windows 10 is about to die, and many computers cannot run Windows 11 Enterprises need to run the latest software on the device to get support, maintain infrastructure security and protect user data. Windows 11 is the latest version of Windows operating system, but it has very specific and strict hardware requirements that many existing computers cannot meet, so they have long insisted on using old Windows 10. However, Windows 10 will be on 202
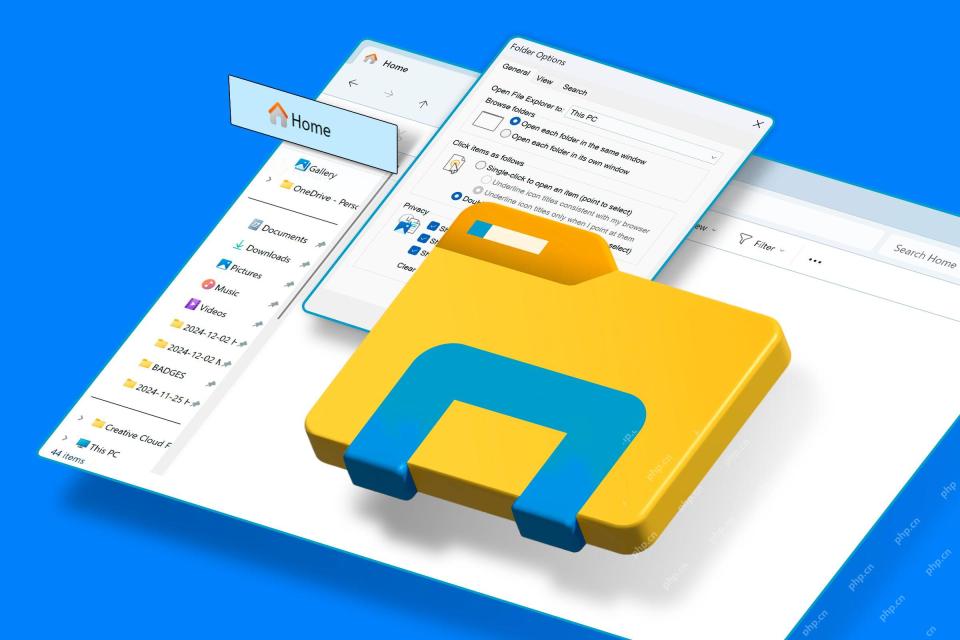 Become a File Explorer Pro With These 5 Add-Ons and UtilitiesApr 28, 2025 am 06:01 AM
Enhance Your File Explorer Experience with Essential Add-ons and Extensions File Explorer is a fundamental Windows tool, but its capabilities can be significantly expanded with the right add-ons and extensions. These tools streamline file management,
 Windows Recall Strikes Back, and Nest Says Goodbye: Weekly RoundupApr 27, 2025 pm 06:11 PM
Tech News Roundup: Windows Recall, New eReaders, and More! This week's tech news is packed with updates, new releases, and some surprising developments. Let's dive in! Windows Recall Finally Deployed (After Significant Delays) Microsoft's controvers
 10 Ways to Reuse or Repurpose an Old LaptopApr 27, 2025 am 09:30 AM
Repurpose Your Old Laptop: 10 Ingenious Ideas to Avoid the Landfill! Many of us upgrade our laptops every few years, leaving perfectly functional machines gathering dust. Instead of discarding them, consider these ten creative ways to give your old
 This File Manager Solves All My Windows File Explorer WoesApr 27, 2025 am 06:02 AM
This article explores why the author prefers OneCommander, a free third-party file explorer, over Windows File Explorer. The author highlights several key shortcomings of Windows File Explorer, including its slow adoption of modern features (like da
 8Bitdo's Retro Xbox Mouse Is Just $48 TodayApr 27, 2025 am 12:56 AM
8BitDo Retro R8 Gaming Mouse: Great Value Offers are coming! The 8BitDo Xbox Edition R8 is an officially licensed translucent green wireless gaming mouse that uses a PAW 3395 sensor, supports three connectivity modes: Bluetooth, 2.4G and wired USB-C, and is equipped with programmable buttons and a charging dock. Amazon is selling well now! This high-performance wireless gaming mouse is currently priced at just $47.99, enjoying a 20% discount, a record low! Originally priced at $59.99, the R8 mouse is absolutely worth the money with its excellent features and officially licensed Xbox design. Its dazzling translucent green shell is similar to the first generation Xbo
 Windows Recall Is Finally Rolling Out After Controversal RevealApr 27, 2025 am 12:55 AM
Copilot PCs Get Enhanced Recall and Windows Search Features Microsoft's Copilot PCs are receiving significant updates to their Recall and Windows Search functionalities. These improvements leverage the power of the device's integrated TPU (Tensor
 Microsoft Is Fixing a Weird Bug in OutlookApr 26, 2025 pm 09:03 PM
High CPU usage in Outlook? Microsoft's got a fix coming. Many Outlook users on Windows have reported a frustrating issue: their CPUs are spiking to 30-50% while simply composing emails. This impacts performance, battery life (especially on laptops),


Hot AI Tools

Undresser.AI Undress
AI-powered app for creating realistic nude photos

AI Clothes Remover
Online AI tool for removing clothes from photos.

Undress AI Tool
Undress images for free

Clothoff.io
AI clothes remover

Video Face Swap
Swap faces in any video effortlessly with our completely free AI face swap tool!

Hot Article
Hot Tools

SublimeText3 English version
Recommended: Win version, supports code prompts!

ZendStudio 13.5.1 Mac
Powerful PHP integrated development environment

Safe Exam Browser
Safe Exam Browser is a secure browser environment for taking online exams securely. This software turns any computer into a secure workstation. It controls access to any utility and prevents students from using unauthorized resources.

SublimeText3 Chinese version
Chinese version, very easy to use

EditPlus Chinese cracked version
Small size, syntax highlighting, does not support code prompt function

