
Home >Backend Development >Python Tutorial >Deploy Django App Shared Hosting.
Deploy Django App Shared Hosting.

- WBOYWBOYWBOYWBOYWBOYWBOYWBOYWBOYWBOYWBOYWBOYWBOYWBOriginal
- 2024-08-25 06:02:09676browse
description
On this occasion, I will share how to deploy a django application to shared hosting. To make things easier, I use the DirectAdmin panel. If you use cpanel or another panel, I don't think it will be much different. Make sure you already have a domain and buy a shared hosting service anywhere, I will not limit you to using certain services.
The version of requirements used in the project
- python version 3.9.18
- Django version 4.2
Steps
Ensure shared hosting services run as they should.
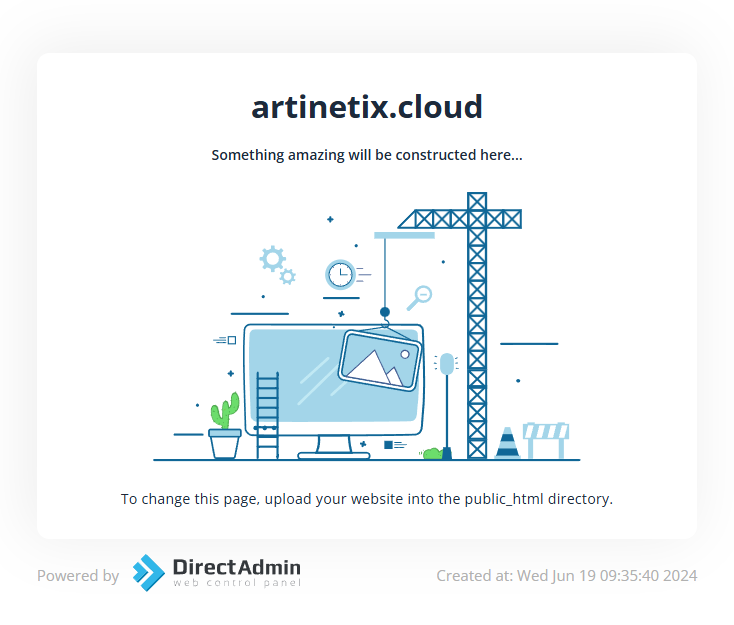
Before entering the deployment method, make sure the shared hosting service is running as it should.
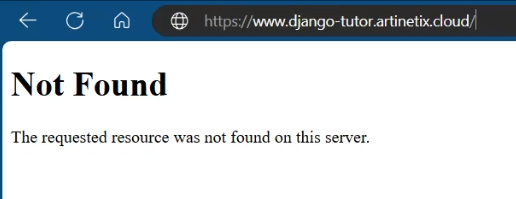
In practice this time, I will use the domain artinetix.cloud (adjust to your domain name), to ensure the service runs normally, if we access the domain URL a page will appear like the following.
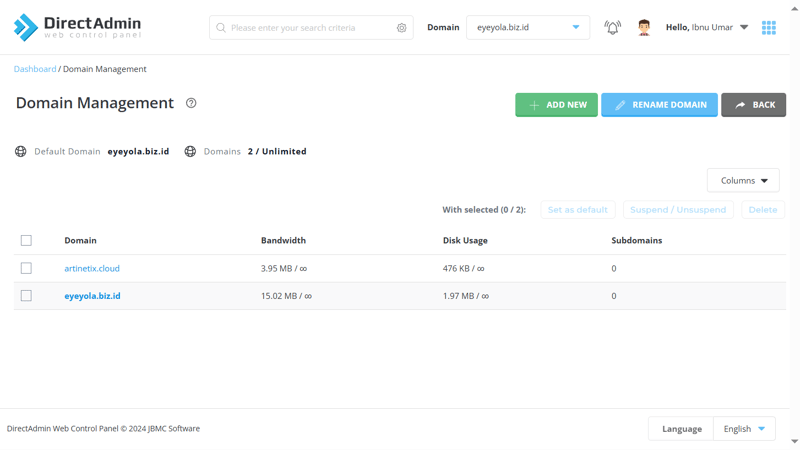
Create a sub-domain
Create a sub-domain to differentiate one application URL from another, one domain can be used for many sub-domains. For example, if the domain used is artinetix.cloud then the sub-domain that will be created will be like django_tutor.artinetix.cloud. You can read more about sub-domains on internet sources to better understand sub-domains.
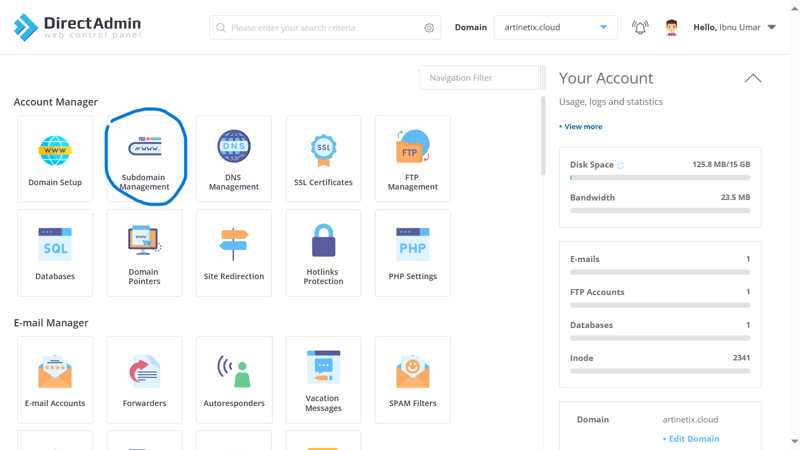
- Open the dashboard page
- Look for the Subdomain-management menu
- Make sure you have selected the domain that will be used as the base (red circle) and add a new subdomain (blue circle)
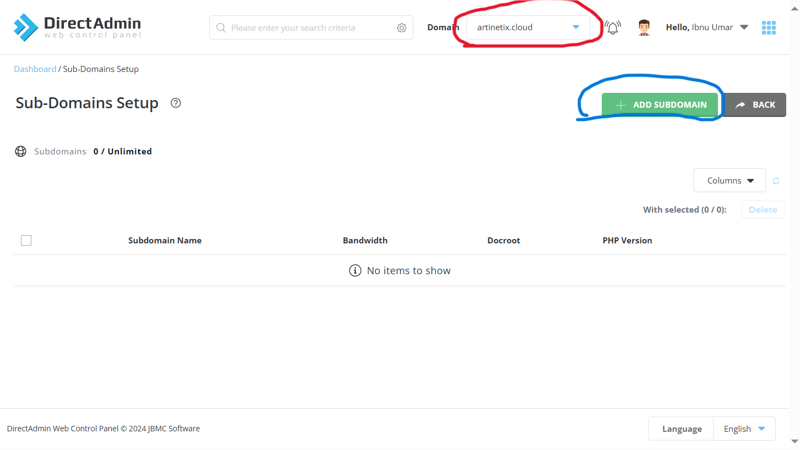
- Just use the default document root, I will create a sub-domain with the name django-tutor
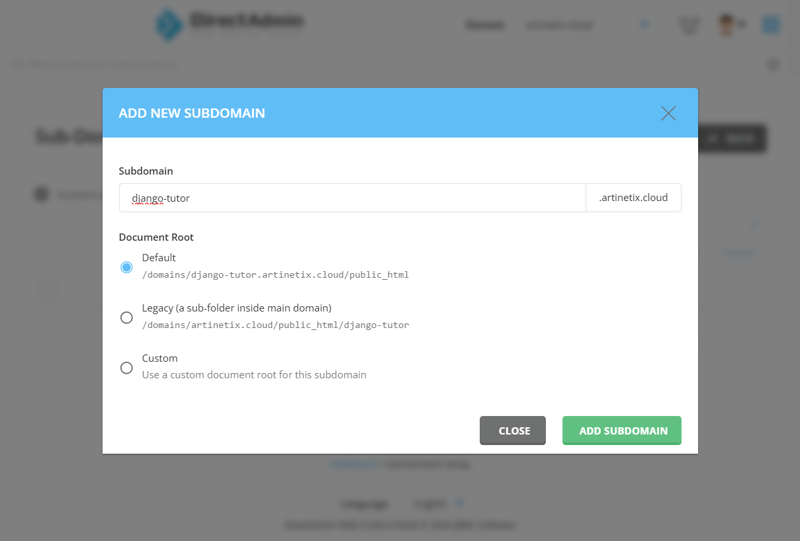
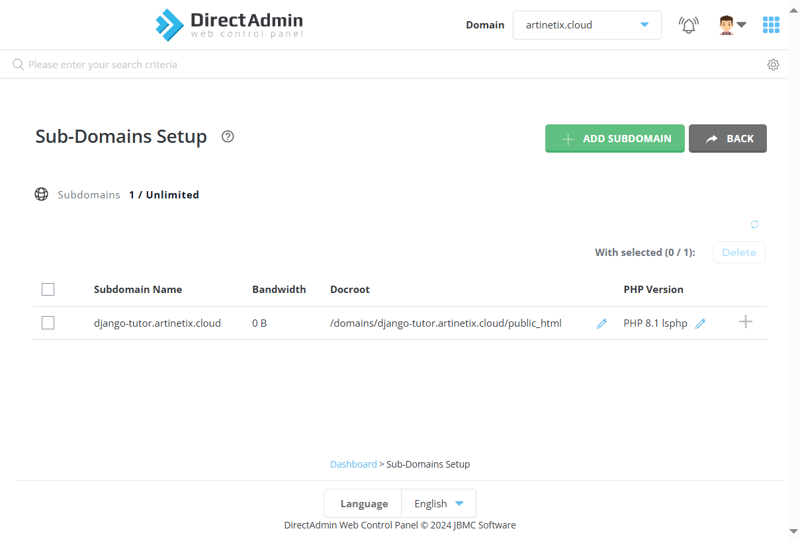
- Click add sub-domain, if the sub-domain has been successfully created it will appear in the table.
- Try visiting the sub-domain address, is it accessible and displays a page like the following?

don't worry, because we haven't setup SSL so we can access using the https protocol, not just http. You can click advance and continue to the address to see if the url works.
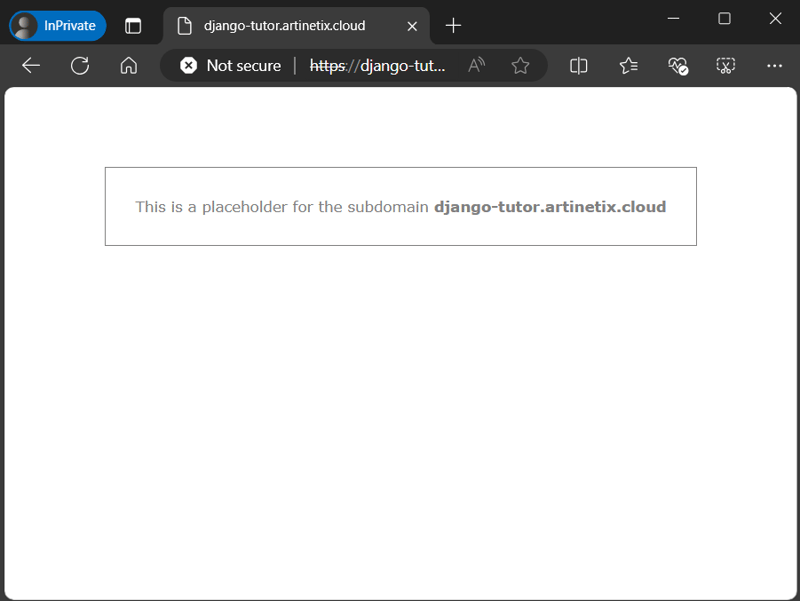
The image above indicates that the URL is now accessible. The next step is SSL setup, so that the web is safer from attacks from outside parties.
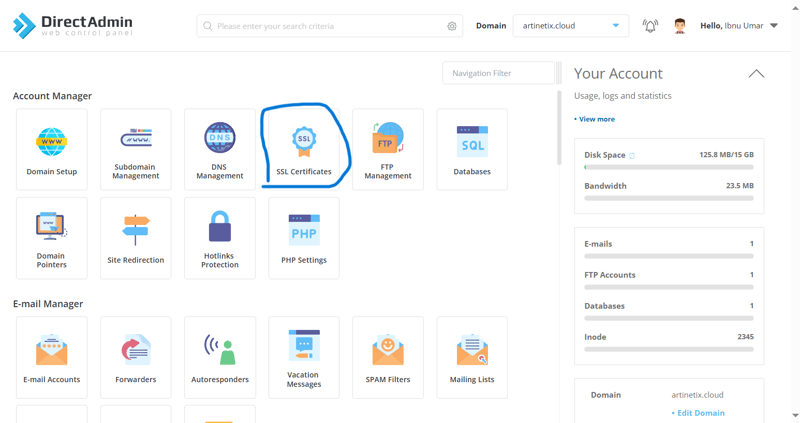
SSL setup
- Open the ssl certificates page.
- Open the menu to generate a new SSL.
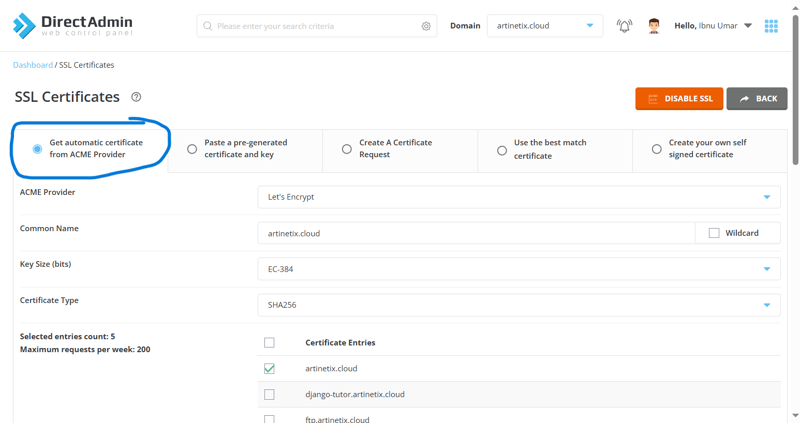
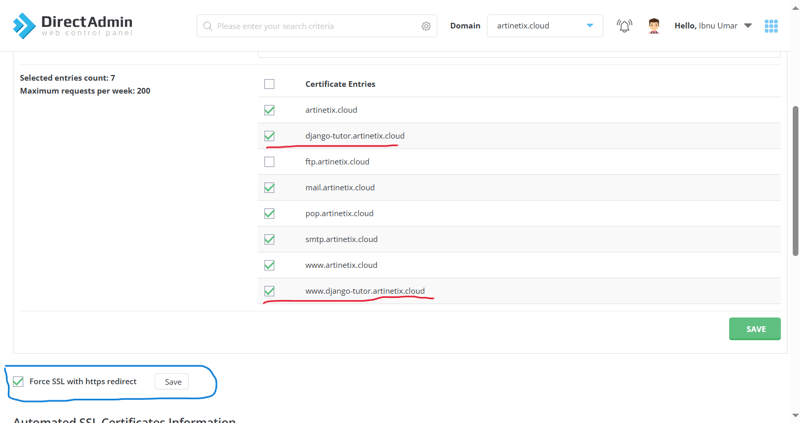
- Scroll down and you will find your url address (both without www and with wwww) that is not checked. Check the URL address that will generate SSL (red circle) and make sure force SSL redirect is also checked (blue circle) then click save.
At the top of the web page, a loading animation line will appear indicating that the process is running. If the process is successful, a notification will appear as follows.
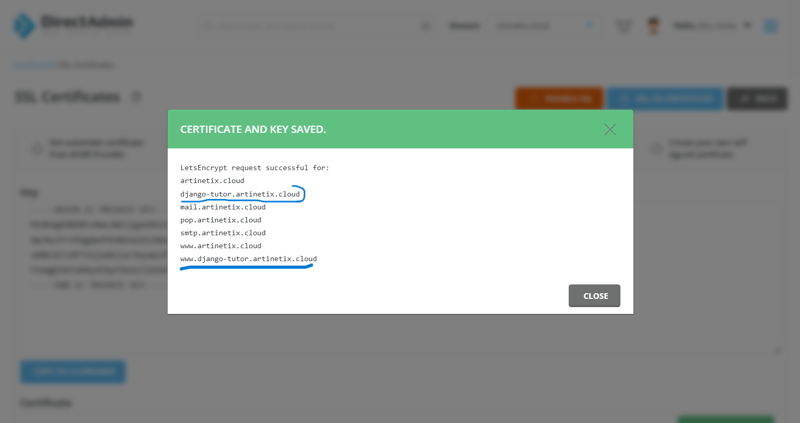
there are ssl generated subdomain names (with and without www) circled in blue.
- After refreshing the page, congratulations! now your subdomain can be accessed more safely.

Preparing Django App
I won't focus on how to setup the django environment from scratch to shorten the article. Prepare a django app that has been developed and can run normally on a local environment.
In practice this time I will use the default django first (still in the initial settings generate) using django 4.2
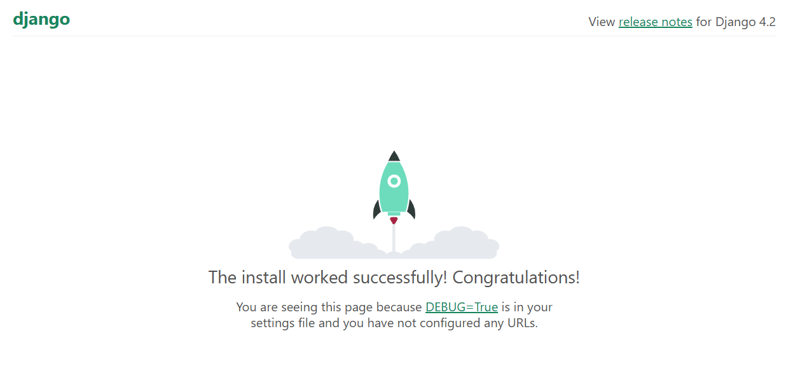
When running a django project and a page appears as in the image above, it means django is running normally.
- file to be used Not all files have to be stored on the server, adjust it to your project. On this occasion, I just used the .gitignore python template on github.
file tree of the project used in the article (in the sense that this file will go to the server, not the file that has been included in the .gitignore list) is as follows.
.
|-- django-tutor
|   |-- __init__.py
|   |-- asgi.py
|   |-- settings.py
|   |-- urls.py
|   |-- wsgi.py
|-- manage.py
|-- requirements.txt
Create a zip containing your django project files before placing them on the server.
- Manage files on the panel Enter the file manager menu
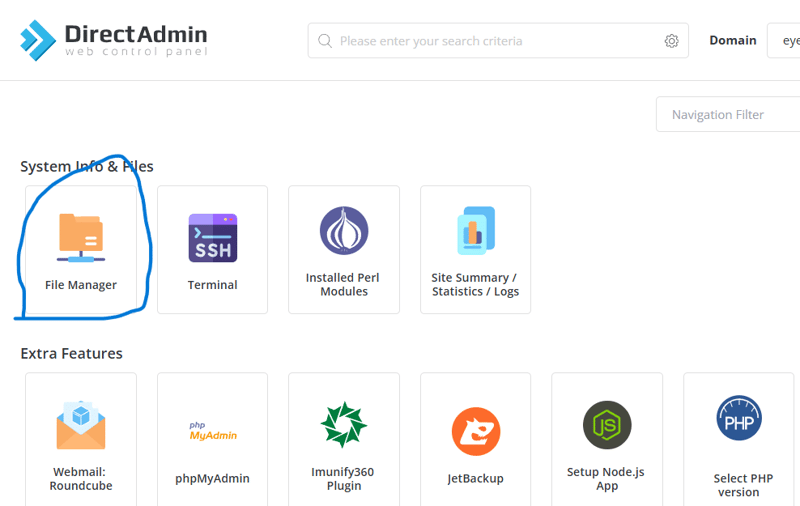
Navigate to the domains folder > (url of your subdomain) > public html, in the public html folder contains the index.html file. That file is the file that was displayed when we created the subdomain.
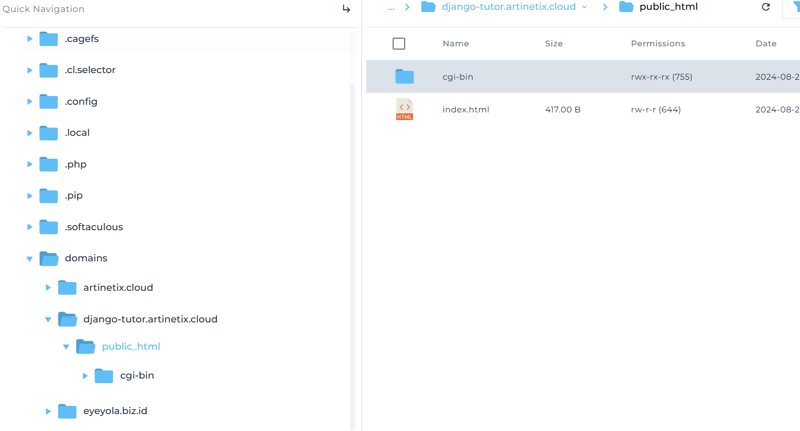
Delete the cgi-bin folder and index.html file, upload the zip project we created earlier and don't forget to extract it. For now, the steps in this section are enough, let's move on to creating a django environment.
- Create a python app environment In the dashboard panel, click setup python app.
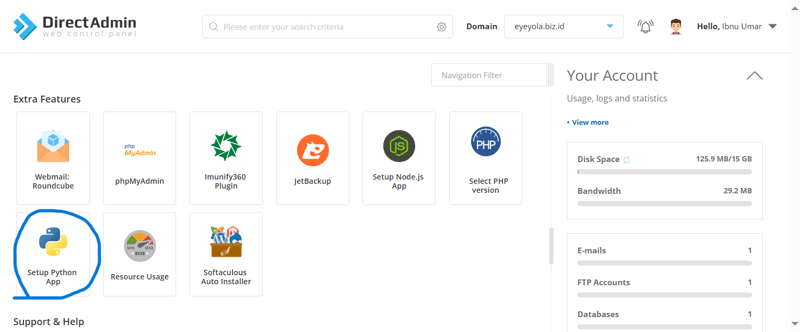
select create python app and enter the configuration as follows, for the root application it can be adjusted because when placing the file we have placed the python app in the public_html folder so that the configuration is like in the image below. If it is appropriate, click create to create an environment on the server.
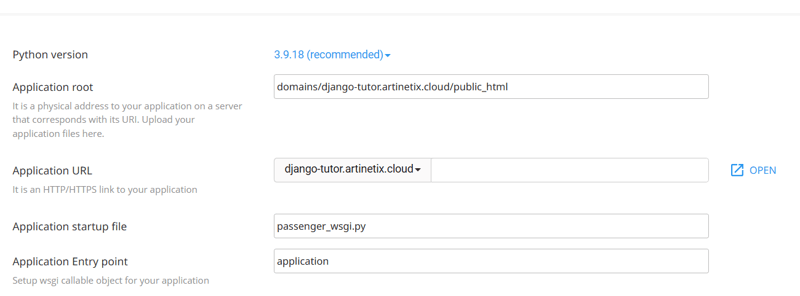
After successfully setup python app and visiting the URL above, it will only display python it works. This happens because we haven't imported the django project and the environment doesn't have django installed.
- install django in the environment copy the command that I have circled in red by clicking on the command text.

enter the terminal
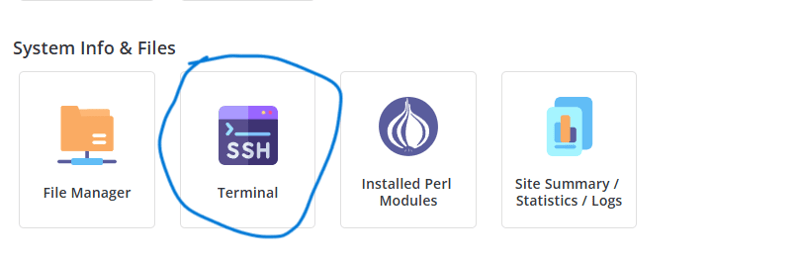
In the terminal, paste the code above by right clicking and pasting.
If it is successful, please follow the following steps.
- Enter the command pip list to see what packages have been installed.
- check whether we are in the correct directory with the ls command, make sure the requirements.txt file exists.
- Install all packages using the requirements.txt file, with the command pip install -r requirements.txt
Installing django on environment is complete, we will move on to the file manager to edit the passenger_wsgi file.
- Edit django passenger_wsgi file Import the django application from the django project name folder (the folder contains the settings.py file) by editing the passenger_wsgi file, this file is in the same directory as requirements.txt, in other words the root of our django app.
passenger.py
from django_tutor.wsgi import application
note: django_tutor adjusts to the project name of the respective django app
- Edit the settings.py file The settings file configuration during production is different from when it was still in the development stage, edit the settings.py file (located in the project name folder) to be as follows.
- Change DEBUG = True to DEBUG = False
- Allow the host to access the app, ALLOWED_HOSTS = [] becomes ALLOWED_HOSTS = ['django-tutor.artinetix.cloud', 'www.django-tutor.artinetix.cloud'] according to the domain name used.
- At the end of the file, add the following line of code to copy static files (css, js, image, etc) STATIC_ROOT = BASE_DIR / 'public'
Restart the django app by going to the dashboard panel > setup python app > click restart in the action column.

Try accessing the URL, does a page appear more or less like this?
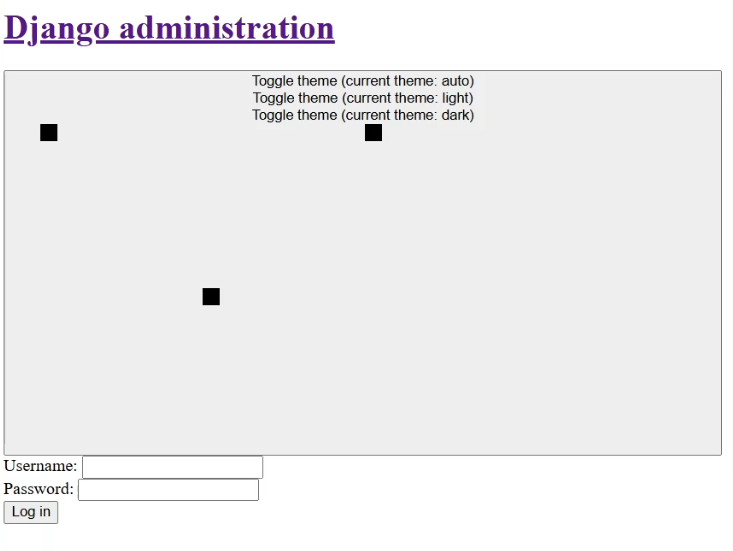
Try accessing the admin section by adding admin at the end of the url to domain-name/admin then more or less a page will display like the one below.
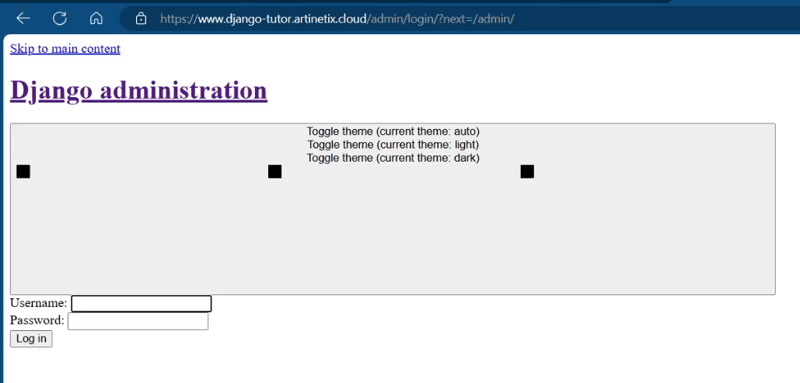
If you pay attention, it looks like a joke. This is because the CSS, JS and other static files have not been copied to the Django project, to do this you can pay attention to the following steps.
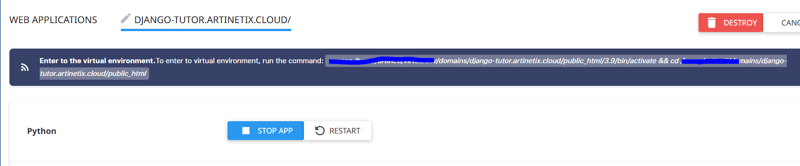
- Go to the python app setup page.
- Click the edit menu on the desired actionpython app.
- Copy the command to enter the environment.

- Enter the terminal page and paste the command.
- If you successfully enter the environment, run the python manage.py collectstatic command to move static files such as CSS and JS to the folder according to the STATIC_ROOT path in settings.py.
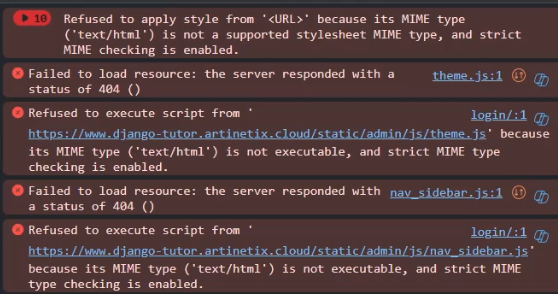
When you successfully carry out the steps above, in the root folder of the app there should be a public folder containing CSS and JS files (static files used in Django). Please try accessing the admin url in the django app by adding admin behind the url (url/admin). If the display is still like below and when we check the console there is an error MIME type is not executable. Then you need to add the whitenoise package to the django app. You can refer to the following URL Whitenoise doc. Don't forget to always restart every time you make code changes on the server :).
error MIME type.
That's how to deploy a django app on shared hosting using DirectAdmin, actually there is still a lot to do besides deploy, namely setting up the database and adding environment variables. You also need to pay attention, this method is the manual method that I usually do, it seems complicated. To make the deployment process easier, you can usually use ci & cd via github actions. That's enough from me, if there is anything you want to convey, whether it's suggestions or constructive criticism, please comment in the comments column. Thank you so much.
The above is the detailed content of Deploy Django App Shared Hosting.. For more information, please follow other related articles on the PHP Chinese website!