


If you find that your hard drive is not working properly and your computer is running very slowly, or you suspect that there may be a problem with your hard drive, you can run the Windows Error Checker to check for errors. Checking the drive for errors can help resolve some performance issues. This article describes different ways to check and repair the hard drive error, as well as checking for file system errors and repairing corrupted sectors on Windows 10.
- Tip 1: Check drive status in Security and Maintenance
- Tip 2: Use Disk Checking Utility in File Explorer
- Tip 3: Run CHKDSK in Command Prompt
- Tip 4: Run Disk Check by Setting Dirty Bit
- Tip 5: Use Repair-Volume in PowerShell
Check Drive Status in Security and Maintenance
In Windows 10, the Security and Maintenance panel is where you go to change your security settings and check the health of your hardware. To check a drive for errors, do the following.
Step 1: In the search box on the taskbar, type security and maintenance and then press Enter to open it.

Step 2: Expand Maintenance and then go to Drive Status to check the current health of the drive.
As the following screenshot shows, all drives are working properly. If any of your disks have issues, there will be an option to scan and fix them.

Use the Disk Checking Utility in File Explorer
Disk Check can identify and automatically correct file system errors and make sure that you can continue to load and write data from the hard disk. To run the CHKDSK utility directly from the properties dialog of the computer's hard disk partition, do the following.
Step 1: Open the File Explorer.
In This PC, Right-click the drive that you want to check and select Properties.

Step 2: Click the Tools tab, and then click the Check button under the Error-checking section.
Another window will appear. It may say that Windows hasn't found any errors, but you can still scan the drive for errors if you want. If that's the case, select Scan drive and the scanning will begin.

Step 3: Start scanning, after the scan is complete, click to close the window.

Check for Drive Error by Running CHKDSK in Command Prompt
The following steps show how to run CHKDSK to check and repair drive with the elevated Command Prompt. If used without parameters, chkdsk displays only the status of the volume and does not fix any errors. If used with the /f, /r, or /x parameters, it fixes errors on the volume.
Step 1: Press Win+X and then hit A to open Command Prompt (Admin).

Step 2: In the command prompt window, type CHKDSK C: /F /R and press Enter key.

If you try to have CHKDSK scan your computer's boot drive from an elevated Command Prompt, you will be asked if you would like the CHKDSK utility to perform the scan the next time your computer boots up.
Step 3: Simply type y (for yes) and press Enter to schedule the scan for the next time your computer starts up.

If you are unable to start your computer, you can run the tool from a command prompt by booting the computer into recovery mode or by running the command prompt using the original installation disk.
To do so, follow this instruction: Open Command Prompt at Boot using Windows Installation Media.
Jalankan Pemeriksaan Cakera dengan Menetapkan Bit Kotor Kelantangan
Kadangkala, jika PC anda tidak dimatikan dengan betul atau ranap secara tiba-tiba, ini boleh merosakkan komputer dan fail sistem anda. Untuk menyemak integriti cakera keras anda atau untuk membetulkan ralat sistem fail, anda boleh menetapkan bit kotor untuk pemacu supaya cakera secara automatik menyemak ralat kelantangan pada kali seterusnya anda memulakan semula komputer anda.
Buka Command Prompt yang dinaikkan (Win+X, A).
Taip arahan berikut dan tekan Enter:
fsutil set kotor C:

Pada but semula seterusnya, sistem akan melakukan semakan cakera secara automatik menggunakan utiliti chkdsk.
Semak Drive untuk Ralat menggunakan Repair-Volume dalam PowerShell
Cmdlet Volume Pembaikan melakukan pembaikan pada volum, anda boleh melakukan tindakan pembaikan berikut.
Langkah 1: Buka PowerShell yang dinaikkan.
Langkah 2: Taip arahan di bawah ke dalam PowerShell, tekan Enter.
-> Pembaikan-Volume -DriveLetter C -Scan
Arahan ini mengimbas pemacu C dan melaporkan ralat sahaja (bersamaan dengan chkdsk /scan).
-> Pembaikan-Volume -DriveLetter C -OfflineScanAndFix
Arahan ini membawa pemacu C ke luar talian untuk mengimbas kelantangan dan membetulkan sebarang ralat yang ditemui (bersamaan dengan chkdsk /f).

The above is the detailed content of 5 Quick Tips for Checking and Fixing Hard Drive Errors. For more information, please follow other related articles on the PHP Chinese website!

 Acer Has Two New Monitors for GamingMay 01, 2025 am 06:06 AM
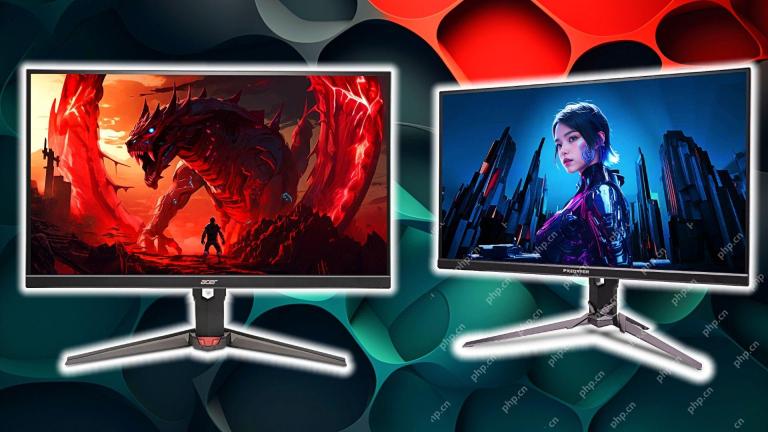
The Acer Predator XB323QK V4 and Nitro XV240 F6: A Tale of Two Monitors Acer offers two distinct gaming monitors catering to different needs: the color-focused XB323QK V4 and the speed-demon XV240 F6. Let's break down their key features. The XB323QK
 I Bought RAM and an NVMe on eBay, Here's How It WentMay 01, 2025 am 06:01 AM
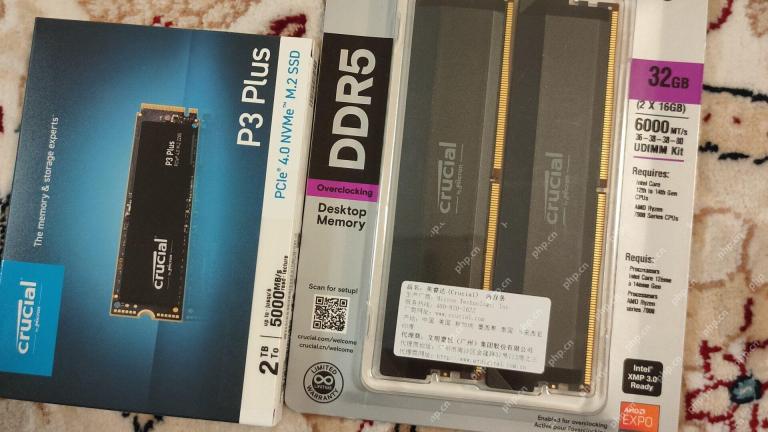
eBay: A Surprisingly Good Source for New Computer Hardware? While eBay is renowned for its diverse selection of used goods, it's not always the first place that springs to mind when purchasing new computer components. However, my recent experience s
 I Upgraded My Laptop's RAM, the Performance Boost Wasn't What You'd ExpectMay 01, 2025 am 03:08 AM
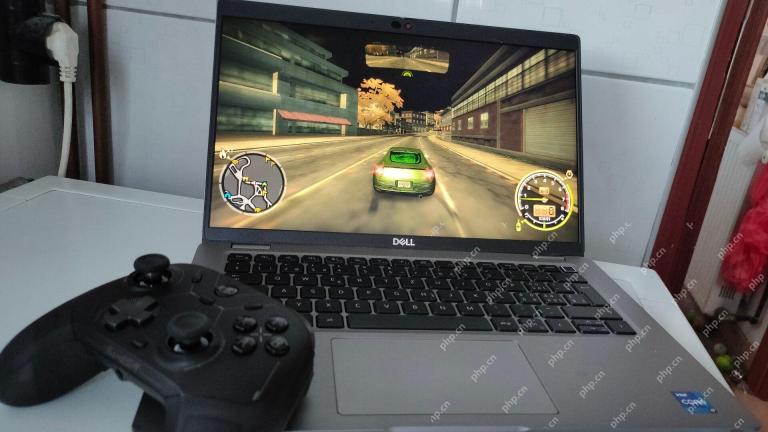
Upgrading your aging laptop? Adding RAM is the easiest and often the only practical upgrade besides storage. My recent experience upgrading a Dell Latitude 5420 proved surprisingly impactful. More RAM Wasn't the Initial Goal My used Dell 5420, while
 5 Reasons Why I Love Coiled Keyboard CablesMay 01, 2025 am 03:07 AM
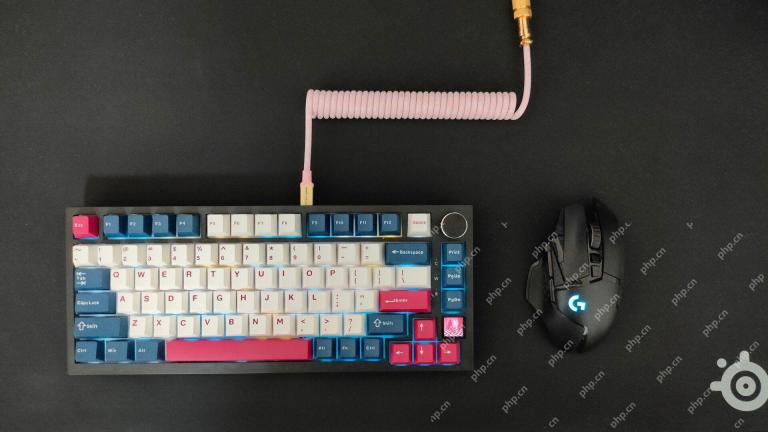
Let's be honest: unless you're a keyboard enthusiast, you've probably overlooked the cable bundled with your keyboard. But for those who appreciate the finer details, even a simple USB cable can be a source of aesthetic pleasure. 5 Reasons Why Coiled
 Today's NYT Connections Hints and Answer for April 30th (#689)May 01, 2025 am 03:05 AM
Today's NYT Connections Game Hints and Answers Need a hand with today's Connections game? Here are some clues to get you started: Yellow: Think about what's under your feet. Green: Where you rest your head (or bottom!). Blue: How others see you. Pu
 Don't Waste Your Money on RGB, Buy a Better MotherboardMay 01, 2025 am 03:04 AM
Building a new PC? Don't get sidetracked by flashy RGB lighting! While those vibrant fans and memory sticks are tempting, overlooking the motherboard is a critical mistake. This often-underappreciated component is crucial for your PC's performance
 Razer Monitor Stand Chroma Review: Compact RGB Stand With 4-Port HubMay 01, 2025 am 03:03 AM
Razer Monitor Stand Chroma Review: Take into account both high-end design and practicality? The Razer Monitor Stand Chroma is a high-end compact aluminum stand with RGB lighting and a USB hub, but its relatively small size and high price limits its overall appeal. Rating: 7/10 Advantages and Disadvantages: advantage: Streamlined design Sturdy and durable USB hub performs well Remapable buttons shortcoming: The bracket is relatively shallow The included USB-C cable is too short Fingerprints easily contaminated on the surface The maximum brightness of RGB lights is low Extremely expensive Price and purchase channels: Razer Mo
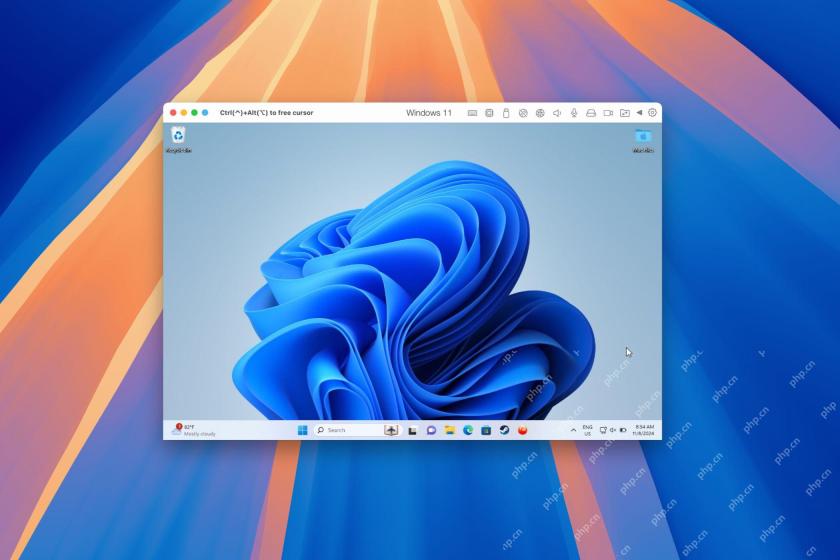 Parallels Desktop 20.3 Improves OBS Video and USB Tunneling SupportMay 01, 2025 am 12:58 AM
Parallels Desktop 20.3: Enhanced Mac Integration and New Features Parallels Desktop 20.3 boasts several significant updates, enhancing both user experience and functionality. A standout addition is OBS virtual camera tunneling, allowing users to str


Hot AI Tools

Undresser.AI Undress
AI-powered app for creating realistic nude photos

AI Clothes Remover
Online AI tool for removing clothes from photos.

Undress AI Tool
Undress images for free

Clothoff.io
AI clothes remover

Video Face Swap
Swap faces in any video effortlessly with our completely free AI face swap tool!

Hot Article
Hot Tools

VSCode Windows 64-bit Download
A free and powerful IDE editor launched by Microsoft

SecLists
SecLists is the ultimate security tester's companion. It is a collection of various types of lists that are frequently used during security assessments, all in one place. SecLists helps make security testing more efficient and productive by conveniently providing all the lists a security tester might need. List types include usernames, passwords, URLs, fuzzing payloads, sensitive data patterns, web shells, and more. The tester can simply pull this repository onto a new test machine and he will have access to every type of list he needs.

DVWA
Damn Vulnerable Web App (DVWA) is a PHP/MySQL web application that is very vulnerable. Its main goals are to be an aid for security professionals to test their skills and tools in a legal environment, to help web developers better understand the process of securing web applications, and to help teachers/students teach/learn in a classroom environment Web application security. The goal of DVWA is to practice some of the most common web vulnerabilities through a simple and straightforward interface, with varying degrees of difficulty. Please note that this software

SublimeText3 Chinese version
Chinese version, very easy to use

Safe Exam Browser
Safe Exam Browser is a secure browser environment for taking online exams securely. This software turns any computer into a secure workstation. It controls access to any utility and prevents students from using unauthorized resources.

