


C-Laufwerk ist das, was wir in Windows normalerweise als „Systemlaufwerk“ bezeichnen. Wenn die Kapazität des Laufwerks C nicht groß genug ist oder der freie Speicherplatz auf dem Laufwerk C knapp wird, möchten Sie möglicherweise das Laufwerk D mit dem Laufwerk C zusammenführen, um das Laufwerk C zu erweitern. Es ist jedoch unbedingt zu beachten, dass das Zusammenführen zweier Partitionen zu Datenverlust führen kann. Wie kann man also Datenverluste beim Zusammenführen von Laufwerk C und D vermeiden? In diesem Beitrag erfahren Sie nun, wie Sie „Laufwerk C und Laufwerk D in Windows 10 ohne Datenverlust zusammenführen“ können. So führen Sie Laufwerk C und D in Windows 10 ohne Datenverlust zusammen
Um Datenverluste auf dem Laufwerk D zu vermeiden, ist es wichtig, die Daten vor dem Zusammenführen des Laufwerks D mit dem Laufwerk C korrekt zu sichern. Befolgen Sie die nachstehenden Schritte.
Schritt 1: Daten auf Laufwerk D sichern.
Wenn sich auf Ihrem D-Laufwerk nur wenige Daten befinden, können Sie die Daten einfach kopieren und zur Sicherung auf eine andere Partition oder externe Festplatte einfügen. Wenn Sie jedoch Massendaten auf dem Laufwerk D haben und alle Daten intakt halten möchten, ist ein Tool zum Klonen von Partitionen eines Drittanbieters die beste Wahl.
iSumsoft Clonerhilft dabei, die gesamte Partition sicher und schnell zu sichern. 1. Laden Sie
iSumsoft Clonerkostenlos herunter und installieren Sie es auf Ihrem Windows 10. 2. Starten Sie iSumsoft Cloner und wählen Sie auf der linken Seite die Option „Backup“ aus. Wählen Sie im Abschnitt „Wählen Sie ein zu sicherndes Volume aus“ Ihr Laufwerk D aus. Klicken Sie im Abschnitt „Wählen Sie einen Pfad zum Speichern der Sicherungsdatei“ auf „Auswählen“ und wählen Sie einen Speicherort für die Sicherungsdatei aus. Klicken Sie dann auf
Start, um mit der Sicherung des Laufwerks D zu beginnen. Alle Daten auf der D-Partition werden in einer separaten Datei gesichert, deren Dateinamensuffix .icg. lautet Schritt 2: Laufwerk D mit Laufwerk C zusammenführen.
Da Sie nun die Daten auf dem Laufwerk D gesichert haben, können Sie das Laufwerk C und das Laufwerk D in Windows 10 sicher zusammenführen, ohne sich Gedanken über Datenverlust machen zu müssen.
 1. Drücken Sie
+
Xund wählen Sie Datenträgerverwaltung, um die Datenträgerverwaltung in Windows 10 zu öffnen.
2. Klicken Sie mit der rechten Maustaste auf die D-Partition und wählen Sie „Volume löschen“. Sobald das D-Volume gelöscht wird, wird es zu nicht zugewiesenem Speicherplatz.
3. Klicken Sie mit der rechten Maustaste auf das Laufwerk C und wählen Sie „Volume erweitern“ aus. Wenn der „Assistent zum Erweitern von Volumes“ geöffnet wird, klicken Sie auf „Weiter“ > „Weiter“ > „Fertig stellen“, damit das gesamte Laufwerk D sofort mit dem Laufwerk C zusammengeführt wird.
Schritt 3: Erstellen Sie eine neue D-Partition.
Schritt 4 fort. Wenn Sie die Daten auf einer Partition auf Ihrer lokalen Festplatte wiederherstellen möchten, müssen Sie zunächst die folgenden Schritte ausführen, um eine neue D-Partition zum Speichern der Daten zu erstellen. 1. Öffnen Sie das Datenträgerverwaltungstool. Klicken Sie mit der rechten Maustaste auf eine Partition mit viel freiem Speicherplatz und wählen Sie „Volume verkleinern“. 2. Wenn das Dialogfeld „Verkleinern“ geöffnet wird, geben Sie den zu verkleinernden Speicherplatz ein und klicken Sie auf die Schaltfläche „Verkleinern“. 3. Hinter dem Laufwerk wird ein nicht zugewiesener Speicherplatz generiert. Klicken Sie mit der rechten Maustaste auf den nicht zugewiesenen Speicherplatz und wählen Sie Neues einfaches Volume.

4. Wenn der Assistent für neue einfache Volumes geöffnet wird, klicken Sie auf
Weiter> Weiter. Weisen Sie dem neuen Volume einen Laufwerksbuchstaben
Dzu und klicken Sie auf
Weiter >  Weiter
Fertigstellen. Dadurch wird eine neue D-Partition erstellt.
Schritt 4: Stellen Sie die Daten auf dem Laufwerk D wieder her.
1. Starten Sie iSumsoft Cloner und wählen Sie dann die Option Wiederherstellen auf der linken Seite.
2. Under "Select the restoration destination" section, select the drive which you want to restore the data to. You can select an external hard drive or the new D partition you just created in Step 3. Under "Select a backup file to restore" section, click on Choose and choose the backup file of the original D drive. Then click on Start to begin restoring the data.

3. Wait for the restoring process to completed. All data on the original D drive will be restored to the destination drive.
Conclusion:
The above are the complete steps to merge C drive and D drive in Windows 10 without losing data. Of course, there are third-party partition management tools over the net that can help merge C drive and D drive without losing data, but they need you to pay.
The above is the detailed content of Merge C Drive and D Drive in Windows 10 without Data Loss. For more information, please follow other related articles on the PHP Chinese website!

 How to Change Default View in File Explorer (Windows 11)May 09, 2025 pm 02:02 PM
Customize Your Windows 11 File Explorer: A Guide to Setting and Saving Your Preferred View Tired of File Explorer's default view? This guide shows you how to easily change and permanently save your preferred folder view in Windows 11, whether it's l
 Fedora 42 Joins the Windows Subsystem for LinuxMay 09, 2025 am 03:01 AM
Pushing the boundaries of Linux: exploring unusual applications. Purely for fun, of course. Posts 7 Technically, you can create a WSL image for any compatible Linux distribution. However, officially supported images offer a significantly smoother e
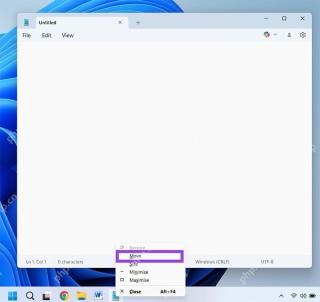 How to Move a Window When You Can't Click on the Title BarMay 09, 2025 am 01:03 AM
When applications unexpectedly extend beyond your screen's edges, accessing their title bars becomes impossible. This is especially common with dual monitors but can occur on single displays as well. This guide offers solutions for regaining control
 This Limited-Edition 'Skeleton” HDD Shows You How It Writes BytesMay 08, 2025 pm 09:04 PM
The HD-SKL, a limited-edition hard drive, is a modern take on Buffalo's 1998 Skeleton Hard Disk. The original, a 4.3GB drive with a clear acrylic case, was produced in a limited run of 500 units. While Buffalo cites its 1978 Melco 3533 turntable as
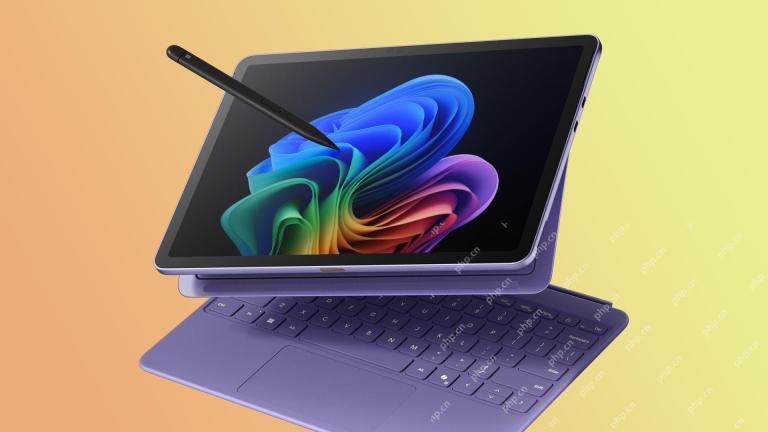 The New Surface Pro Doesn't Feel ProMay 08, 2025 am 06:01 AM
The new Surface Pro: A step back? Microsoft's latest Surface Pro offers connectivity via two USB-C ports, supporting charging, USB 3.2 data transfer, and DisplayPort 1.4a (up to two 4K monitors at 60Hz). However, the device ships without a power ad
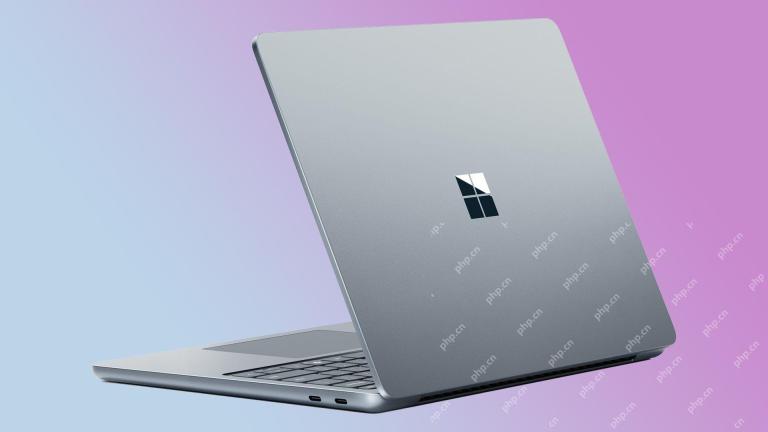 Microsoft Challenges the MacBook Air With New Surface LaptopMay 08, 2025 am 03:02 AM
Microsoft's latest Surface Laptop aims to rival the MacBook Air, but with some notable compromises. The absence of a Surface Connect port marks a significant departure from previous models, reflecting the growing prevalence of Thunderbolt and USB do
 Solve the problem that the svn plugin in eclipse always prompts for password inputMay 07, 2025 pm 05:03 PM
1. Background Recently, when using the svn plug-in to manage remote warehouse code in eclipse, prompts to enter passwords are always prompted to enter passwords, which is particularly annoying. After hard work, I finally solved the problem and shared it with you~ 2. Analysis of the password mechanism of the svn plug-in and the cause of the problem. When we use the svn plug-in for the first time and enter the password, a file that saves the password will be generated, and then the svn plug-in will read the username and password information by default every time. When eclipse is started, the configuration information will be automatically read into the program cache. After the password of svn is modified, it is impossible to log in again, and there is no prompt to re-enter the password. At this time, we can delete the relevant configuration files and let the svn plugin prompt us to re-enter the password. However, ec
 How to restore the win8 system details stepsMay 07, 2025 pm 05:00 PM
The steps to start system restore in Windows 8 are: 1. Press the Windows key X to open the shortcut menu; 2. Select "Control Panel", enter "System and Security", and click "System"; 3. Select "System Protection", and click "System Restore"; 4. Enter the administrator password and select the restore point. When selecting the appropriate restore point, it is recommended to select the restore point before the problem occurs, or remember a specific date when the system is running well. During the system restore process, if you encounter "The system restore cannot be completed", you can try another restore point or use the "sfc/scannow" command to repair the system files. After restoring, you need to check the system operation status, reinstall or configure the software, and re-back up the data, and create new restore points regularly.


Hot AI Tools

Undresser.AI Undress
AI-powered app for creating realistic nude photos

AI Clothes Remover
Online AI tool for removing clothes from photos.

Undress AI Tool
Undress images for free

Clothoff.io
AI clothes remover

Video Face Swap
Swap faces in any video effortlessly with our completely free AI face swap tool!

Hot Article
Hot Tools

SublimeText3 Chinese version
Chinese version, very easy to use

MinGW - Minimalist GNU for Windows
This project is in the process of being migrated to osdn.net/projects/mingw, you can continue to follow us there. MinGW: A native Windows port of the GNU Compiler Collection (GCC), freely distributable import libraries and header files for building native Windows applications; includes extensions to the MSVC runtime to support C99 functionality. All MinGW software can run on 64-bit Windows platforms.

MantisBT
Mantis is an easy-to-deploy web-based defect tracking tool designed to aid in product defect tracking. It requires PHP, MySQL and a web server. Check out our demo and hosting services.

SublimeText3 Mac version
God-level code editing software (SublimeText3)

Zend Studio 13.0.1
Powerful PHP integrated development environment

