


How to rename Windows 10 computer name? Renaming your Windows 10 PC name is a simple process of changing your PC's identifier. This is useful for users who want to personalize their computer or troubleshoot system issues. PHP editor Xinyi has compiled a detailed tutorial to guide you through the renaming process step by step. By following this tutorial, you can easily change your computer's name to reflect your preferences or resolve any name-related issues.
How to rename computer in win10
1. Click the start menu in the lower left corner and click settings to open.

2. Find the [System] function on the Windows settings page and click to enter.

3. When opening the page, slide down the functions on the left and find the [About] function and click on it.

4. In the About options, you can see the [Rename this computer] option on the right, click on it.

5. Enter the desired name in the pop-up window and click Next.

6. A prompt pops up. You need to restart the computer to change the computer name. You can choose to restart immediately or restart later.

The above is the detailed content of How to rename computer name in win10. For more information, please follow other related articles on the PHP Chinese website!

 win11 activation key permanent 2025Mar 18, 2025 pm 05:57 PM
Article discusses sources for a permanent Windows 11 key valid until 2025, legal issues, and risks of using unofficial keys. Advises caution and legality.
 win11 activation key permanent 2024Mar 18, 2025 pm 05:56 PM
Article discusses reliable sources for permanent Windows 11 activation keys in 2024, legal implications of third-party keys, and risks of using unofficial keys.
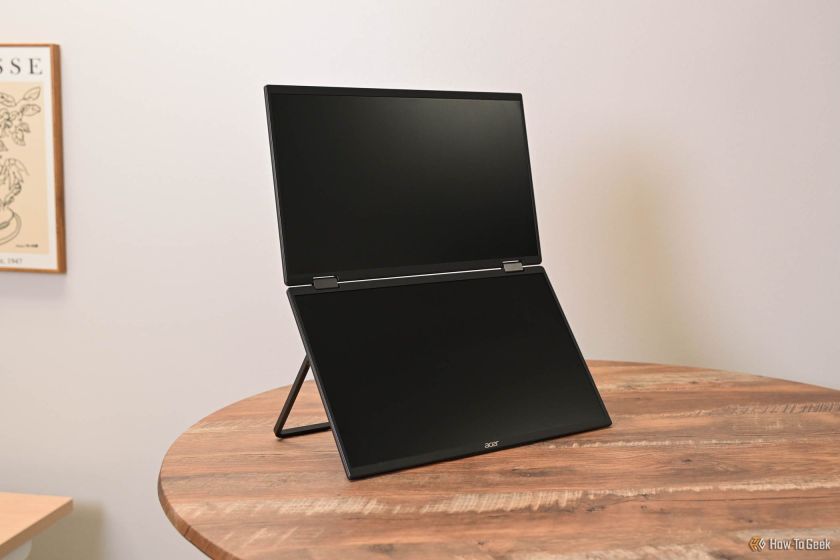 Acer PD163Q Dual Portable Monitor Review: I Really Wanted to Love ThisMar 18, 2025 am 03:04 AM
The Acer PD163Q Dual Portable Monitor: A Connectivity Nightmare I had high hopes for the Acer PD163Q. The concept of dual portable displays, conveniently connecting via a single cable, was incredibly appealing. Unfortunately, this alluring idea quic
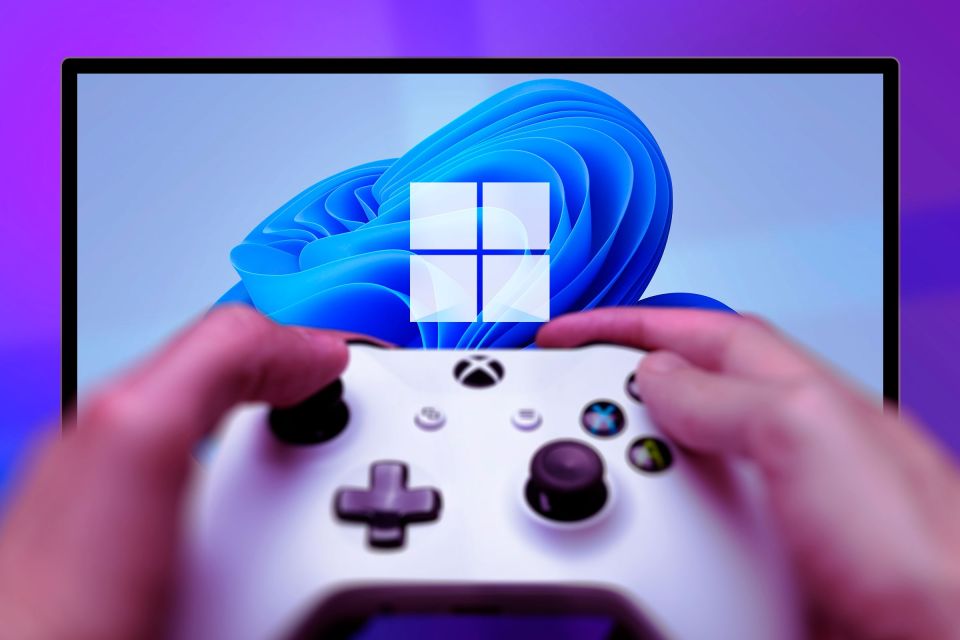 Top 3 Windows 11 Gaming Features That Outshine Windows 10Mar 16, 2025 am 12:17 AM
Upgrade to Windows 11: Enhance Your PC Gaming Experience Windows 11 offers exciting new gaming features that significantly improve your PC gaming experience. This upgrade is worth considering for any PC gamer moving from Windows 10. Auto HDR: Eleva
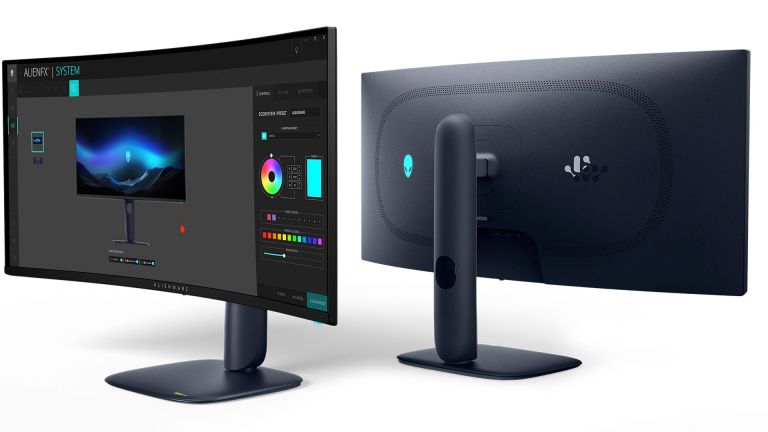 This Wild Ultra-Wide Alienware Monitor is $300 Off TodayMar 13, 2025 pm 12:21 PM
Alienware AW3225QF: The best curved 4K display, is it worth buying? The Alienware AW3225QF is known as the best curved 4K display, and its powerful performance is unquestionable. The fast response time, stunning HDR effects and unlimited contrast, coupled with excellent color performance, are the advantages of this monitor. Although it is mainly aimed at gamers, if you can accept the shortcomings of OLED, it is also suitable for office workers who pursue high efficiency. Widescreen monitors are not only loved by gamers, but also favored by users who value productivity improvement. They are great for work and enhance anyone’s desktop experience. This Alienware monitor is usually expensive, but is currently enjoying it
 How to Create a Dynamic Table of Contents in ExcelMar 24, 2025 am 08:01 AM
A table of contents is a total game-changer when working with large files – it keeps everything organized and easy to navigate. Unfortunately, unlike Word, Microsoft Excel doesn’t have a simple “Table of Contents” button that adds t
 ReactOS, the Open-Source Windows, Just Got an UpdateMar 25, 2025 am 03:02 AM
ReactOS 0.4.15 includes new storage drivers, which should help with overall stability and UDB drive compatibility, as well as new drivers for networking. There are also many updates to fonts support, the desktop shell, Windows APIs, themes, and file
 Shopping for a New Monitor? 8 Mistakes to AvoidMar 18, 2025 am 03:01 AM
Buying a new monitor isn't a frequent occurrence. It's a long-term investment that often moves between computers. However, upgrading is inevitable, and the latest screen technology is tempting. But making the wrong choices can leave you with regret


Hot AI Tools

Undresser.AI Undress
AI-powered app for creating realistic nude photos

AI Clothes Remover
Online AI tool for removing clothes from photos.

Undress AI Tool
Undress images for free

Clothoff.io
AI clothes remover

AI Hentai Generator
Generate AI Hentai for free.

Hot Article
Hot Tools

mPDF
mPDF is a PHP library that can generate PDF files from UTF-8 encoded HTML. The original author, Ian Back, wrote mPDF to output PDF files "on the fly" from his website and handle different languages. It is slower than original scripts like HTML2FPDF and produces larger files when using Unicode fonts, but supports CSS styles etc. and has a lot of enhancements. Supports almost all languages, including RTL (Arabic and Hebrew) and CJK (Chinese, Japanese and Korean). Supports nested block-level elements (such as P, DIV),

SublimeText3 Chinese version
Chinese version, very easy to use

Dreamweaver Mac version
Visual web development tools

EditPlus Chinese cracked version
Small size, syntax highlighting, does not support code prompt function

Safe Exam Browser
Safe Exam Browser is a secure browser environment for taking online exams securely. This software turns any computer into a secure workstation. It controls access to any utility and prevents students from using unauthorized resources.

