 Mobile Game Tutorial
 Mobile Game Guide
 Elden Ring SotE Belurat, Tower Settlement walkthrough: Weapons, items, bosses, and more
Elden Ring SotE Belurat, Tower Settlement walkthrough: Weapons, items, bosses, and more
While you can go anywhere right from the beginning of Elden Ring Shadow of the Erdtree, the first dungeon that most people will encounter is Belurat, Tower Settlement.
Elden Ring Shadow of the Erdtree Balurate, Tower Settlement guide
Located north of the Scorched Ruins and the initial starting point of the Land of Shadow, this seemingly small town is home to dangerous enemies, a major boss fight, and even some important collectibles like a Miquella Cross. It’s a great introduction to the verticality of Shadow of the Erdtree, so be prepared to delve into every nook and cranny of Belurat.
Table of contents
- Elden Ring Shadow of the Erdtree Balurate, Tower Settlement guide
- How to get into Belurat, Tower Settlement
- How to continue past Small Private Altar
- How to beat the yellow knight
- How to beat Fire Knight Queelign
- How to get Crusade Insignia Talisman and Shriek of Sorrow Ash of War
- Where to use the Storeroom Key in Belurat, Tower Settlement
- How to unlock the Belurat, Tower Settlement Site of Grace shortcut and get the Bone Bow
- Where to find the Miquella Cross, Scadutree Fragment, and Dried Bouquet Talisman in Belurat, Tower Settlement
- Stagefront Site of Grace: How to prepare for the boss
- How to Beat Divine Beast Dancing Lion
- Should you pick Enraged Divine Beast Talisman, Divine Beast Frost Stomp Ash of War, or use the Runes?
- How to cheese Divine Beast Dancing Lion
How to get into Belurat, Tower Settlement
When you first arrive in Belurat, you’ll find a Site of Grace at the top of the stairs leading into the settlement. The main gate is locked and opens from the other side, and the small door in the western room is the same way. The only way forward is to the east.
Heading east will take you to Belurat’s main street, a highly linear path with plenty of enemies guarding the way. The ghostly inhabitants of Belurat will go down with a single strike for the most part, but a few of them are stronger than the rest. The taller ones that wield large cleavers are the real enemies here, and they can easily deplete your entire health bar in two or three swings.

Prioritize defeating those enemies first as you make your way down the street. If you turn right after defeating the first enemy, you’ll see a crowd of people kneeling in front of a fountain where you can collect a Somber Smithing Stone. You’ll also find a well that you can descend into, but there’s nothing in the sewers down below besides a locked door that you cannot open yet.

Continue east along the main street and you’ll come across two enemies on a bridge above. They’ll pelt you with powerful projectiles, but they’re easy enough to dodge. There’s a path to the right that you may think you can use to avoid them, but it’s a dead end. Head underneath the bridge and enter the room on the left to find the Small Private Altar Site of Grace at the top of the stairs.
How to continue past Small Private Altar
Once you reach the Small Private Altar Site of Grace, the core of Belurat becomes available to you. As soon as you exit the room and continue forward, you’ll meet your first real challenge.
How to beat the yellow knight
A tall knight dressed in yellow carries two large swords and patrols the area. You can be patient and sneak past him, but he drops a bunch of Runes and can potentially drop unique armor like the Horned Warrior Helm. His attacks deal an insane amount of damage no matter how high your stats are, however, so there’s very little room for error.

The knight attacks with fast-paced flurries, but if you keep your distance from him, you can watch and learn when his downtime is. Patience is key here. You can only get one or two strikes in between the knight’s combo attacks, so don’t get greedy. The Site of Grace is right there, thankfully, so practicing should be easy.
This knight is the first real test of Belurat, and if you’re struggling to defeat him, we recommend leaving the Tower Settlement and searching for Scadutree Fragments to boost your damage output and resistance in the Land of Shadow. The DLC area uses an entirely unique progression system compared to the base game, and you’ll need to collect Scadutree Fragments to raise your stats even higher to survive Shadow of the Erdtree.
Once you’ve either defeated or given up on the knight, you can either continue to the left where the knight was going to make your way toward the next Site of Grace or head right to collect some unique gear and items.
How to beat Fire Knight Queelign
If you head to the right, you’ll find a wide-open plaza where a hostile summoned enemy is waiting for you. The battle with Fire Knight Queelign is the only thing of note in this area, so if you don’t want the Crusade Insignia Talisman or the Shriek of Sorrow Ash of War, you can skip it and head back the other way.

If you do choose to battle Queelign, however, you’ll need to watch out for his flame-based attacks. These will deal chip damage to you even if you block, and if you get hit by them normally, large chunks of your health bar will burn away.
To make things worse, Queelign’s spear lets him poke you repeatedly from afar, so closing the gap and applying constant pressure is crucial. Like most summoned foes, Queelign has a healing flask that he’ll use if he gets the chance, so keep the pressure on and remain aggressive.
How to get Crusade Insignia Talisman and Shriek of Sorrow Ash of War
Once Queelign falls, you’ll receive the Crusade Insignia Talisman, which raises your attack power after defeating an enemy. It’s great for clearing hordes of foes, but not so useful for boss fights.
At the foot of the tree in the center of the plaza, you can collect the Shriek of Sorrow Ash of War as well. This Ash of War lets out a loud scream, causing all nearby enemies to flinch and boosting your attack power based on the amount of HP they have remaining. The less HP they have, the stronger you get. It also applies the Occult affinity to your active weapon.

There’s nothing else to see in this direction, so it’s time to head back the other way past the knight. You’ll find a broken bridge impeding your progress, so you’ll need to use the alley to the right to get around it. Proceed slowly since enemies are waiting around every corner to surprise you.

You’ll eventually reach a shallow river of murky water with two strong enemies waiting to ambush you. Once you defeat them, take a look at your surroundings and you’ll realize that you’re at the top of the waterfall that you saw at the start of the dungeon. Head inside the nearby room and climb the ladder to find the Storeroom Key.
Where to use the Storeroom Key in Belurat, Tower Settlement
The Storeroom Key unlocks the door on the bridge where the ranged enemies were casting spells from on the main street before the Small Private Altar Site of Grace. Fast travel back there and you’ll see the enemies on the bridge just outside of the door. Kill them and cross the bridge to find the locked door that matches the Storeroom Key.
Inside, you’ll meet Hornsent Grandam. She’ll give you the Guardian Spirit Incantation, which spawns a protective spirit above your head that will shoot projectiles at nearby foes. It has a Faith requirement of 26, which is quite low at this point in the game. There’s nothing else to do here, so retrace your steps past the Small Private Altar until you reach the room by the waterfall where you first found the Storeroom Key to continue your journey.

Once you’re back at the room where you found the key, head out the door to find the path diverging in two ways. To the left is the other end of the broken bridge where a single enemy and item are waiting for you, but you cannot proceed any further. The only way forward is to the right. At the top of the stairs, the path diverges yet again. The correct way forward is across the rooftops to the right with the bird enemies, but don’t go there just yet.
How to unlock the Belurat, Tower Settlement Site of Grace shortcut and get the Bone Bow
Instead, turn left. You’ll shortly be ambushed by a swarm of small scorpions. Ignore them for now and take the stairs down on the left to find an elevator. This will bring you to the main gate at the start of the area, leading you back to the Belurat, Tower Settlement Site of Grace. Shortcut unlocked!
Head back up and slay the scorpion swarm so you can enter the large room they came from. Inside, you’ll find two gigantic scorpions. Try to use a throwing item to bait one of them toward you because fighting them simultaneously is a huge pain.

At least you have a shortcut that lets you avoid the knight and other enemies if you fail! If you defeat the pair of scorpions, you’ll be able to loot the Bone Bow that they’re guarding.
Where to find the Miquella Cross, Scadutree Fragment, and Dried Bouquet Talisman in Belurat, Tower Settlement

That’s not the only important thing in the area, though. Just outside the big door leading to the scorpion room. You’ll see a pile of rubble to the right. Jump over it and you’ll find a small door leading to a secret room filled with insectoid enemies. Defeat them and you’ll be rewarded with a Scadutree Fragment and a Miquella Cross! Just outside, you’ll find the Dried Bouquet Talisman as well, which raises your attack power when a summoned spirit dies.
Once you’ve collected the goods, head back the other way and proceed across the rooftops where the bird enemies are waiting. Take these on one at a time. They’re susceptible to jumping attacks, which will ground them most of the time. Near the end of the rooftops, you’ll find a spellcasting enemy guarding the final two birds. Take him out first and then focus on the others.

Once you make it back onto the street, you’ll see a covered bridge with a lone ghostly enemy holding a pot above its head. These enemies always drop Scadutree Fragments upon defeat, so slay him and claim your spoils! The fight’s not over yet, though, as another yellow knight is waiting at the other end of the bridge.
The same strategy from the past knight applies to this knight as well, only this one has a large singular greatsword instead of dual blades. Since he’s much slower, he’s much easier to hit. Watch out for his gap-closing attacks, though, as these will lock onto your position and let him dash straight to you for a devastating blow. Again, just be patient and wait for safe openings.

Once the knight is down, you’re nearly at the next Site of Grace. Continue along the path and you’ll find a large crowd of ghostly enemies surrounding a tree. Most of these are easy to beat, but there are a few dangerous cleaver-wielders in their midst. Defeat them first before thinning the horde. Your reward is a Revered Spirit Ash waiting on a statue nearby.
Continue forward through the large door and you’ll find yourself in a familiar place. It’s the scorpion room, only you’re above the two scorpions. Climb the stairs and you’ll come face to face with a strong enemy that dishes out long combos of rapid strikes. He’s easy to overcome as long as you apply constant pressure and don’t lose focus. Either defeat him or sprint past him to reach the Stagefront Site of Grace.
Stagefront Site of Grace: How to prepare for the boss
This is it. Beyond the door ahead is the final boss of Belurat: the Divine Beast Dancing Lion. There’s not much else to do at this Site of Grace besides prepare.
The battle with the Dancing Lion is hectic and especially challenging if you haven’t upgraded your Scadutree Blessing at least a few times, so we highly recommend summoning Redmane Freyja for assistance. If you haven’t spoken to her yet, she’s located at the Three-Path Cross Site of Grace north of the Scorched Ruins along the path to Belurat. Also, Spirit Ashes like Mimic Tear make this fight a breeze.
How to Beat Divine Beast Dancing Lion
The final boss of Belurat is the Divine Beast Dancing Lion, a ravenous beast that commands lightning, wind, and ice to perform a wide range of elemental attacks. The first part of the fight features a strictly physical moveset, so you won’t have to worry about ranged attacks until you deal enough damage.
The Dancing Lion is highly aggressive, and you should match its aggression if you want to survive the first phase. Roll into each of its attacks instead of away. This will put you in a place where you can easily avoid any follow-up strikes.

The main thing to worry about during this phase is the Dancing Lion’s grab attack. When it rears up and makes a loud clicking noise, it will lunge toward you and grab you, usually resulting in death if successful. Make sure you dodge this attack no matter what.
The Dancing Lion will also occasionally launch a spinning attack that sends waves of debris in your direction. These waves can be avoided by rolling through them or jumping over them, but make sure to keep an eye on the advancing boss as it spins toward you as well.
Once you whittle down the boss’ HP bar enough, the Dancing Lion will begin to utilize elemental attacks. It will alternate between lightning, ice, and wind phases. During the lightning phase, it will cast lightning strikes throughout the arena. In the ice phase, icicles will launch up from the ground and the Lion’s attack will inflict Frostbite. In the wind phase, gusts of wind will radiate from the Lion’s strikes and it will send wind projectiles at you in between combos.

The Lion will launch into the air and scream when it switches elements, buying you some breathing room to heal. We recommend playing it safe during the lightning phase and going on the attack during the wind and ice phases since there aren’t as many projectiles to avoid. If you’re having trouble with a specific phase, bring armor or items that grant you resistance to each type of elemental damage.
Should you pick Enraged Divine Beast Talisman, Divine Beast Frost Stomp Ash of War, or use the Runes?

Defeating the Divine Beast Dancing Lion will reward you with the Remembrance of the Dancing Lion. Take this to the Roundtable Hold to obtain either the Enraged Divine Beast Talisman or the Divine Beast Frost Stomp Ash of War. The former increases the potency of storms, while the latter grants your weapon the Cold affinity and performs an icy stomp that can be charged for increased power and range.
Honestly, we don’t recommend taking either of these items. The Enraged Divine Beast Talisman is highly situational, and the Divine Beast Frost Stomp Ash of War isn’t that strong. The Ash of War is definitely the better of the two options, though, so go that route if you want to spice up your moveset.
In addition to your Remembrance reward, you’ll also get the Divine Beast Head, a resilient helmet with a striking appearance. Be warned that wearing this helmet reduces the healing efficiency of your flasks, though.
How to cheese Divine Beast Dancing Lion

The easiest way to win this fight is to summon Freyja and Spirit Ashes to keep the Lion’s attention while you swoop in for easy attacks. The Dancing Lion doesn’t have an incredibly large health pool, so it should go down pretty quickly as long as you stay on the offensive and don’t panic.
The best way to cheese this fight is just to let Freyja and your Spirit Ashes do all the work while you sit back and attack the boss with ranged weapons. The Bone Bow from earlier in the dungeon is a great choice if you have enough arrows, and you can always stock up on throwing items to deal large chunks of damage to the Dancion Lion from afar.
If you need to get in close to deal damage, then you can easily exploit the Dancing Lion’s ice attacks. When it sends ice spikes out onto the floor, just jump over them. It’s basically a free jumping attack every time. To make things even better, jumping attacks are better for staggering foes, so there’s a chance you’ll make the boss vulnerable to a critical hit after a few swings.
Continue through the door after defeating the boss to receive another Revered Spirit Ash. The path forward is blocked, however, as the next door is sealed and obscured by shadow. The Tower of Shadow message tells you where to head next to continue your search for Miquella, however, so it’s time to move on in pursuit of more dungeons and new weapon types.
The above is the detailed content of Elden Ring SotE Belurat, Tower Settlement walkthrough: Weapons, items, bosses, and more. For more information, please follow other related articles on the PHP Chinese website!
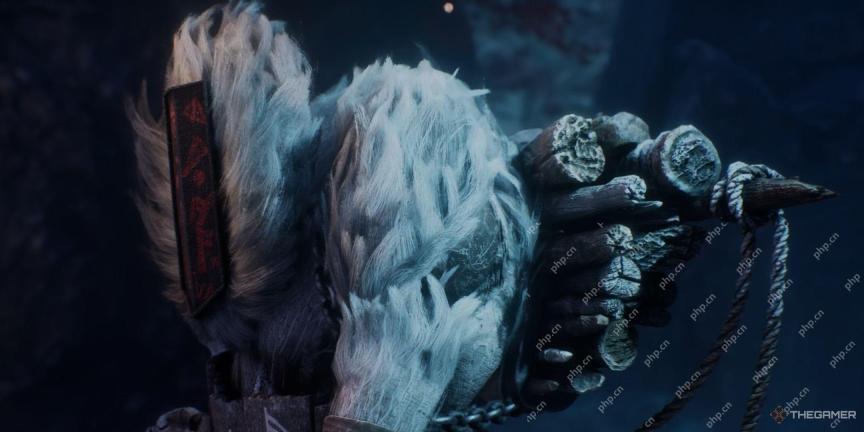 Clair Obscur: Expedition 33 - Golgra Boss GuideApr 30, 2025 pm 06:03 PM
Golgra, the Gestral Chief in Clair Obscur: Expedition 33, is a formidable opponent. While Gestral mannequins are known for their combat prowess, Golgra stands out as one of the continent's most dangerous fighters. A first encounter in the Gestral V
 Pokemon Go: May 2025 Max Battle GuideApr 30, 2025 pm 12:04 PM
Max Battles were a recent Pokemon Go addition, a feature added to the game within the last year that allows you to battle against and acquire different Dynamax and Gigantamax Pokemon. Each month, Pokemon Go changes the Pokemon that are available thro
 Pokemon Go: May 2025 Raid GuideApr 30, 2025 pm 12:03 PM
Many of Pokemon Go's strongest Pokemon can be obtained through their Raiding feature, cooperative battles where you can team up with others to challenge powerful Pokemon on the battlefield. Each month, Pokemon Go changes the Pokemon that are availabl
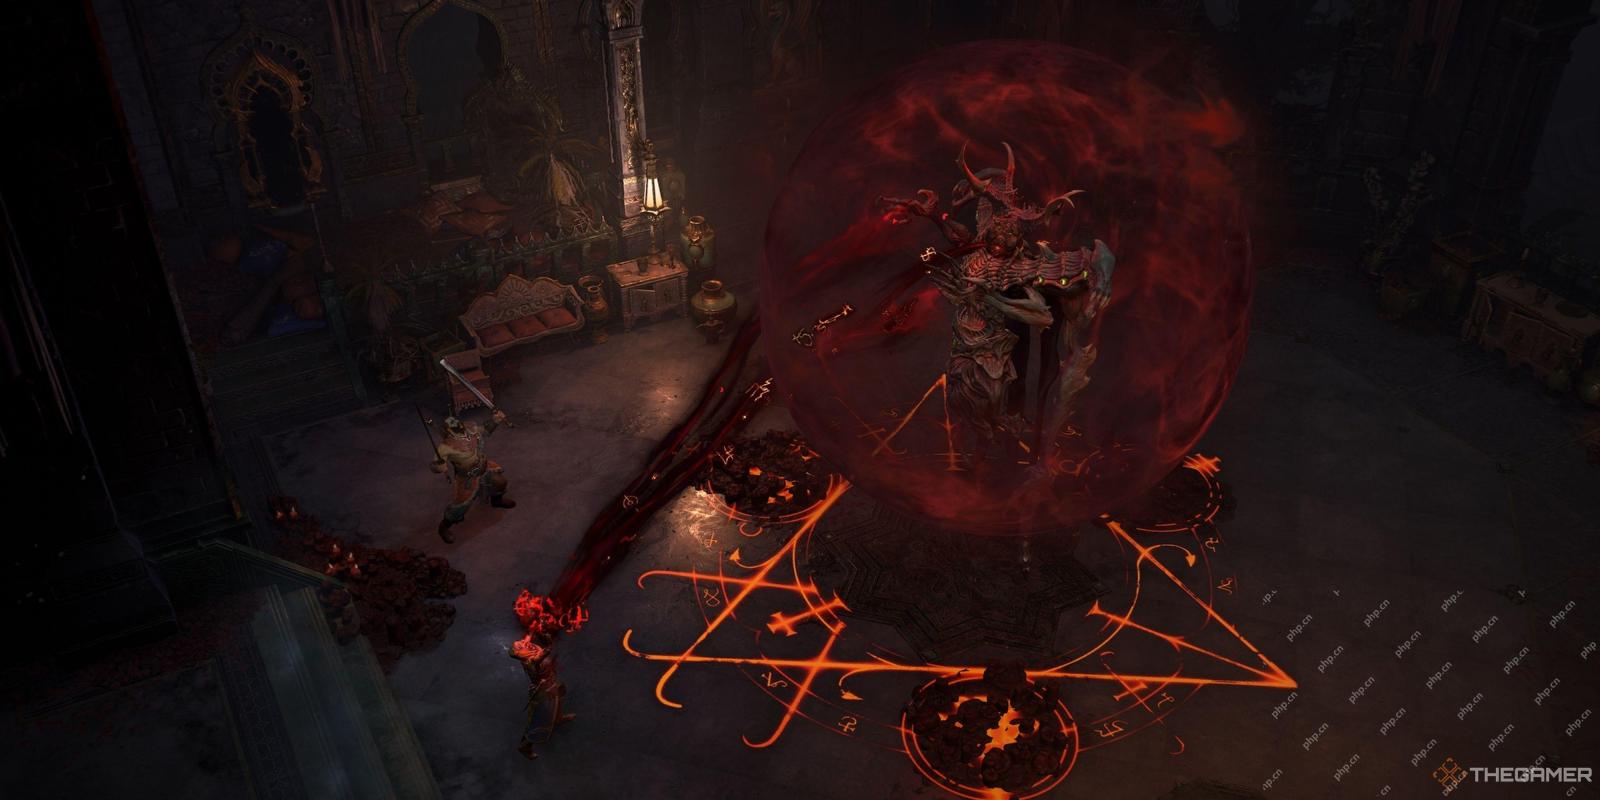 Diablo 4: Belial's Return - Boss Powers GuideApr 30, 2025 am 10:08 AM
Diablo IV Season 8: Belial's Return unleashes powerful boss abilities upon players. This season introduces a new mechanic: Boss Powers, mirroring the devastating attacks of Diablo IV's endgame bosses. Master Lilith's spike attack, Ashava's poisonou
 NYT Strands Answers And Hints - April 30, 2025 Solution #423Apr 30, 2025 am 10:06 AM
Stuck on today's Strands puzzle? Don't despair! This guide provides hints and the full solution if you're struggling to find the right words. We'll help you maintain your winning streak and avoid feeling stranded. This helpful guide offers insight
 Infinity Nikki: How To Get Unyielding LeatherApr 30, 2025 am 10:05 AM
In the enchanting world of Infinity Nikki, rare materials await those brave enough to conquer challenging Esselings. The Competitive Belt, a formidable foe with aggressive attacks and impenetrable defense, presents a unique challenge. To overcome i
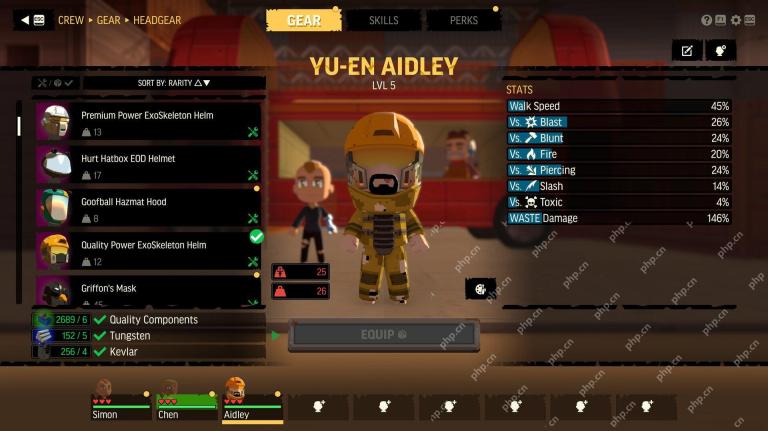 How to Increase Crew Size in Badlands CrewApr 30, 2025 am 09:59 AM
Has encountered a fierce gun battle but insufficient staff? Don't worry, this article will guide you how to unlock more player slots and get rid of the squad's limited size. How to get more team members Conquer strongholds (not outposts) You cannot scale up your ranks until you defeat the enemy stronghold. The outpost doesn't count. These major enemy bases will be clearly marked on the map. Once you conquer your first stronghold (such as the Gunman stronghold), you can unlock the ability to scale up your team. Until then, your team members will be limited. Unlock Upgrades with the Training Manual Once you have conquered the stronghold, head to your camp and view the upgrade menu. Find team size upgrade options. The first upgrade requires 5 training manuals. Note: The training manual is also used to improve the initial level of recruits, which is a single


Hot AI Tools

Undresser.AI Undress
AI-powered app for creating realistic nude photos

AI Clothes Remover
Online AI tool for removing clothes from photos.

Undress AI Tool
Undress images for free

Clothoff.io
AI clothes remover

Video Face Swap
Swap faces in any video effortlessly with our completely free AI face swap tool!

Hot Article

Hot Tools

Safe Exam Browser
Safe Exam Browser is a secure browser environment for taking online exams securely. This software turns any computer into a secure workstation. It controls access to any utility and prevents students from using unauthorized resources.
EditPlus Chinese cracked version
Small size, syntax highlighting, does not support code prompt function

SublimeText3 Linux new version
SublimeText3 Linux latest version

SublimeText3 Mac version
God-level code editing software (SublimeText3)

PhpStorm Mac version
The latest (2018.2.1) professional PHP integrated development tool


