


Whether you’re annotating a screenshot or making the dankest of memes, there are many ways of adding text to an image on your iPhone. Here are five tried and tested techniques.
Add Text Using Markup
By far the simplest method of adding text to an image is to use the iPhone’s built-in Markup tool, accessible via the Edit feature in the Photos app. This is easy to do, but fairly limited in scope. You can choose a font, text size, and color but there’s little in the way of fancy effects.
To get started, make sure your chosen image is saved to your Photos library. This is accessible from most apps by tapping and holding the image and selecting “Save to Photos” in the context menu that appears. You’ll also find it under the “Share” menu.
Next, find the image you want to add text to within the Photos app, then tap “Edit” in the top-right corner of the screen. If you don’t see the “Edit” button, tap on the image once to reveal the Photos interface.

Next, tap on the “Markup” button in the top-right corner of the screen. This looks like a pen tip, and it’s located alongside the ellipsis “…” icon.

You’ll be warned that Live Photo mode will be switched off if you continue. Hit “OK” to proceed and the Markup interface will appear.
Along the bottom of the screen, you’ll see a variety of pens, pencils, erasers, a ruler, a color wheel, and a plus “+” button. Hit the plus “+” button and choose “Add Text” to add a text box to your image.

You can now drag the text box into place, wherever you want it. Tap (or double-tap) within the text box to edit what the text says and type your message using the on-screen keyboard.

At the bottom of the screen, you can adjust the font, text size, alignment, formatting, and text color. While choosing a color you can also adjust the opacity of your text.

Once you’re done, hit “Done” in the top-right corner of the screen. You can edit your text later by coming back to the Markup menu using the pen icon in the top-right corner of the screen. Share your image as you would normally from the Photos app and the text will be included.
Add Text Using Freeform
Freeform is Apple’s collaborative whiteboard tool. It’s designed for adding images, shapes, text, handwriting, and more to an infinite canvas, so it’s perfect for combining text and images in a single place.
There’s one big drawback with the current implementation of Freeform, which is that you can only export Freeform documents to PDF files. The quality of the resulting files is great (better than the Pages method, below), but you’ll need to add one more step and convert the document to an image before it’s right for sharing.
To get started, download Freeform from the App Store (it’s free). Next, start a new board using the “New” button in the top-right corner of the screen.

Tap on the “Media” button in the bottom-right corner of the screen and choose “Photos or Videos” to select an image from your Photos library, or “Insert from...” to select an image from Files. You can also tap anywhere on the canvas and use “Paste” to add an image from your clipboard.

With your image in place, tap on the “Text Box” button at the bottom of the screen. Drag the text box in place then double-tap inside it to edit your text. Use the text formatting tools above the keyboard to customize the size, color, and alignment of your text.

Add more images and text if you like, then when you’re ready to export tap the ellipsis “…” button and choose “Export as PDF” then choose where you want to save it.

Finally, launch the Shortcuts app and create a new Shortcut. Add the “Make Image from PDF Page” action to a new workflow. Change the “PNG Image” variable to whatever you want, and the “PDF” variable to “Shortcut Input.” Add a “Save to Photo Album” action, then hit the “i” button and make sure “Show in Share Sheet” is selected. Give your Shortcut a name, like “PDF Page to Image” and save it.

Now open the PDF, hit Share, and tap on the “PDF Page to Image” Shortcut you just made. Your image will be in Photos, where you can crop and trim it as necessary.
Add Text Using Pages
Pages is Apple’s equivalent of Microsoft Word, a free word-processing tool that has a few interesting uses. Though there are some obvious drawbacks to using a word processor for editing images, you might find that it works for you with a few workarounds.
This is a very “hacky” method that can result in a lower-quality image than may be preferable. You can use the “Document Options” menu to switch your document to landscape to claw back some resolution if your image is landscape.
First, you’ll need to download Pages from the App Store (it’s free). Now open it and create a new blank document, ignoring Apple’s templates, using the “Start Writing” option.

With a new document open, hit the plus “+” button and select the media tab. You can choose “Photo or Video” to import from your Photos library, or use the “Insert from…” to add from files. You can also tap and hold and then choose “Paste” to add an image from your clipboard.

Tap on your image to select it, then tap on the “Formatting” paintbrush icon to reveal more options. Under “Arrange” choose “More Options” and then set “Text Wrap” to “None.” This instructs Pages not to move text around if it intersects with the image.

Now, hit the plus “+” button again and, on the diagrams tab, select “Text” to add a text box. Double-tap within the text box and edit the text as necessary. Finish up and tap the text box to select it, then use the “Formatting” paintbrush icon to edit the font, size, color, and more on the “Text” tab.

Add more images, diagrams, and whatever else you see fit. Then hit the ellipsis “…” button and choose “Export” followed by “Images” to export as an image. Use the “Save Image” button to add the image to your Photos library.

Lastly, find the image and hit “Edit” and then crop out the white space. You can now share your image.
Add Text Using Third-Party Apps
There are lots of apps that let you add text to your images, but most of them are premium tools. This means that you may come across restrictions like image export size, watermarks, and feature limitations.
On the plus side, these apps make it easy to add fancy text to an image. Two examples you might want to try that offer decent free options are Phonto and Add Text.
Another option is to use Instagram’s Story composer for this, though it too is limited. The resulting creations will be portrait and require cropping, plus the resolution isn’t great. The tools are limited but they can look good, and you can add stickers and emoji if you want.
Open Instagram and hit “Compose” at the bottom of the screen. Select “Story” in the bottom-right corner.
Next, choose an image that you’d like to annotate using the media picker in the bottom-left corner of the screen.

Tap anywhere to add text, then use the formatting tools at the top of the screen to modify alignment, color, background, and spacing.

Hit “Done” and then add anything else you want to your image using the included tools. When you’re ready, tap on the ellipsis “...” button in the top-right corner of the screen then select “Save” and the image will be saved to your camera roll.

Now open up Photos, find the image, tap “Edit” and crop the image to your liking. You can now share it as you would any other.
Add Text Using a Web App
Web apps also work for adding text to an image. In my testing, Pixlr seemed like the most reliable option. With the mobile-friendly fast editor Pixlr Express, you get three free saves per day before you need to pay.
To get started, head to the Pixlr Express website and tap “Open Image” followed by “Photo Library” or “Choose Files” and then locate the image you want to add text to. Pixlr may ask you to resize the image, hit Apply to get started.

Use the toolbar at the bottom of the screen to select “Text” then select “Add new text” or choose from one of the stylized text tools.

Scroll down and change the “Text” box to whatever you want to text to read. You can now adjust other aspects like the size, color, and so on. You can add a curve, warp, background, outline, and shadow to the text if you want.

Drag the text into place until you’re happy with it. Add more text or other effects to your image, then hit “Save” at the top of the screen to export it when you’re ready.

Choose an image format, size, and quality level, and then use the “Download” button to save the image.
Alternatively, Use a Computer
Adding text to an image on your iPhone can be fiddly and the options aren’t great. The small screen is ill-suited to graphic design work, so if you want to get creative you’re better off using a computer instead.
There are lots of free and budget-friendly editors you can use for this like Affinity Photo and other pocket-friendly Photoshop alternatives, or completely free image editors like GIMP
The above is the detailed content of 5 Simple Ways to Add Text to Any Image on iPhone. For more information, please follow other related articles on the PHP Chinese website!

 Updated Version of iOS 17.6.1 & iPad 17.6.1 ReleasedMay 13, 2025 am 10:54 AM
Apple has re-released iOS 17.6.1 for iPhone and iPadOS 17.6.1 for iPad. The new build number is 21G101 for iOS 17.6.1, while the old build number was 21G93. It is unclear what is different about the new build, or why Apple didn’t label this updat
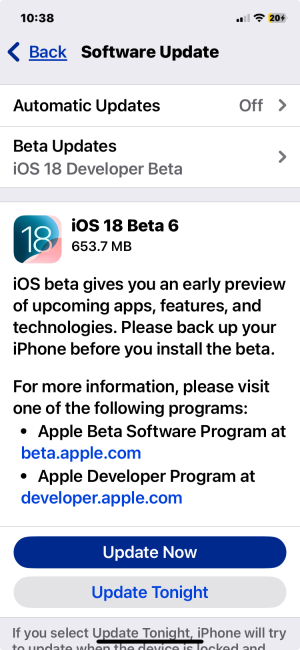 Beta 6 of iOS 18 & iPadOS Now Available for TestingMay 13, 2025 am 09:55 AM
Apple has released iOS 18 beta 6 and iPadOS 18 beta 6 to users involved in the developer beta testing programs. Typically the developer beta arrives first and is soon followed by the same build for public beta testers, suggesting iOS 18 public beta 4
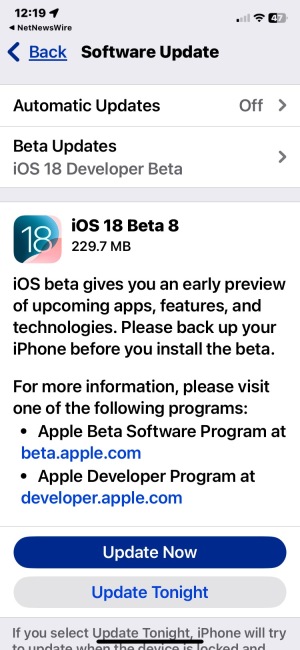 iOS 18 Beta 8 Available to DownloadMay 13, 2025 am 09:52 AM
Apple has released iOS 18 beta 8 alongside iPadOS 18 beta 8 for users enrolled in the developer beta testing programs for Apple system software. The rumors that beta 7 could be the final build have proved false, as iOS 18 beta 8 and iPadOS 18 beta 8
 iOS 18 Beta 7 Available Now, Could Be Final Beta?May 13, 2025 am 09:50 AM
iOS 18 beta 7 and iPadOS 18 beta 7 are now available to users in the developer beta testing programs for iOS and iPadOS. Matching the 7th developer betas are the 5th public betas, which are available as well. And iOS 18 beta 7 might be the final beta
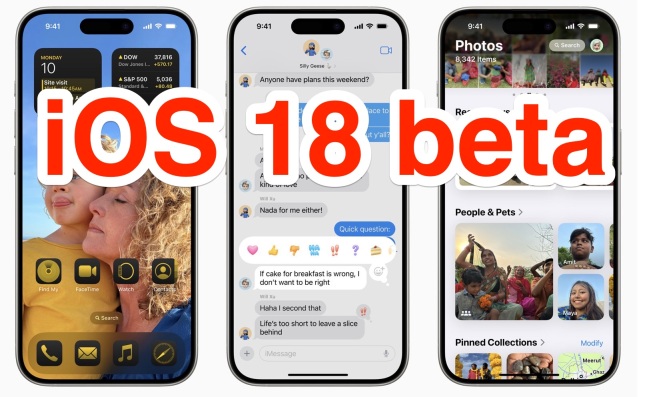
 How to Download and Install iOS 18.5 Beta to Try New iPhone Features FirstMay 13, 2025 am 09:27 AM
While iOS 18 and iPadOS 18 officially launched in September 2024, Apple has continued refining the experience with frequent updates — and development isn't slowing down anytime soon. Four major updates have already beenreleased, introducing over 160
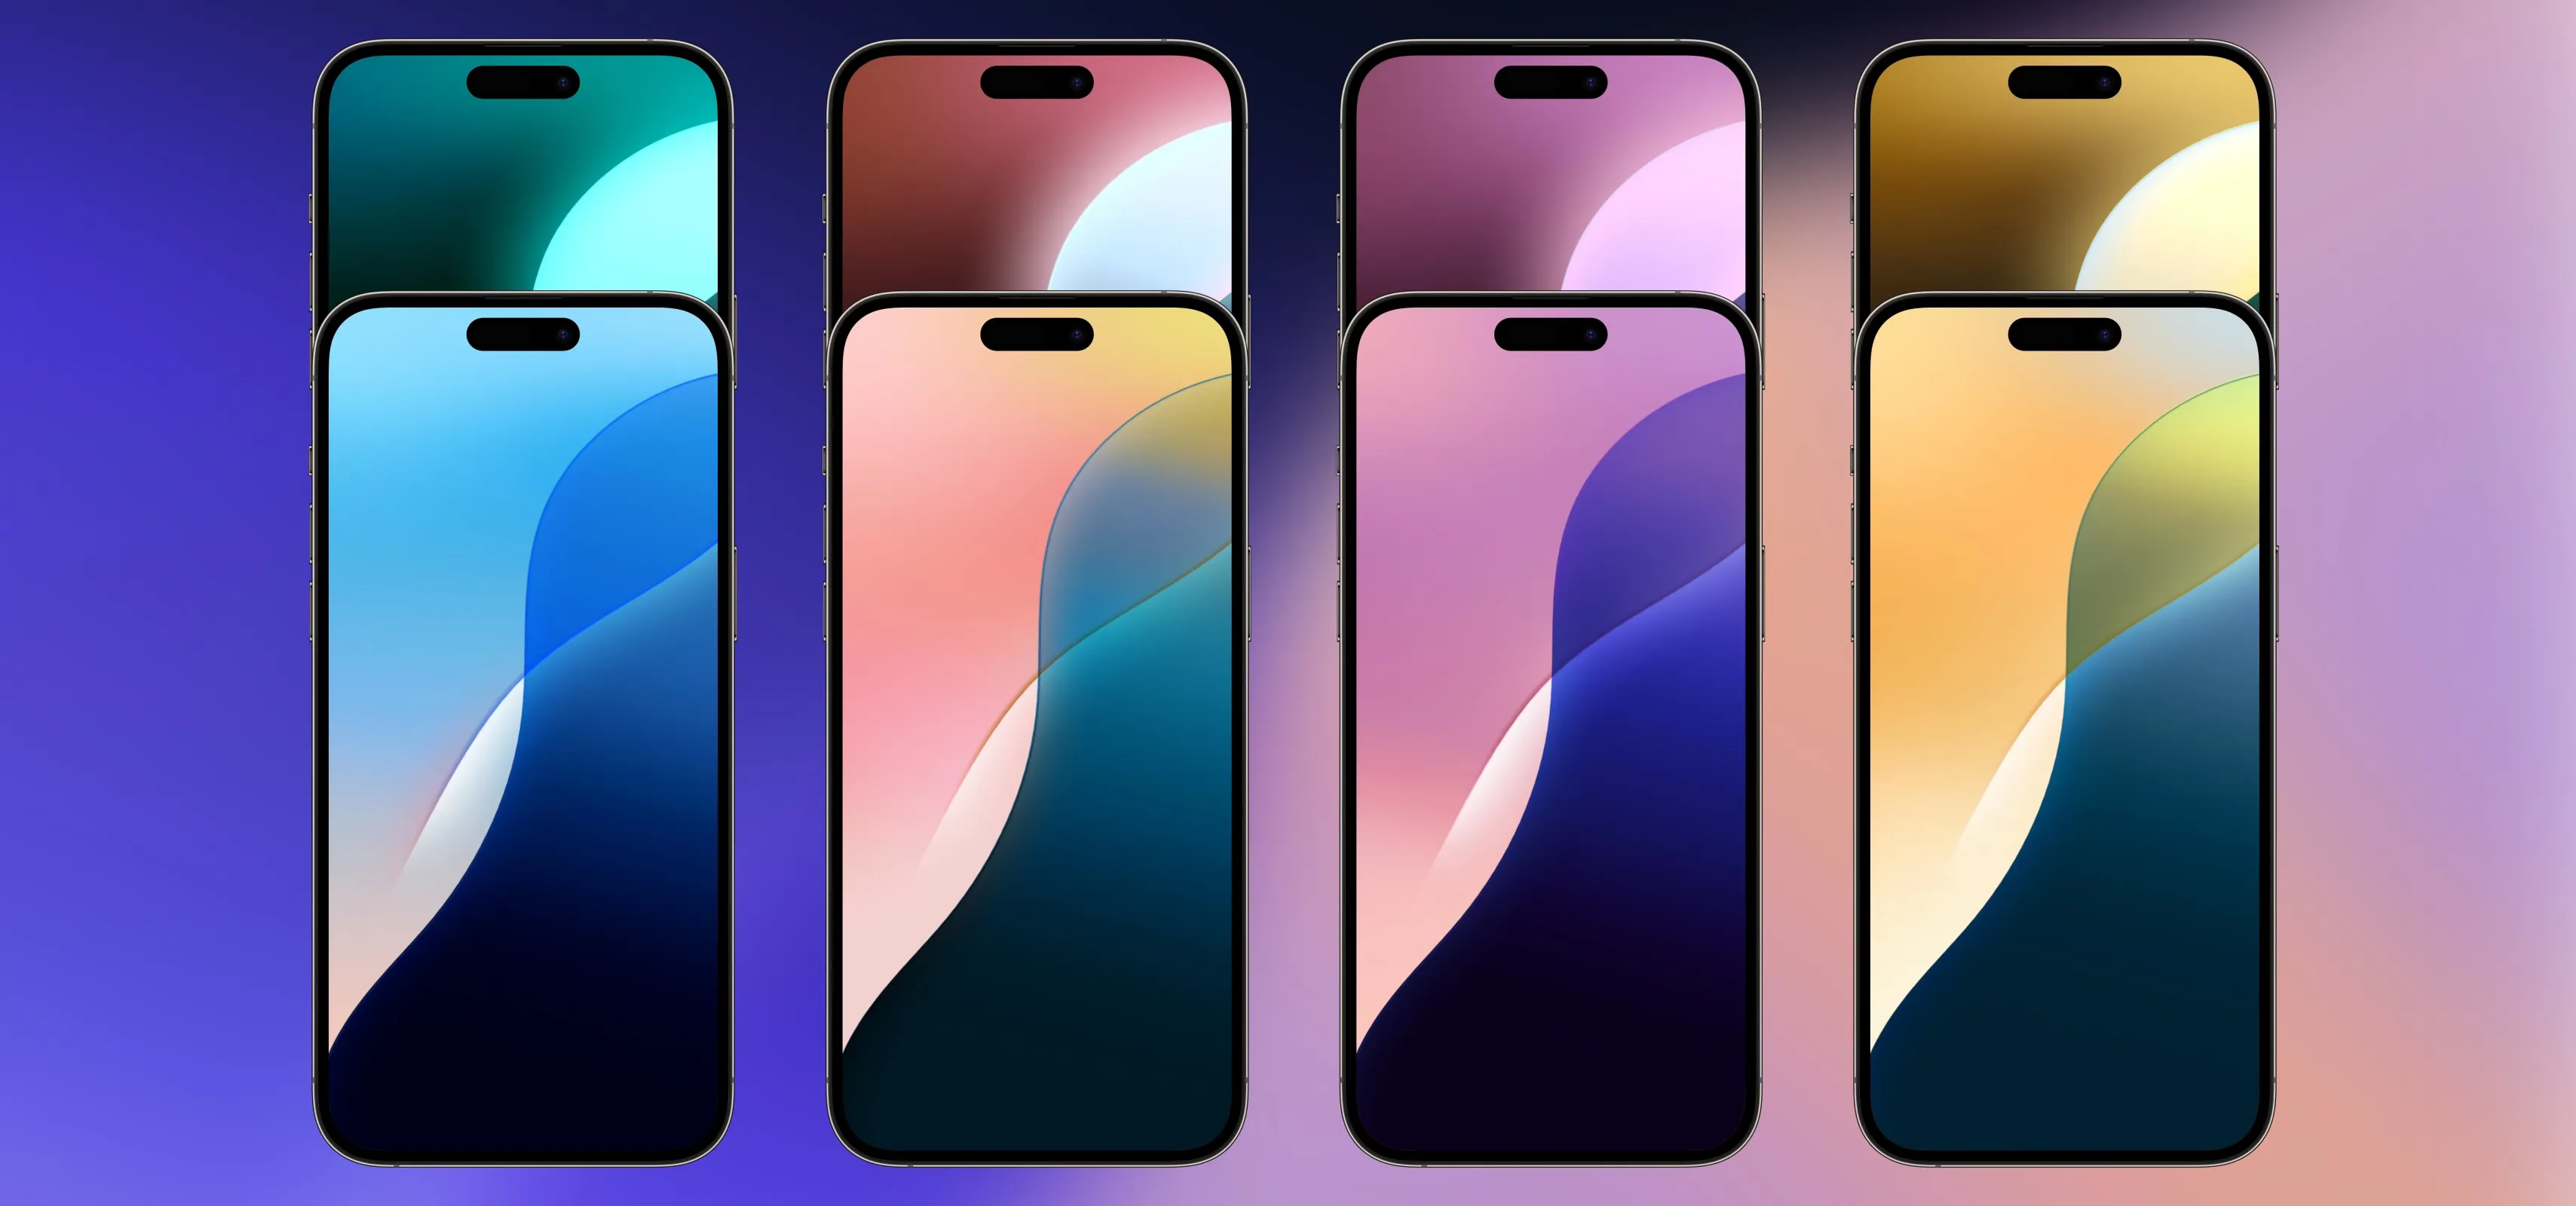 Download Apple's New iOS 18 and iPadOS 18 Wallpapers to Use on Any Device May 13, 2025 am 09:20 AM
Every year, Apple releases new wallpapers for its iPhone and iPad software updates, and that's exactly what happened with the iOS 18 and iPadOS 18 updates released on Sept. 16. But you don't need iOS 18 or iPadOS 18 to enjoy Apple's new backgrounds —
 How Do I Disable Scroll-to-Top on iPhone? FAQ for Scroll-to-TopMay 12, 2025 am 10:53 AM
Many iPhone users like to use the Back to Top feature, which quickly scrolls the page to the top, making it easier to read articles, browse information flow, view emails or messages. But not all users are satisfied with this feature. Many users find that the "Back to Top" function is easily touched by mistake, causing trouble. Some users are very convenient to use this feature on older iPhones, but on new iPhones equipped with Dynamic Island, they feel that the operation is not natural enough and even more confusing. There are also users in the Apple discussion area who are dissatisfied with the "Back to Top" feature and want to disable the automatic scrolling, click scrolling and return to top features. Can I disable the Back to Top feature on my iPhone? Is there a way to avoid accidental activation of iPhone screen automatically scrolling to the top
 Customize Your iPhone with Unique App Launch Sound Effects | iOS Shortcuts GuideMay 12, 2025 am 10:46 AM
Personalize your iPhone or iPad app launches with custom sounds! This guide shows you how to use the Shortcuts app to play a unique sound effect each time you open your favorite apps. Add a fun, personalized touch to your daily routine with this sim


Hot AI Tools

Undresser.AI Undress
AI-powered app for creating realistic nude photos

AI Clothes Remover
Online AI tool for removing clothes from photos.

Undress AI Tool
Undress images for free

Clothoff.io
AI clothes remover

Video Face Swap
Swap faces in any video effortlessly with our completely free AI face swap tool!

Hot Article
Hot Tools

VSCode Windows 64-bit Download
A free and powerful IDE editor launched by Microsoft

Notepad++7.3.1
Easy-to-use and free code editor

WebStorm Mac version
Useful JavaScript development tools

SublimeText3 Chinese version
Chinese version, very easy to use

SAP NetWeaver Server Adapter for Eclipse
Integrate Eclipse with SAP NetWeaver application server.

