


Hyper-V comes pre-installed on Windows 11 computers. While this virtualization tool is not available out of the box on the Home edition of the OS, you can install it with a batch script.
Unfortunately, Hyper-V can conflict with third-party apps on your PC, including other virtualization tools such as VMWare Workstation, VirtualBox, and emulators. As a result, you may encounter the Hyper-V detected error when trying to launch an app, PC games, or hardware tuning utilities.
Luckily, you can disable Hyper-V in Windows 11 with the help of the classic Windows Features dialog, Command Prompt, and PowerShell.
Why You May Need to Disable Hyper-V
By design, only one virtualization tool can use the integrated virtualization extension, such as Intel VT-x and AMD-V, available on your processor. If you need to use third-party virtualization software, including VMware WorkStation and Virtual Box, you must disable the Hyper-V Hypervisor.
You may also need to disable other hypervisor-dependent features, including Device Guard, Credential Guard, and memory integrity feature part of Core Isolation in Windows Security.
How to Check if Hyper-V Is Running on Windows 11

You can access the System Information app to determine if the Hyper-V virtualization is running. This is useful if you need to verify the Hyper-V hypervisor status after or before disabling it.
To check the Hyper-V hypervisor status on your computer:
- Press Win + R to open Run.
- Type msinfo32.exe and click OK to open the apps.
- Next, check if the following entry is available at the bottom of the details tab:
<code class="hljs ">A hypervisor has been detected. Features required for Hyper-V will not be displayed.</code>
- If yes, you'll need to disable Hyper-V, Memory integrity, and the Credential Guard feature, as discussed below, to use other virtualization tools without any error.
1. How to Disable Hyper-V via Windows Optional Features
The Windows Features dialog lets you add additional features disabled by default in Windows 11. You can also use it to disable some advanced features, including Hyper-V.
Note that to fix the Hyper-V detected error, you must disable the Virtual Machine Platform and Windows Hypervisor Platform feature in addition to Hyper-V.
To disable Hyper-V using the Windows Features dialog:
- Press the Win + R key to open the Run dialog.
- Type control and click OK to open the Control Panel.
- In the Control Panel, click on Programs.

- Next, click on Programs and Features.
- In the left pane, click on Turn Windows features on or off.


- In the Windows Features dialog, locate Hyper-V.
- Uncheck the Hyper-V option to disable the feature.
- Next, scroll down and locate the Virtual Machine Platform and Windows Hypervisor Platform options.
- Unselect both options and click OK.
- Windows will uninstall Hyper-V and other features from your system.
- Once done, restart your PC to apply the changes.


2. How to Disable Hyper-V Using BCDEDIT

You can disable Hyper-V in boot configuration using the BCDEdit tool. This is useful if you only want to deactivate Hyper-V and not uninstall it completely.
To disable Hyper-V using BCDEdit:
- Press the Win key and type cmd.
- Right-click on the Command Prompt and select Run as administrator.
- In the Command Prompt window, type the following command and press Enter:
<code class="hljs sql">bcdedit /set hypervisorlaunchtype off</code>
- When the success message appears, close the Command Prompt and restart your PC to apply the changes.
- If you need to activate Hyper-V again, use the following command:
<code class="hljs sql">bcdedit /set hypervisorlaunchtype auto</code>
- Make sure to restart your PC to apply the changes.
Additionally, you can use the BCDEdit tool to perform other advanced tasks, such as deleting the old boot menu options and adding a safe mode shortcut to the Windows 11 boot menu.
3. How to Uninstall Hyper-V Using the Command Prompt

If the Windows Features dialog fails to remove Hyper-V, you can use the Command Prompt to disable the hypervisor. Here's how to do it:
- Open Command Prompt as administrator.
- In the Command Prompt window, type the following command and press Enter:
<code class="hljs bash">dism /online /disable-feature /featurename:Microsoft-hyper-v-all</code>
- Upon execution, the DISM tool will disable Hyper-V and show the operation completed successfully message to indicate successful execution.
- Type exit, press Enter to close the Command Prompt, and restart your PC.
After the restart, you can run your games and other hypervisors without the error. If not, open the Windows Features dialog, disable the Virtual Machine Platform and Windows Hypervisor Platform options, and restart your PC to turn off Hyper-V Hypervisor.
4. How to Disable Hyper-V Using PowerShell

If you prefer PowerShell, use the WindowsOptionalFeature cmdlet to disable Hyper-V in Windows 11. To do this, launch PowerShell with admin privileges and execute the command. Here's how to do it:
- Press the Win key and type powershell.
- Right-click on PowerShell and select Run as administrator.
- Click Yes when prompted by User Account Control.
- In the PowerShell window, copy and paste the command below and press Enter:
<code class="hljs ">Disable-WindowsOptionalFeature -Online -FeatureName Microsoft-Hyper-V-All</code>
- Wait for the process to complete. Once done, close PowerShell and restart your PC to apply the changes.
How to Uninstall the Hyper-V Virtual Network Adapter
During the restart following the uninstallation of Hyper-V, you may frequently encounter the message, "We couldn't complete the updates, undoing changes." To resolve this issue, ensure the Hyper-V virtual network adapters are deleted from your PC. You can delete the virtual network adapter from Device Manager.
To delete Hyper-V's virtual network adapters:
- Press Win + R to open Run.
- Type dvmgmt.msc and click OK to open Device Manager.
- In Device Manager, expand the Network Adapters section to locate the Hyper-V Virtual network adapters.
- If no virtual adapters associated with Hyper-V are listed, click View and select Show hidden devices.
- Right-click on the Hyper-V Virtual Ethernet Adapter and select Uninstall device.
Do not remove the Microsoft Wi-Fi Direct Virtual Adapter.
- Click Uninstall to confirm the action.
- Repeat the steps to delete all the virtual network adapters associated with Hyper-V.
- Once done, close Device Manager and restart your PC. Next, uninstall Hyper-V and check for any improvements.


How to Turn Off Virtualization-Based Security (Memory Integrity)
If you encounter the Hyper-V detected issue even after you disable Hyper-V, try to disable the Memory integrity feature in Windows Security. The Memory integrity feature is part of Core Isolation. It helps prevent hackers from accessing and infecting high-security processes using malicious code.
By default, Windows disables the Memory integrity feature to avoid conflict with apps and device drivers due to incompatibility issues. This can also cause issues with third-party virtualization tools and programs needing access to your system's virtualization hardware.
To turn off Memory integrity in Windows Security:
- Press Win + I to open the Settings app.
- In the left pane, click on the Privacy & security tab.
- Next, click on Windows Security.
- Under the Protection areas section, click on Device security.
- Next, click on Core isolation details under the Core isolation section.
- Toggle the switch under Memory integrity to turn it Off.
- Restart your PC to apply the changes.


How to Disable Device Guard and Credential Guard
Device Guard and Credential Guard don't play well with other virtualization software, including VMware Workstation. You may encounter an error saying Device Guard/Credential Guard is enabled when trying to power on the VMware Workstation.
Since you intend to use third-party virtualization software, you can safely disable Device Guard and Credential Guard using the Registry Editor.
That said, modifying the Windows Registry involves risk. We recommend you create a restore point and take a registry backup before attempting any modifications.
To disable Device Guard and Credential Guard:
- Press Win + R to open Run.
- Type regedit and click OK to open Registry Editor.
- In Registry Editor, navigate to the following location:
<code class="hljs ">HKEY_LOCAL_MACHINE\SYSTEM\CurrentControlSet\Control\Lsa</code>
- In the right pane, locate the LsaCfgFlagsDWORD value. You'll need to create a new key if no such value exists.
- To create a new key, right-click the Lsa subkey in the left pane and select New

- Next, double-click on LsaCfgFlags and type 0 in the Value data field.
- Click OK to save the changes.
- Next, in Registry Editor, navigate to the following location:
<code class="hljs ">HKEY_LOCAL_MACHINE\SYSTEM\CurrentControlSet\Control\DeviceGuard</code>
- In the right pane, check if the EnableVirtualizationBasedSecurity value exists. If not, right-click the DeviceGuard subkey and select New > DWORD (32-bit) Value.
- Next, rename the key as EnableVirtualizationBasedSecurity and set its value to 0.
- Click OK to save the changes.


Restart your computer to apply the changes and disable Device Guard and Credential Guard. If you ever need to enable these features, modify the value data and change it to 1.
Disable Hyper-V in Windows 11 to Run Third-Party Virtualization Tools and Apps
Hyper-V is an excellent utility if you want an out-of-the-box virtualization solution. However, you must disable Hyper-V to use third-party virtualization software, including VirtualBox and WMware Workstation.
Fortunately, you can easily disable the Hyper-V Hypervisor and other Virtualization-based Security solutions to use third-party hypervisors without errors.
The above is the detailed content of How to Disable or Remove Hyper-V in Windows 11. For more information, please follow other related articles on the PHP Chinese website!

 How to Speed Up Your PC (Windows 11)May 11, 2025 pm 06:01 PM
Is your Windows 11 PC running slower than usual? Opening apps and loading websites taking an eternity? You're not alone! This guide offers three simple, no-download solutions to boost your computer's performance without complex settings adjustments
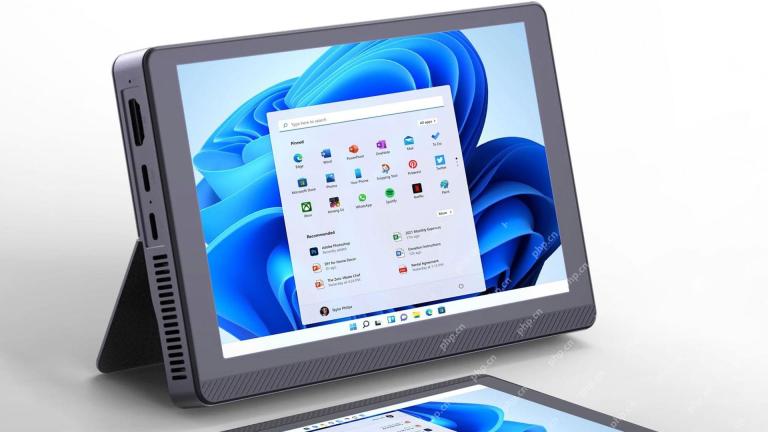 This Mini PC Doubles as a Not-So-Great TabletMay 11, 2025 am 06:01 AM
This mini PC, masquerading as a tablet, leaves much to be desired. The 7-inch, 1290x800 resolution screen is underwhelming. While some might use it for media consumption (similar to a 7-inch Amazon Fire Tablet), it's unlikely to be a primary choice
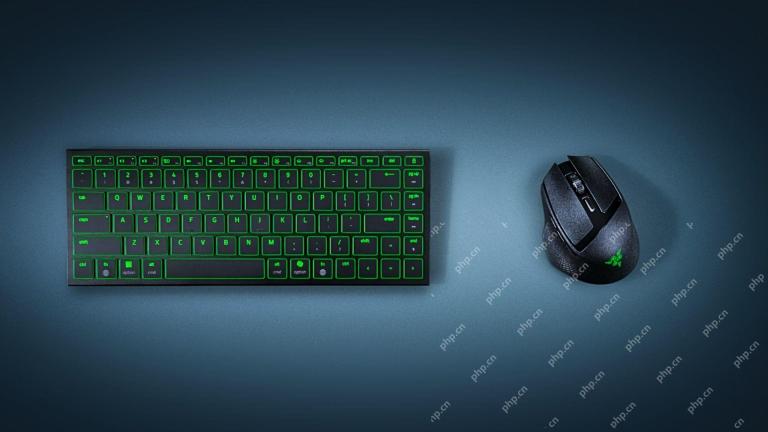 Razer's New Basilisk Mobile & Joro Are for on-the-go GamingMay 11, 2025 am 03:02 AM
Razer launches the new Basilisk Mobile and Joro gaming keyboards, designed for mobile gamers. The Joro keyboard is small, but it comes with a full function key row and full-size arrow keys, providing a familiar and comfortable layout. The low button design helps maintain ergonomic hand posture and reduces fatigue caused by long-term gaming. Joro uses game-level keys to ensure fast and accurate key response and satisfying feedback, and enhances durability with durable UV-coated ABS keycaps. For competitive players, Joro also comes with Snap Tap mode, which improves first-person shooting game by allowing faster input between two keys without releasing the first key
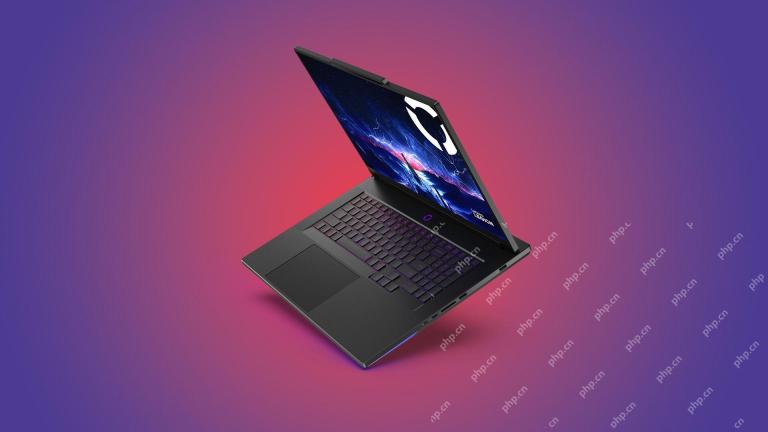 Lenovo's Legion 9i Gaming Laptop Has a Massive 18-Inch ScreenMay 10, 2025 pm 09:04 PM
Lenovo's latest Legion 9i gaming laptop is a powerhouse, but portability might be a concern. This 10th-generation model boasts a groundbreaking 18-inch display, a first for the Legion 9i series. The screen offers stunning visuals, with up to 4K res
 You Can't Buy MSI's Latest Tiny PCMay 10, 2025 am 03:01 AM
MSI Unveils Compact, Fanless Embedded PC: The MS-C927 For those who appreciate smaller-sized computers, MSI's latest offering, the MS-C927, is a noteworthy addition, though its aesthetics might not be award-winning. This fanless embedded PC is desig
 My Favorite Fidget Toys are Mechanical SwitchesMay 10, 2025 am 01:04 AM
The crisp sound of the mechanical keyboard is pleasant, but it can only be heard when using the keyboard. These small and cheap stress-relieving toys solve this problem. Playing with the clicking stuff calmed me down—the sound was pleasant, and my hands were moving while focusing on other things. I used to do this with a telescopic pen (in the age when I needed to write my papers) which bothered my classmates. But now, mechanical keyboards and mechanical shafts bring the same effect. The clicking and sounds made by the mechanical shaft are pleasant, and the different feels and "clicking" of different mechanical shafts add to the satisfaction. Related ###### I am addicted to mechanical axes and keycaps, not collecting keyboards OK, maybe I'm just addicted to collecting anything clicking. Article 1
 How to Change Default View in File Explorer (Windows 11)May 09, 2025 pm 02:02 PM
Customize Your Windows 11 File Explorer: A Guide to Setting and Saving Your Preferred View Tired of File Explorer's default view? This guide shows you how to easily change and permanently save your preferred folder view in Windows 11, whether it's l
 Fedora 42 Joins the Windows Subsystem for LinuxMay 09, 2025 am 03:01 AM
Pushing the boundaries of Linux: exploring unusual applications. Purely for fun, of course. Posts 7 Technically, you can create a WSL image for any compatible Linux distribution. However, officially supported images offer a significantly smoother e


Hot AI Tools

Undresser.AI Undress
AI-powered app for creating realistic nude photos

AI Clothes Remover
Online AI tool for removing clothes from photos.

Undress AI Tool
Undress images for free

Clothoff.io
AI clothes remover

Video Face Swap
Swap faces in any video effortlessly with our completely free AI face swap tool!

Hot Article
Hot Tools

SAP NetWeaver Server Adapter for Eclipse
Integrate Eclipse with SAP NetWeaver application server.

Notepad++7.3.1
Easy-to-use and free code editor

EditPlus Chinese cracked version
Small size, syntax highlighting, does not support code prompt function

MinGW - Minimalist GNU for Windows
This project is in the process of being migrated to osdn.net/projects/mingw, you can continue to follow us there. MinGW: A native Windows port of the GNU Compiler Collection (GCC), freely distributable import libraries and header files for building native Windows applications; includes extensions to the MSVC runtime to support C99 functionality. All MinGW software can run on 64-bit Windows platforms.

ZendStudio 13.5.1 Mac
Powerful PHP integrated development environment

