Home >Computer Tutorials >Browser >How to change the screen recording path in UC Browser_How to change the screen recording path in UC Browser
How to change the screen recording path in UC Browser_How to change the screen recording path in UC Browser
- 王林Original
- 2024-06-09 14:37:52983browse
What should I do if the UC Browser screen recording path cannot be changed? Don't worry! PHP editor Baicao will give you a detailed answer in this article. Regarding this issue, this article will introduce the method of changing the screen recording path in UC Browser with pictures and texts, and take you step by step to solve the problem. Please continue reading to learn more about how to change the UC Browser screen recording path.
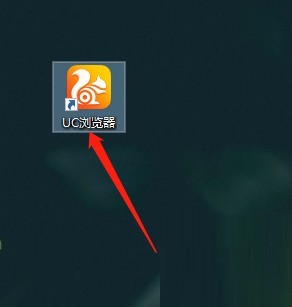
1. First, double-click to open the [UC Browser] software, as shown in the figure below.
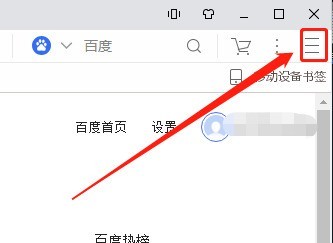
2. After opening the software, click the [three] icon in the upper right corner, as shown in the figure below.
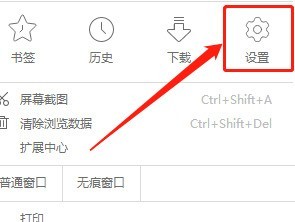
3. In the pop-up menu bar, click the [Settings] option, as shown in the figure below.
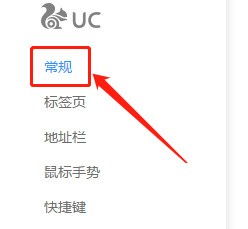
4. After opening the [Settings] window, click the [General] option on the left, as shown in the figure below.
5. On the right page, first uncheck [Use download path] and click the [Change] option, as shown in the figure below.
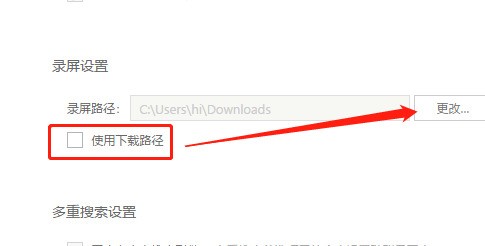
6. Finally, in the pop-up window, select the path you want to change according to your needs, and click the [OK] option, as shown in the figure below.
The above is the detailed content of How to change the screen recording path in UC Browser_How to change the screen recording path in UC Browser. For more information, please follow other related articles on the PHP Chinese website!

