


Summary: Are you worried about insufficient disk capacity in your Windows 10 system? Partitioning operations can help you manage disk space effectively. PHP editor Xinyi will introduce you in detail the operation steps of Windows 10 system partition to help you easily solve the problem of insufficient disk space. Continue reading the following article to learn how to free up valuable disk space and optimize your Windows 10 system through partitioning.
1. Click the win icon in the lower left corner, which is the start button, and select [Settings].

2. After entering settings, click [Time and Language].

3. Select the language in the time and language settings, and select [Manage Language Settings] on the right.

4. Enter [Management], click [Change System Regional Settings], and find the zone you want in the drop-down menu.
5. Click OK and restart the computer.
The above is the detailed content of Operation steps for transferring zones in WIN10 system. For more information, please follow other related articles on the PHP Chinese website!

 This File Manager Solves All My Windows File Explorer WoesApr 27, 2025 am 06:02 AM
This article explores why the author prefers OneCommander, a free third-party file explorer, over Windows File Explorer. The author highlights several key shortcomings of Windows File Explorer, including its slow adoption of modern features (like da
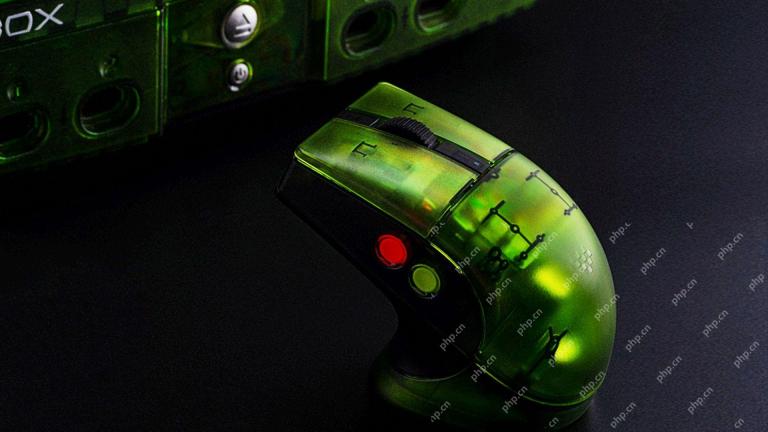 8Bitdo's Retro Xbox Mouse Is Just $48 TodayApr 27, 2025 am 12:56 AM
8BitDo Retro R8 Gaming Mouse: Great Value Offers are coming! The 8BitDo Xbox Edition R8 is an officially licensed translucent green wireless gaming mouse that uses a PAW 3395 sensor, supports three connectivity modes: Bluetooth, 2.4G and wired USB-C, and is equipped with programmable buttons and a charging dock. Amazon is selling well now! This high-performance wireless gaming mouse is currently priced at just $47.99, enjoying a 20% discount, a record low! Originally priced at $59.99, the R8 mouse is absolutely worth the money with its excellent features and officially licensed Xbox design. Its dazzling translucent green shell is similar to the first generation Xbo
 Windows Recall Is Finally Rolling Out After Controversal RevealApr 27, 2025 am 12:55 AM
Copilot PCs Get Enhanced Recall and Windows Search Features Microsoft's Copilot PCs are receiving significant updates to their Recall and Windows Search functionalities. These improvements leverage the power of the device's integrated TPU (Tensor
 Microsoft Is Fixing a Weird Bug in OutlookApr 26, 2025 pm 09:03 PM
High CPU usage in Outlook? Microsoft's got a fix coming. Many Outlook users on Windows have reported a frustrating issue: their CPUs are spiking to 30-50% while simply composing emails. This impacts performance, battery life (especially on laptops),
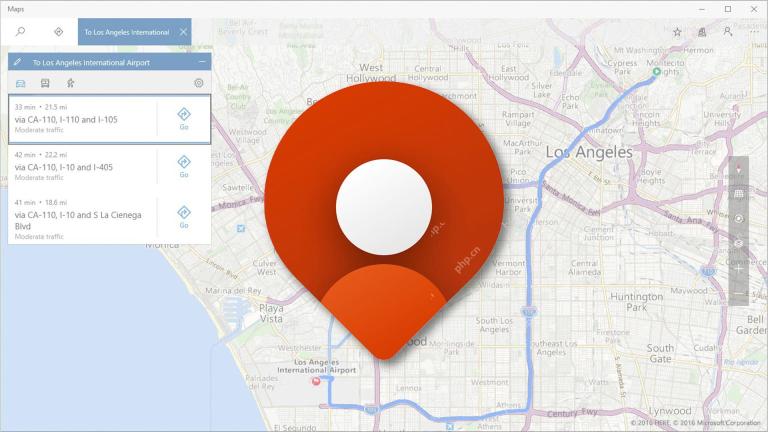 Windows Maps Will Become 'Nonfunctional' This JulyApr 26, 2025 am 09:01 AM
Related ##### Before Dropbox and OneDrive, We Had Windows Briefcase Windows Briefcase: A Pioneer in File Synchronization. Posts 1 Choosing a navigation app? Bing Maps offers the closest experience to the discontinued Windows Maps. Google Maps and
 Before Dropbox and OneDrive, We Had Windows BriefcaseApr 26, 2025 am 06:11 AM
The "breviation package" feature introduced by Windows 95 makes file synchronization possible. At that time, this function was unique in the field of file synchronization. However, with the rise of cloud services such as OneDrive, Microsoft has gradually phased out the "branded briefcase" feature since Windows 8. You might be surprised that file synchronization is not a new technology, in fact, Microsoft has provided this feature with a virtual folder called "Briefcase" as early as Windows 95. A brief history of Windows "Briefcase" As the name suggests, the "brookie" feature was released with Windows 95 released in 1995, which is still considered by many to be one of the best operating systems. It has user friends
 Razer Joins the Vertical Mouse Party With New Pro Click V2Apr 26, 2025 am 03:05 AM
Razer Pro Click V2 Vertical Edition Review: Comfort and Performance Razer's first vertical mouse, the Pro Click V2 vertical version, is known for its ergonomic design. The tilt angle of 71.7 degrees, like a handshake, effectively reduces wrist pressure. In terms of technical specifications, the vertical version and the standard version of Pro Click V2 have many similarities. Both are equipped with Razer's advanced Focus Pro optical sensor, with a maximum sensitivity of 30,000 DPI, a maximum speed of 550 inches per second and a maximum acceleration of 40G. All mechanical buttons can withstand 60 million clicks, ensuring durability. In terms of battery life, the vertical version is up to 6 months
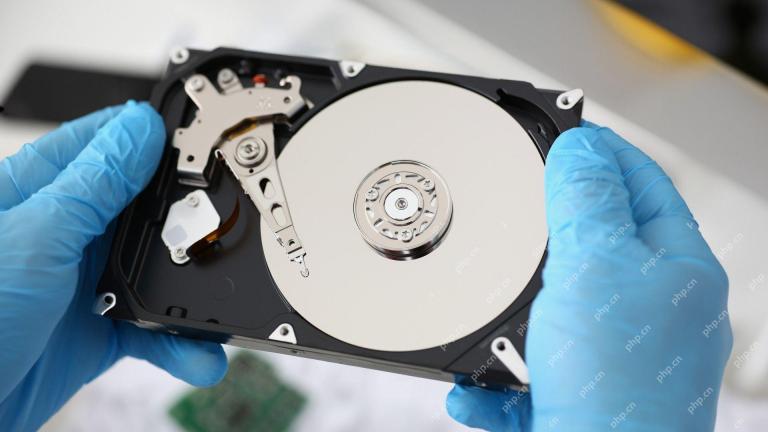 Western Digital Is Preparing 40TB HDDs, but It's Not Stopping ThereApr 25, 2025 am 09:01 AM
Western Digital's 40TB HDDs: A Stepping Stone to 100TB Western Digital (WD) is gearing up to launch 40TB hard disk drives (HDDs), but their ambitions extend far beyond that. This move is a crucial step in WD's roadmap to achieve its ambitious goal:


Hot AI Tools

Undresser.AI Undress
AI-powered app for creating realistic nude photos

AI Clothes Remover
Online AI tool for removing clothes from photos.

Undress AI Tool
Undress images for free

Clothoff.io
AI clothes remover

Video Face Swap
Swap faces in any video effortlessly with our completely free AI face swap tool!

Hot Article
Hot Tools

PhpStorm Mac version
The latest (2018.2.1) professional PHP integrated development tool

mPDF
mPDF is a PHP library that can generate PDF files from UTF-8 encoded HTML. The original author, Ian Back, wrote mPDF to output PDF files "on the fly" from his website and handle different languages. It is slower than original scripts like HTML2FPDF and produces larger files when using Unicode fonts, but supports CSS styles etc. and has a lot of enhancements. Supports almost all languages, including RTL (Arabic and Hebrew) and CJK (Chinese, Japanese and Korean). Supports nested block-level elements (such as P, DIV),

MinGW - Minimalist GNU for Windows
This project is in the process of being migrated to osdn.net/projects/mingw, you can continue to follow us there. MinGW: A native Windows port of the GNU Compiler Collection (GCC), freely distributable import libraries and header files for building native Windows applications; includes extensions to the MSVC runtime to support C99 functionality. All MinGW software can run on 64-bit Windows platforms.

MantisBT
Mantis is an easy-to-deploy web-based defect tracking tool designed to aid in product defect tracking. It requires PHP, MySQL and a web server. Check out our demo and hosting services.

EditPlus Chinese cracked version
Small size, syntax highlighting, does not support code prompt function

