


How to flash bios for Gigabyte motherboard
1. Enter the BIOS and boot from the U disk to enter DOS. Enter Dir to view the BIOS file in the USB flash drive. Gigabyte Computer Illustration 4 2. Enter BACKUP to back up the BIOS and generate a BAK.ROM file in the USB flash drive.
2. The method is as follows: After entering the BIOS, press "F8" to enter "QFlash"; after entering "QFlash", click "UpdateBIOSfromDrive"; after entering this partition, select the file with the extension "f8"; Then a confirmation box will pop up to ask if you want to upgrade, just click the Enter key to confirm.
3. Take the ASUS motherboard as an example: first determine the model of your motherboard, and then go to the motherboard’s official website to download the BIOS files and tools needed to flash the BIOS. These files can be downloaded from the motherboard’s official website. Open and run winflash, and follow the prompts to choose to obtain the BIOS from this machine.
4. First, go to GIGABYTE's official website and click on the search box. Enter the motherboard model, such as AB350-Gaming 3 Rev. If there are clearly distinguished version numbers, you need to select and download based on the version number of your motherboard.
Press F to enter Gigabyte motherboard bios
Press f12 to enter. First, insert the bootable USB disk that has been made using the quick-boot USB disk creation tool directly into the USB port of the computer, and then turn on the computer. After turning on the computer, when you see the startup screen, press the shortcut key F12 continuously.
Press F12 to enter Gigabyte motherboard bios, or press the "Delete" key. Enter the Gigabyte motherboard BIOS settings, which are mainly divided into the upper menu bar, left operation bar, right prompt bar, etc. The main interface displays the host information settings, and the processor, memory and voltage related parameters can also be set below.
During the Gigabyte motherboard bios booting process, repeatedly press the "F12" key to jump to the quick startup menu, use the arrow keys to move the cursor, select the "Entersetup" item and press Enter, you can also enter the BIOS setup interface.
GIGABYTE motherboard BIOS settings.
The first step is to turn on the computer and enter the power-on self-test interface. When the computer starts, some prompt messages will appear on the screen, indicating that the hardware self-test is in progress. In this interface, press the Del key or F2 key on the keyboard to enter the BIOS setting interface. The second step is to use shortcut keys to enter the BIOS setup interface.
Press the power switch of the computer host to turn it on, and quickly click the Delete key on the keyboard. After entering the BIOS, select the "System" item in the menu bar, and then double-click the "System language" item. In the "System language" item, click and select "Chinese Simplified" in the pop-up dialog box.
The main method for setting up the BIOS of a Gigabyte motherboard to boot from a USB flash drive is as follows: When starting the computer, when a prompt appears on the screen, quickly press F12 key to enter the quick boot menu.
Now we will show you how to set the boot sequence in Gigabyte BIOS. First, you need to turn on the computer and enter the BIOS. Normally, you can press. F2 or DEL key. Different computer brands may differ, please check the computer manual for more information
Press f to enter
1, press f12 to enter. . First insert the bootable USB disk that has been created using the quick-boot USB disk creation tool into the USB port of the computer, and then turn on the computer. When you see the startup screen, press the shortcut key F12 continuously.
2. Press F12 to enter the Gigabyte motherboard BIOS, or press the "Delete" key to enter the Gigabyte motherboard BIOS settings, which are mainly displayed in the upper menu bar, left operation bar, and right prompt bar. After setting the host information, you can also set the processor, memory and voltage related parameters below 3. During the Gigabyte motherboard bios boot process, repeatedly press the "F12" key to jump to the quick startup menu, and use the direction keys. Move the cursor, select the "Entersetup" item and press Enter, you can also enter the BIOS setup interface. 4. After entering the BIOS, we select System above and it will pop up the moment it is turned on. Press the "F12" key on the Gigabyte logo interface to enter the Gigabyte motherboard BIOS interface 5. After the computer is shut down and restarted, click the delete button while the monitor is lit, and the computer will enter the bios. Set up the interface. BIOS is the abbreviation of Basic Input Output System in English. The literal translation is the Chinese name of Basic Input Output System. 6. Press F12 to start the Gigabyte motherboard USB disk. Use the startup hotkey to enter the bios page. When the Gigabyte logo appears when the computer starts, press the startup button immediately to enter.The above is the detailed content of How to enter bios on Gigabyte motherboard. For more information, please follow other related articles on the PHP Chinese website!

 Get Creative With Sound by Layering Tracks in Voice MemosApr 29, 2025 am 03:01 AM
On iPhone 16 Pro and iPhone 16 Pro Max, the Voice Memos app includes a recording feature that lets you record a second audio layer – like vocals, narration, or an extra instrument – over an existing memo, all without needing headphones. Keep reading
 Send Web Links That Jump to the Exact Text You MeanApr 25, 2025 pm 09:01 PM
Sometimes when you share a webpage link with someone, you just want to bring their attention to a specific passage or sentence to make your point, rather than have them read through the entire article.In 2020, Google added a function to its Chrome br
 Everything Rumored for the 2025 Apple Watch Series 11Apr 25, 2025 am 09:59 AM
As we celebrate the 10th anniversary of the Apple Watch today, we thought we'd take a look at what Apple has in store for the next-generation version of the device that's coming this fall. The Apple Watch Series 11 doesn't sound like it's going to be
 The best monitors for Xbox Series X in 2025Apr 25, 2025 am 09:16 AM
Level up your Xbox experience with one of the best monitors for Xbox Series X. A dedicated gaming monitor can be a worthy alternative to one of the best gaming TVs, offering a sharper picture or high-end features like a blazing fast refresh rate or s
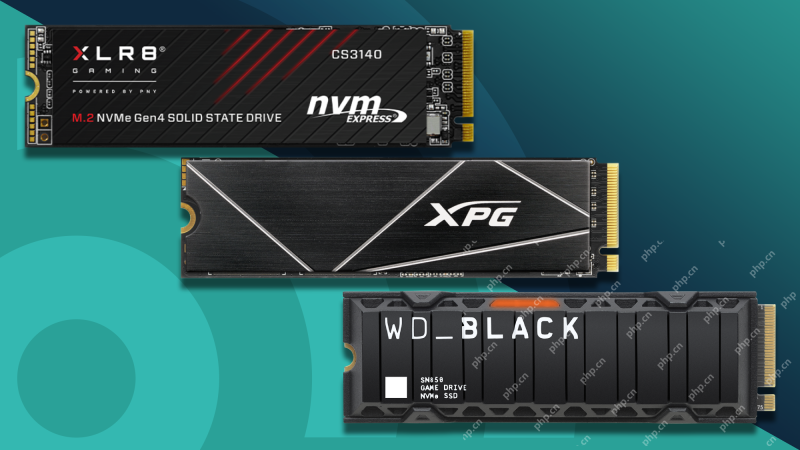 The best SSD for PS5 in 2025: top storage expansion options tested and rankedApr 25, 2025 am 09:08 AM
The best SSD for PS5 is a must if you own lots of PS5 games. Many of the most popular titles on the platform now require more than 100GB of storage space, with some coming in even higher. On my personal PS5, I have more than 300GB taken up by just Ca
 Shopping for a Nintendo Switch 2 on eBay? Beware of deals that aren't worth the paper they're printed on – and that's the pointApr 25, 2025 am 09:02 AM
Nintendo Switch 2 pre-orders have kicked off in the United StatesWe've spotted several eBay listings promising a Switch 2 pre-order, but they aren't what they seemInstead of a console, you'll get a photo of the Switch 2Nintendo Switch 2 pre-orders ar
 Forget Fallout, this post-apocalyptic shooter is free right now to celebrate its 15th anniversaryApr 24, 2025 am 10:47 AM
The latest PlayStation Store sale starts today, bringing loads of unmissable discounts on some of the very best PS5 games around.Titled 'Big Games, Big Deals', the sale ends on May 7, giving you just over two weeks to take advantage of the savings an
 BioShock 4 - everything we know about the next BioShock gameApr 24, 2025 am 10:21 AM
Despite having been announced over five years ago, we barely know anything about BioShock 4, and have next to nothing that's been officially confirmed. This is a shame given it's one of the most interesting and highly acclaimed gaming series of all t


Hot AI Tools

Undresser.AI Undress
AI-powered app for creating realistic nude photos

AI Clothes Remover
Online AI tool for removing clothes from photos.

Undress AI Tool
Undress images for free

Clothoff.io
AI clothes remover

Video Face Swap
Swap faces in any video effortlessly with our completely free AI face swap tool!

Hot Article
Hot Tools

SublimeText3 Linux new version
SublimeText3 Linux latest version

VSCode Windows 64-bit Download
A free and powerful IDE editor launched by Microsoft

Dreamweaver CS6
Visual web development tools

Dreamweaver Mac version
Visual web development tools

WebStorm Mac version
Useful JavaScript development tools

