
Heim >Java >javaLernprogramm >Wie Spring Boot Thymeleaf integriert
Wie Spring Boot Thymeleaf integriert

- 王林nach vorne
- 2023-05-16 09:22:111545Durchsuche
Thymeleaf
Grundlegende Einführung
Spring Boot empfiehlt offiziell die Verwendung von Thymeleaf als Template-Engine. SpringBoot bietet eine Reihe von Standardkonfigurationen für Thymeleaf und einen View-Resolver für Thymeleaf. Sobald die Abhängigkeiten von Thymeleaf in das Projekt importiert werden, wird die entsprechende automatische Konfiguration (ThymeleafAutoConfiguration) automatisch wirksam, sodass Thymeleaf perfekt in Spring Boot integriert werden kann. Die Thymeleaf-Vorlagen-Engine kann perfekt mit HTML-Tags kombiniert werden, um das Backend-Rendering von Daten zu erleichtern. Thymeleaf unterstützt statische Effekte und dynamische Effekte Wenn keine dynamischen Daten vorhanden sind, werden statische Effekte angezeigt. Die Vorlagen-Engine dient dazu, die Benutzeroberfläche von Geschäftsdaten (Inhalten) zu trennen Die Template-Engine der Website generiert ein Standard-HTML-DokumentEs dient dazu, mithilfe der Template-Datei und der Daten einen HTML-Code über die Template-Engine zu generieren **Gemeinsame Template-Engines sind: jsp, freemarker, Velocity, Thymeleaf Der Standard-Schreibort von Thymeleaf befindet sich auf der offiziellen Website von templates Thymeleaf in diesem Verzeichnis: https://www.thymeleaf.org/
<dependency>
  <groupId>org.springframework.boot</groupId>
  <artifactId>spring-boot-starter-thymeleaf</artifactId>
</dependency>
Der Standardansichtspfad von Thymeleaf lautet: / resources/templates. Erstellen Sie HTML in diesem Verzeichnis und stellen Sie thymeleaf
<html lang="en" xmlns:th="http://www.thymleaf.org">
xmlns:th vor ="http://www.thymleaf.org“>
Grundlegende Syntax
${domain attribute name}: Rufen Sie den Domänenattributwert in der Anforderungsdomäne ab und zeigen Sie ihn an
${session.domain attribute name}: Holen Sie sich den Attributwert und die Anzeige der Domäne in der Sitzungsdomäne.
th: Texttextersetzung
< p th:text="${name}">aaa</p>th:if und th:unless Textersetzung
Verwenden Sie die Attribute th:if und th:unless für die bedingte Beurteilung, th:unlessth:unless ist genau das Gegenteil, der Inhalt wird nur angezeigt, wenn die Ausdrucksbedingung nicht erfüllt ist <span th:text="${user.name}">Tom</span>
thymeleaf verwendet standardmäßig den Variablennamen + StatistikstatusWenn die Statusvariable nicht explizit festgelegt ist, verwendet thymeleaf standardmäßig einen Variablennamen + Statistikstatus
<h3 th:if="${age>=18}">成年</h3>
<h3 th:unless="${age>=18}">未成年</h3>
th:id, th:value, th :checked usw. (bezogen auf das Formular)
th:object kann Objektattribute definieren*
{} kann in Verbindung mit th:object verwendet werden, um die Attribute im Objekt zu extrahieren#dates.format () kann zum Formatieren des Datumsformats verwendet werden.
<html lang="en" xmlns:th="http://www.thymleaf.org">
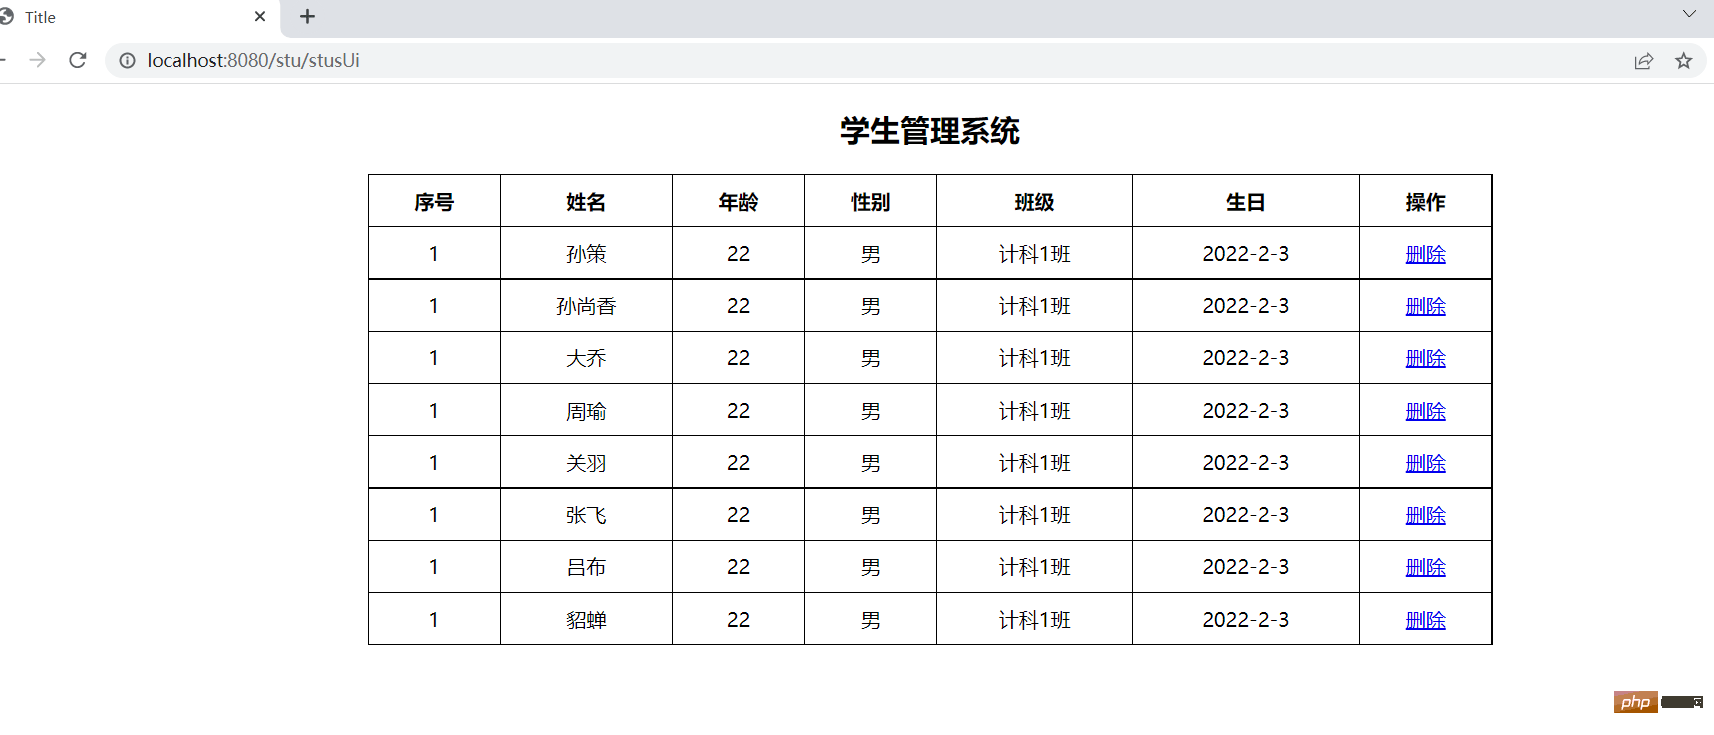
Title
学生管理系统
| 序号 | 姓名 | 年龄 | 性别 | 班级 | 生日 | 操作 |
|---|---|---|---|---|---|---|
| 1 | aa | 22 | 男 | 计科1班 | 2022-2-3 | 删除 |