
Heim >Betrieb und Instandhaltung >Nginx >So erstellen Sie eine .NET Core2.0+Nginx+Supervisor-Umgebung unter dem Centos7-System
So erstellen Sie eine .NET Core2.0+Nginx+Supervisor-Umgebung unter dem Centos7-System

- PHPznach vorne
- 2023-05-12 20:13:18920Durchsuche
1. Einführung in den Linux .net Core
Historisch gesehen hat Microsoft .net-Unterstützung nur für seine eigene Plattform bereitgestellt, was bedeutet, dass dieses „theoretisch“ plattformübergreifende Framework nur auf Linux und MacOS unterstützt werden kann Drittprojekte (z. B. mono.net).
Bis Microsoft den vollständig Open-Source-.net-Core auf den Markt bringt. Diese Open-Source-Plattform ist mit dem .NET-Standard kompatibel und bietet vollständig konsistente APIs unter Windows, Linux und macOS. Obwohl dieses kompakte .net-Framework nur eine Teilmenge des Standard-.net-Frameworks ist, ist es bereits recht leistungsstark.
Einerseits ermöglicht dieses kleine Framework die gleichzeitige Ausführung bestimmter funktionaler Anwendungen auf drei Plattformen (genau wie einige funktionale Python-Skripte). Andererseits ermöglicht es auch dem Serverbetriebs- und Wartungspersonal die Verwendung von asp. Das Net-Service-Programm wird auf einem Linux-Server bereitgestellt (insbesondere für Server, die Schwierigkeiten beim Ausführen von Windows-Servern haben).
2. Vorbereitung vor der Bereitstellung der Linux .net Core2.0-Umgebung
1. Umgebungsbeschreibung:
Serversystem: Centos 7.2.1511
2. Vorbereitung vor der Installation (schalten Sie die Firewall aus, schalten Sie Selinux aus )
1 )Firewall schließen:
systemctl stop firewalld.service #停止firewall
systemctl disable firewalld.service #禁止firewall开机启动
firewall-cmd --state #查看默认防火墙状态(关闭后显示notrunning,开启后显示running)
2)Selinux schließen
sed -i "s/selinux=enforcing/selinux=disabled/g" /etc/selinux/config
Sehen Sie sich die geänderte Datei wie folgt an:
[root@localhost ~]# cat /etc/selinux/config

# this file controls the state of selinux on the system.
# selinux= can take one of these three values:
#   enforcing - selinux security policy is enforced.
#   permissive - selinux prints warnings instead of enforcing.
#   disabled - no selinux policy is loaded.
selinux=disabled
# selinuxtype= can take one of three two values:
#   targeted - targeted processes are protected,
#   minimum - modification of targeted policy. only selected processes are protected.
#   mls - multi level security protection.
selinuxtype=targeted
3) Centos neu starten
reboot
3. Centos stellt die .net Core2.0-Umgebung bereit
1. Dotnet-Produkte hinzufügen
Bevor Sie .net Core installieren, müssen Sie sich für den Microsoft-Produkt-Feed registrieren. Dies muss nur einmal durchgeführt werden. Registrieren Sie zunächst Ihren Microsoft-Signaturschlüssel und fügen Sie dann Ihren Microsoft-Produkt-Feed hinzu.
rpm --import https://packages.microsoft.com/keys/microsoft.asc
sh -c 'echo -e "[packages-microsoft-com-prod]nname=packages-microsoft-com-prod nbaseurl=https://packages.microsoft.com/yumrepos/microsoft-rhel7.3-prodnenabled=1ngpgcheck=1ngpgkey=https://packages.microsoft.com/keys/microsoft.asc" > /etc/yum.repos.d/dotnetdev.repo'
2.Installieren Sie .net Core SDK
Bevor Sie mit dem nächsten Schritt fortfahren, entfernen Sie bitte alle vorherigen Vorschauversionen von .net von Ihrem System.
Die folgenden Befehle aktualisieren die Liste der zu installierenden Produkte, installieren die erforderlichen Komponenten für .net Core und installieren dann das .net Core SDK.
yum update
yum install libunwind libicu -y
yum install dotnet-sdk-2.0.0 -y
3. Überprüfen Sie, ob dotnet erfolgreich installiert wurde, und überprüfen Sie die Version
dotnet --info
dotnet --version
4. Initialisieren Sie eine Testumgebung im Home-Verzeichnis und geben Sie „Hallo Welt“ aus. Inhalt (Testmethode 1, kann ignoriert werden)
cd /home
dotnet new console -o hwapp
cd hwapp
dotnet run
Der leere Inhalt der Ausgabe lautet wie folgt:
[root@localhost hwapp]# dotnet run
hello world!
2. Laden Sie die Instanzseite von .net Core zum Testen hoch (Testmethode 2, empfohlen)
centos unter .net Core 2-Umgebungstestfall (laden Sie ihn in das /home-Verzeichnis oder ein benutzerdefiniertes Verzeichnis hoch)
Download-Adresse:
http://down.51cto.com/data/2334968
Führen Sie den folgenden Befehl aus
cd /home/webapplication1
dotnet restore  //如果使过用测试方式一,就需先执行这命令重新加载一下当前新的网站文件
dotnet run
Wie unten nach der Ausführung gezeigt :
Über ie Besuchen Sie die Testseite
5. Installieren und konfigurieren Sie Nginx, um asp.net-Kernanwendungen weiterzuleiten 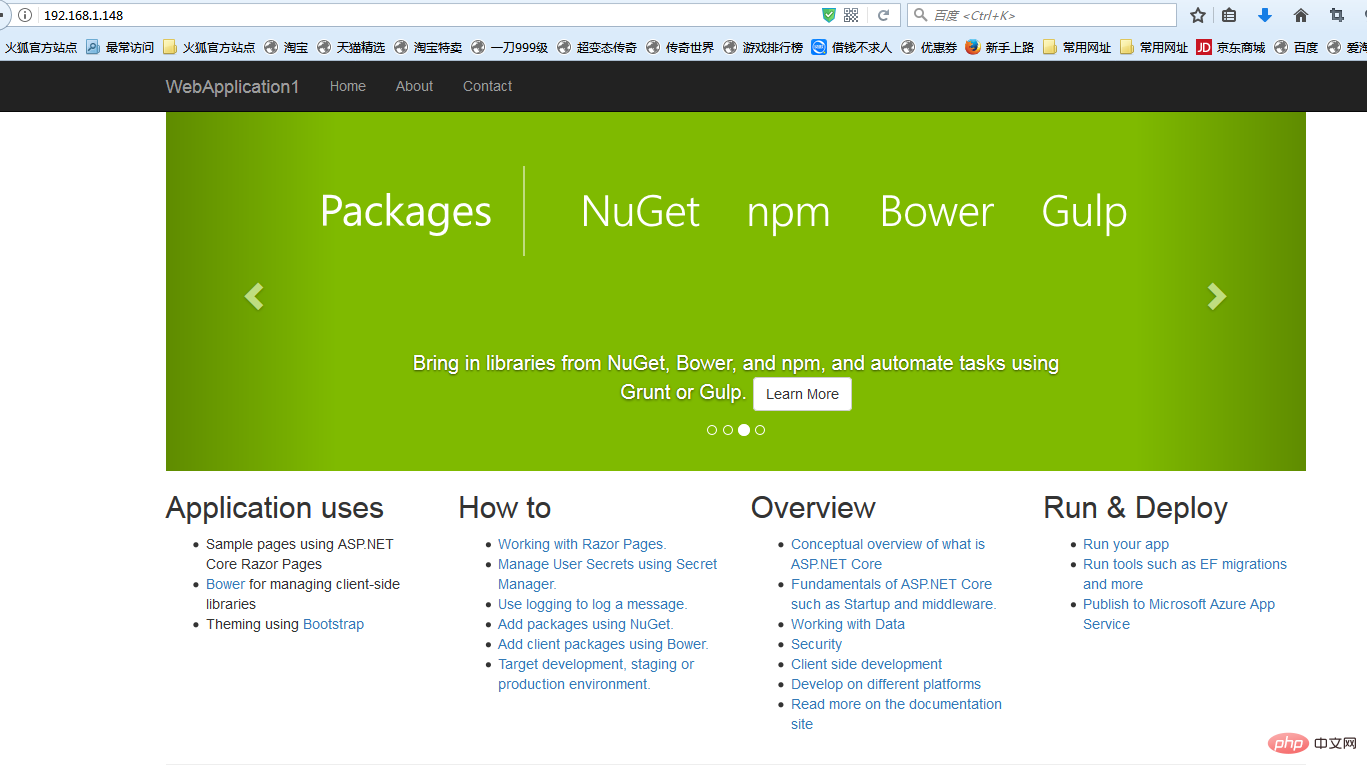
1. Installieren Sie die Nginx-Umgebung [root@localhost ~]#curl -o nginx.rpm http://nginx.org/packages/centos/7/noarch/rpms/nginx-release-centos-7-0.el7.ngx.noarch.rpm
[root@localhost ~]#rpm -ivh nginx.rpm
[root@localhost ~]#yum install nginx -y
Geben Sie ein: systemctl start. Nginx zu Starten Sie Nginx.
[root@localhost ~]# systemctl start nginx
Geben Sie ein: systemctl enable nginx, um den Nginx-Start einzurichten (Linux führt Nginx automatisch aus, wenn es heruntergefahren und neu gestartet wird, es ist keine Verbindung erforderlich, um Befehle einzugeben)
[root@localhost ~]#systemctl enable nginx
created symlink from /etc/systemd/system/multi-user.target.wants/nginx.service to /usr/lib/systemd/system/nginx.service.
2. Überprüfen Sie, ob Sie auf
[root@localhost nginx-1.8.1]# ps -ef|grep nginx
root   14626   1 0 08:47 ?    00:00:00 nginx: master process nginx
nginx   14627 14626 0 08:47 ?    00:00:00 nginx: worker process
root   14636  3269 0 08:49 pts/1  00:00:00 grep --color=auto nginx
zugreifen können
nginx über IE Häufig verwendete Betriebsbefehle 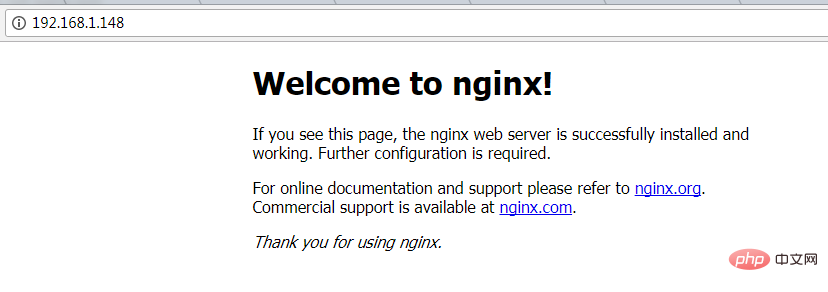
systemctl start nginx.service systemctl status nginx.service #Dienst aktuellen Status anzeigen
systemctl restart nginx.service #Starten Sie den Dienst neu.systemctl-Liste -units –type=service #Alle gestarteten Dienste anzeigen 4. Firewall-Konfiguration (wenn das System über eine Firewall verfügt, müssen Sie Regeln schreiben) Befehl: firewall-cmd –zone=public –add-port=80/tcp –permanent (offener Port 80) Befehl: systemctl restart firewalld (starten Sie die Firewall neu, damit die Konfiguration sofort wirksam wird) 5. Konfigurieren Sie nginx an asp.net Weiterleitung von KernanwendungenÄndern Sie die /etc/nginx/conf .d/default.conf-Datei. Ersetzen Sie den Dateiinhalt durch
server {
  listen 80;
  location / {
    proxy_pass http://localhost:88;
    proxy_http_version 1.1;
    proxy_set_header upgrade $http_upgrade;
    proxy_set_header connection keep-alive;
    proxy_set_header host $host;
    proxy_cache_bypass $http_upgrade;
  }
}
Dienst ( Vorgesetzter)
Derzeit gibt es drei Probleme
问题1:asp.net core应用程序运行在shell之中,如果关闭shell则会发现asp.net core应用被关闭,从而导致应用无法访问,这种情况当然是我们不想遇到的,而且生产环境对这种情况是零容忍的。
问题2:如果asp.net core进程意外终止那么需要人为连进shell进行再次启动,往往这种操作都不够及时。
问题3:如果服务器宕机或需要重启我们则还是需要连入shell进行启动。
为了解决这个问题,我们需要有一个程序来监听asp.net core 应用程序的状况。在应用程序停止运行的时候立即重新启动。这边我们用到了supervisor这个工具,supervisor使用python开发的。
1.安装supervisor
[root@localhost /]# yum install python-setuptools -y
[root@localhost /]#easy_install supervisor
2.配置supervisor
[root@localhost /]#mkdir /etc/supervisor
[root@localhost /]#echo_supervisord_conf > /etc/supervisor/supervisord.conf
修改supervisord.conf文件,将文件尾部的配置
[root@localhost /]# vi /etc/supervisor/supervisord.conf
将里面的最后两行:
;[include]
;files = relative/directory/*.ini
改为
[include]
files = conf.d/*.conf
ps:如果服务已启动,修改配置文件可用“supervisorctl reload”命令来使其生效
3.配置对asp.net core应用的守护
创建一个 webapplication1.conf文件,内容大致如下
[root@localhost /]# vi webapplication1.conf
[program:webapplication1]
command=dotnet webapplication1.dll ; 运行程序的命令
directory=/home/webapplication1/ ; 命令执行的目录
autorestart=true ; 程序意外退出是否自动重启
stderr_logfile=/var/log/webapplication1.err.log ; 错误日志文件
stdout_logfile=/var/log/webapplication1.out.log ; 输出日志文件
environment=aspnetcore_environment=production ; 进程环境变量
user=root ; 进程执行的用户身份
stopsignal=int
将文件拷贝至:“/etc/supervisor/conf.d/webapplication1.conf”下
[root@localhost /]#mkdir /etc/supervisor/conf.d
[root@localhost /]#cp webapplication1.conf /etc/supervisor/conf.d/
运行supervisord,查看是否生效
[root@localhost /]#supervisord -c /etc/supervisor/supervisord.confsupervisord -c /etc/supervisor/supervisord.conf
[root@localhost /]# ps -ef | grep webapplication1
root   29878 29685 0 09:57 ?    00:00:00 dotnet webapplication1.dll
root   29892 29363 0 09:57 pts/3  00:00:00 grep --color=auto webapplication1
如果存在dotnet webapplication1.dll 进程则代表运行成功,这时候在使用浏览器进行访问。
至此关于asp.net core应用程序的守护即配置完成。
supervisor守护进程常用操作
【启动supervisord】
确保配置无误后可以在每台主机上使用下面的命令启动supervisor的服务器端supervisord
supervisord
【停止supervisord】
supervisorctl shutdown
【重新加载配置文件】
supervisorctl reload
七 、配置supervisor开机启动
新建一个“supervisord.service”文件
[root@localhost /]# vi supervisord.service
# dservice for systemd (centos 7.0+)
# by et-cs (https://github.com/et-cs)
[unit]
description=supervisor daemon
[service]
type=forking
execstart=/usr/bin/supervisord -c /etc/supervisor/supervisord.conf
execstop=/usr/bin/supervisorctl shutdown
execreload=/usr/bin/supervisorctl reload
killmode=process
restart=on-failure
restartsec=42s
[install]
wantedby=multi-user.target
将文件拷贝至:“/usr/lib/systemd/system/supervisord.service”
[root@localhost /]# cp supervisord.service /usr/lib/systemd/system/
执行命令:systemctl enable supervisord
[root@localhost /]# systemctl enable supervisord
created symlink from /etc/systemd/system/multi-user.target.wants/supervisord.service to /usr/lib/systemd/system/supervisord.service.
执行命令:systemctl is-enabled supervisord #来验证是否为开机启动
[root@localhost /]# systemctl is-enabled supervisord
重启系统看能否能成功访问
[root@localhost /]# reboot
Das obige ist der detaillierte Inhalt vonSo erstellen Sie eine .NET Core2.0+Nginx+Supervisor-Umgebung unter dem Centos7-System. Für weitere Informationen folgen Sie bitte anderen verwandten Artikeln auf der PHP chinesischen Website!