Heim >Web-Frontend >HTML-Tutorial >HTML+CSS+JS imitiert den Win10-Helligkeitsanpassungseffekt
HTML+CSS+JS imitiert den Win10-Helligkeitsanpassungseffekt
- Guanhuinach vorne
- 2020-07-18 18:00:402827Durchsuche

HTML+CSS+JS imitiert den Win10-Helligkeitsanpassungseffekt
Code
<!doctype html>
<html>
	<head>
		<meta charset="utf-8">
		<title>模仿win10的亮度调节</title>
		<style>
			.control_bar{
				height:200px;
				width:500px;
				border-bottom:3px solid #888888;

			}
			.control_bar_cursor{
				height:25px;
				width:8px;
				background: #505151;
				border-radius:5px;
				margin-top:-12.5px;
				position:relative;
				top:0;
				left:0;
			}
			.control_bar_cursor:hover{
				background:white;
			}
			#control_bar_mask{
				margin-top:-203px;
				width:0px;
			}
			.mask{
				position:fixed;
				bottom:0;
				top:0;
				left:0;
				right:0;
				background:black;
				z-index:-1;
			}
		</style>
	</head>
	<body>
		<p class="mask"></p>
		<p class="control_bar"></p>
		<p class="control_bar" style="border-bottom:3px solid #505151;" id="control_bar_mask"></p>
		<p class="control_bar_cursor"></p>
	</body>
	<script>
		window.onload = function(){
			var control_bar = document.getElementsByClassName("control_bar")[0];
			var control_bar_mask = document.getElementById("control_bar_mask");
			var control_bar_cursor = document.getElementsByClassName("control_bar_cursor")[0];
			var def_left = control_bar_cursor.offsetLeft;
			var mask = document.getElementsByClassName("mask")[0];
			document.body.onmousedown = function(){
				window.onmousemove = function(){
					var cursor_X = event.clientX;
					var cursor_Y = event.clientY;
					if(cursor_X < def_left){
						control_bar_cursor.style.left = 0;
					}else if(cursor_X > control_bar.offsetWidth + def_left){
						control_bar_cursor.style.left = control_bar.offsetWidth;
					}else{
						control_bar_cursor.style.left = cursor_X - def_left + "px";
					}
					//亮度比
					var proportion = parseInt(control_bar_cursor.offsetLeft - def_left) / parseInt(control_bar.offsetWidth - 1);
					control_bar_mask.style.width = proportion * control_bar.offsetWidth + "px";
					mask.style.opacity = 1 - proportion;
					};
				window.onmouseup = function(){
					window.onmousemove = null;
				};
			};
		};
	</script>
</html>
1. Schreiben Sie das Erscheinungsbild jedes Elements auf
Hier wird dem Körper eine Hintergrundfarbe hinzugefügt, um die Beobachtung zu erleichtern
html
<p class="control_bar">
</p>
<p class="control_bar" style="border-bottom:3px solid #505151;"
id="control_bar_mask>
</p>
<p class="control_bar_cursor">
</p>
css
body{
    background:back;
}
.control_bar{
    height:200px;
    width:500px;
    border-bottom:3px solid #888888;
}
.control_bar_cursor{
    height:25px;
    width:8px;
    background: #505151;
    border-radius:5px;
}
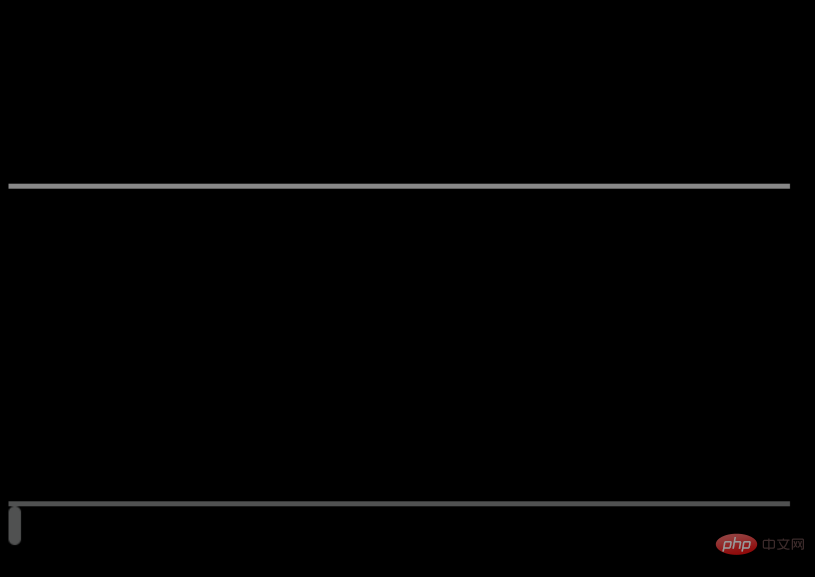
Rendering

2. Stapeln Sie jedes Element zusammen
css
body{
    background:black;
}
.control_bar{
    height:200px;
    width:500px;
    border-bottom:3px solid #888888;

}
.control_bar_cursor{
    height:25px;
    width:8px;
    background: #505151;
    border-radius:5px;
    margin-top:-12.5px;
    position:relative;
    top:0;
    left:0;
}
.control_bar_cursor:hover{
    background:white;
}
#control_bar_mask{
    margin-top:-203px;
    width:100px;
}
Um den Maskierungseffekt anzuzeigen, wird hier die p-Breite der Maskenebene kleiner eingestellt

3. Fügen Sie js hinzu
js
window.onload = function(){
    var control_bar = document.getElementsByClassName("control_bar")[0];
    var control_bar_mask = document.getElementById("control_bar_mask");
    var control_bar_cursor = document.getElementsByClassName("control_bar_cursor")[0];
    var def_left = control_bar_cursor.offsetLeft;
    document.body.onmousedown = function(){
        window.onmousemove = function(){
            var cursor_X = event.clientX;
            var cursor_Y = event.clientY;
            if(cursor_X < def_left){
                control_bar_cursor.style.left = 0;
            }else if(cursor_X > control_bar.offsetWidth + def_left){
                control_bar_cursor.style.left = control_bar.offsetWidth;
            }else{
                control_bar_cursor.style.left = cursor_X - def_left + "px";
            }
            var proportion = parseInt(control_bar_cursor.offsetLeft - def_left) / parseInt(control_bar.offsetWidth - 1);
            control_bar_mask.style.width = proportion * control_bar.offsetWidth + "px";
        };
        window.onmouseup = function(){
            window.onmousemove = null;
        };
    };
};
4. Fügen Sie eine Maske hinzu und verwenden Sie eine Steuerleiste, um deren Transparenz zu steuern, um einen Helligkeitsanpassungseffekt zu erzielen
<p class="mask"></p>
.mask{
    position:fixed;
    bottom:0;
    top:0;
    left:0;
    right:0;
    background:black;
    z-index:-1;
}
window.onload = function(){
var control_bar = document.getElementsByClassName("control_bar")[0];
var control_bar_mask = document.getElementById("control_bar_mask");
var control_bar_cursor = document.getElementsByClassName("control_bar_cursor")[0];
var def_left = control_bar_cursor.offsetLeft;
var mask = document.getElementsByClassName("mask")[0];
document.body.onmousedown = function(){
window.onmousemove = function(){
var cursor_X = event.clientX;
var cursor_Y = event.clientY;
if(cursor_X < def_left){
control_bar_cursor.style.left = 0;
}else if(cursor_X > control_bar.offsetWidth + def_left){
control_bar_cursor.style.left = control_bar.offsetWidth;
}else{
control_bar_cursor.style.left = cursor_X - def_left + "px";
}
//亮度比
var proportion = parseInt(control_bar_cursor.offsetLeft - def_left) / parseInt(control_bar.offsetWidth - 1);
control_bar_mask.style.width = proportion * control_bar.offsetWidth + "px";
mask.style.opacity = 1 - proportion;
};
window.onmouseup = function(){
window.onmousemove = null;
};
};
};Empfohlenes Tutorial: „HTML-Tutorial“
Das obige ist der detaillierte Inhalt vonHTML+CSS+JS imitiert den Win10-Helligkeitsanpassungseffekt. Für weitere Informationen folgen Sie bitte anderen verwandten Artikeln auf der PHP chinesischen Website!

