XAMPP integrierte Apache-Serverkonfiguration von PhpStorm für Mac
- WBOYWBOYWBOYWBOYWBOYWBOYWBOYWBOYWBOYWBOYWBOYWBOYWBOriginal
- 2016-10-12 09:50:102007Durchsuche
Urheberrechtserklärung: Dieser Artikel ist ein Originalartikel des Bloggers und darf nicht ohne die Erlaubnis des Bloggers reproduziert werden.
Entscheiden Sie sich für die Integration des Apache-Servers in PhpStorm. Das Folgende sind meine persönlichen Testschritte.
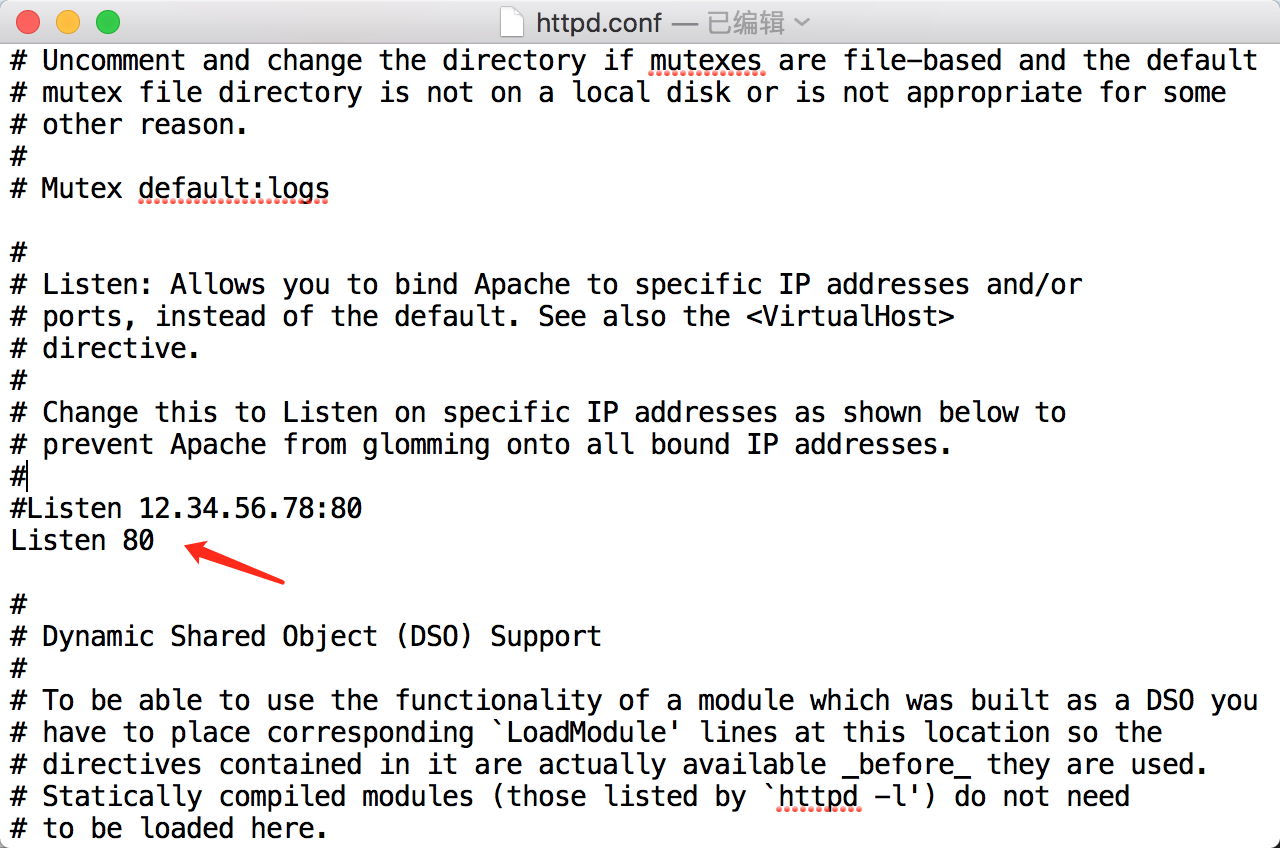
1. So ändern Sie den Apache-Standardport
Der Standard-HTTP-Zugriffsport von xampp apache ist 80

Nachdem die Änderung abgeschlossen ist, starten Sie Apache in xampp neu.
2. Konfigurationsprozess
Öffnen Sie „Einstellungen/Einstellungen“ und suchen Sie nach den Optionen „Build“, „Ausführung“ und „Bereitstellung“, klicken Sie auf „Bereitstellung“ und fügen Sie Folgendes hinzu:


Da wir den Standardport 80 geändert haben, muss hier die Portnummer angegeben werden. Das Verzeichnis ist /Applications/XAMPP/xamppfiles/etc/httpd.cof Dies ist das Standard-Website-Ausführungsverzeichnis von Apache, es muss also dieses Verzeichnis oder sein Unterverzeichnis sein.
3.xampp startet Apache

Testen Sie es:
Führen Sie hello.php im Verzeichnis des Webpfads (/Applications/XAMPP/htdocs) aus:
<span style="font-size: 16px;"><?<span style="color: #000000;">php

</span><span style="color: #008000;">/*</span><span style="color: #008000;">*
 * Created by PhpStorm.
 * User: edwin
 * Date: 2016/10/12
 * Time: 上午12:30
 </span><span style="color: #008000;">*/</span>
<span style="color: #0000ff;">echo</span> 'Hello OK';</span>
Dann können Sie im Browser darauf zugreifen, wie unten gezeigt:


