Heim >Backend-Entwicklung >Python-Tutorial >图文详解WinPE下安装Python
图文详解WinPE下安装Python
- WBOYWBOYWBOYWBOYWBOYWBOYWBOYWBOYWBOYWBOYWBOYWBOYWBOriginal
- 2016-06-10 15:04:502025Durchsuche
本文介绍了WinPE下安装Python的具体步骤,供大家参考,具体内容如下
一、下载Python Windows安装包,最新版本为3.3.0
下载地址:http://www.python.org/getit/
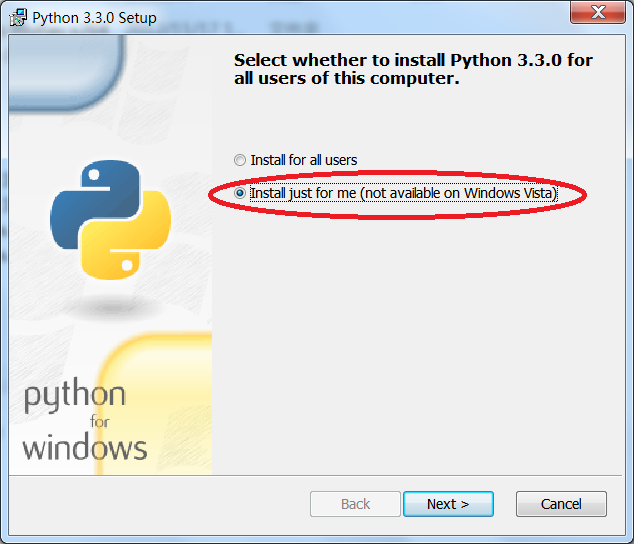
二、在Windows系统中安装Python,如果是WinPE 64bit应安装Python 64bit。
* 注意应选择"Install just for me", 其余一路点Next即可
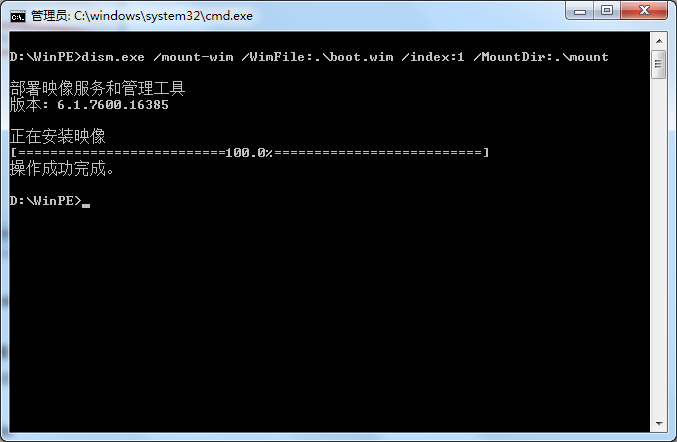
三、解压WinPE启动镜像boot.wim
dism.exe /mount-wim /WimFile:.\boot.wim /index:1 /MountDir:.\mount
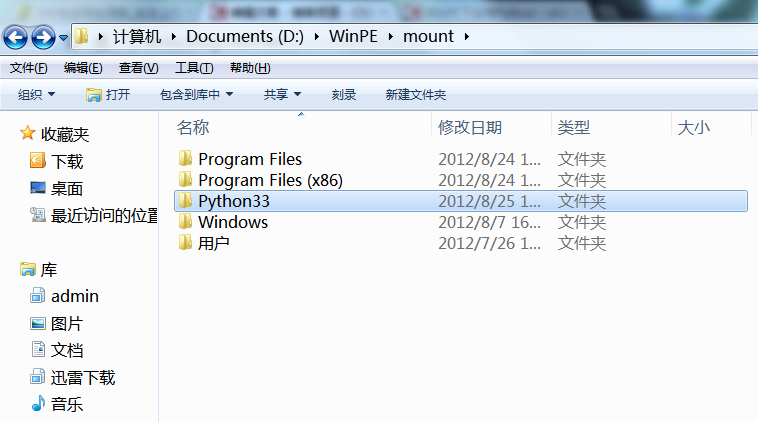
四、将安装好的Python文件拷贝至WinPE启动镜像中
如:Python3.3.0默认安装文件夹是C:\Python33,将此文件夹拷贝至WinPE启动镜像的根目录
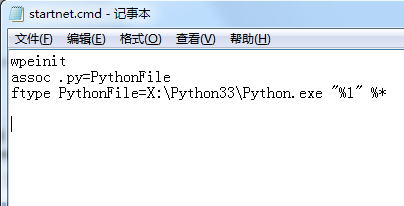
五、在Windows\system32\startnet.cmd中加入如下命令:
关联Python文件扩展名:assoc .py=PythonFile
指定调用Python文件使用命令:ftype PythonFile=X:\Python33\Python.exe "%1" %*
* 注意%1要用""括起来,否则带空格的路径无法执行
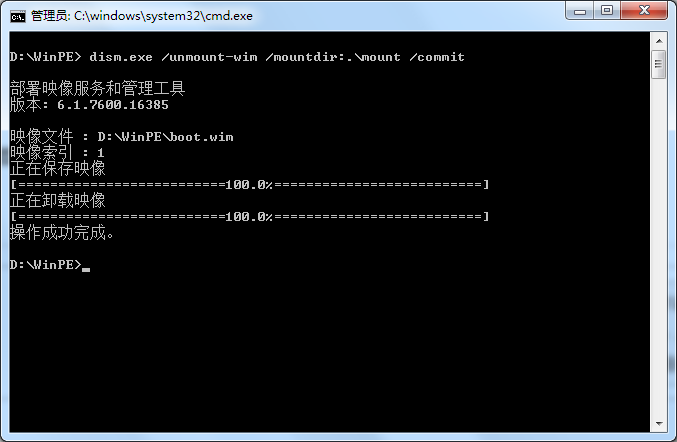
六、封装WinPE启动镜像
dism.exe /unmount-wim /mountdir:.\mount /commit
七、启动WinPE,验证Python脚本能否执行
以上就是本文的全部内容,希望对大家的学习有所帮助。
Stellungnahme:
Der Inhalt dieses Artikels wird freiwillig von Internetnutzern beigesteuert und das Urheberrecht liegt beim ursprünglichen Autor. Diese Website übernimmt keine entsprechende rechtliche Verantwortung. Wenn Sie Inhalte finden, bei denen der Verdacht eines Plagiats oder einer Rechtsverletzung besteht, wenden Sie sich bitte an admin@php.cn
Vorheriger Artikel:python二分查找算法的递归实现方法Nächster Artikel:python实现SMTP邮件发送功能

