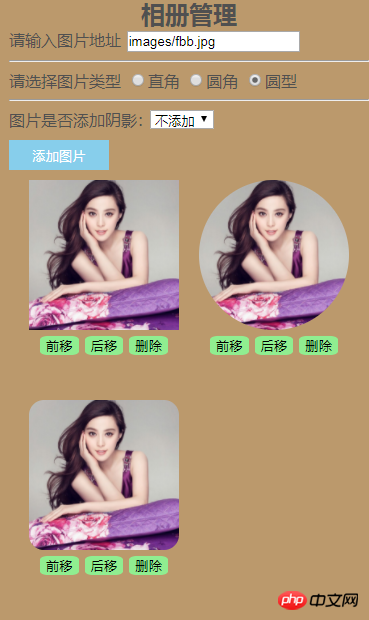
相册管理
<!DOCTYPE html>
<html lang="en">
<head>
	<meta charset="UTF-8">
	<title>相册管理</title>
	<link rel="stylesheet" type="text/css" href="css/reset.css">
	<link rel="stylesheet" type="text/css" href="css/style.css">
	<script type="text/javascript" src="http://apps.bdimg.com/libs/jquery/2.1.4/jquery.min.js"></script>
	<script type="text/javascript" src="js/self.js"></script>
</head>
<body>
	<div class="wrap">
		<div class="header">
			<h2>相册管理</h2>
			<label for="img_url">请输入图片地址</label>
			<input type="text" name="img_url" id="img_url" value="images/fbb.jpg">
			<hr>
			<label>请选择图片类型</label>
			<input type="radio" id="rect" name="border" value="0" checked><label for="rect">直角</label>
            <input type="radio" id="radius" name="border" value="10%"><label for="radius">圆角</label>
            <input type="radio" id="circle" name="border" value="50%"><label for="circle">圆型</label>
			<hr>
            <label>图片是否添加阴影:</label>
				<select name="shadow">
					<option value="0" selected>不添加</option>
					<option value="1">添加</option>
				</select>
	        <p><button class="add">添加图片</button></p>
		</div>
		<div class="main">
			<ul></ul>
		</div>
	</div>
</body>
</html>
运行实例 »
点击 "运行实例" 按钮查看在线实例
相册管理JS
$(document).ready(function(){
	$("button.add").click(function(){
		var img_url = $("#img_url").val();
		if (img_url.length==0) {
			alert("尚未输入图片!!");
			return;
		}
		var img_type = $(":radio:checked").val();//从html中筛选出对应的radio 和 check 的控件并回去内部val值
		var shadow = 'none'
		if ($(':selected').val() == 1) {
			shadow = '3px 3px 3px #666'
		}
		//创建一个img图片
		var img = $("<img>")
			.prop("src",img_url)
			.width(150)
			.height(150)
			.css({
				'border-radius':img_type,
				'shadow':shadow
			})
		//创建三个button
		var before = $('<button>').text('前移')
		var after = $('<button></button').text('后移')
		var remove = $('<button></button').text('删除')

		/**
		* html中不创建ul 代码中创建ul 前进 后移按钮点击无效,移除有效 ????为什么 无效应该都无效才对的吧 点击按钮自身的父级跟ul应该没多大关系的吧
		*/
		// var ul = $("<ul>");
		// // var li = $("<li>").append(img,before,after,remove);//这样写简便
		// var li = $("<li>");
		// $(img).appendTo(li);	//
		// $(before).appendTo(li);	//
		// $(after).appendTo(li);	//
		// $(remove).appendTo(li);	//
		// // $(img,before,after,remove).appendTo(li)//这样写为啥不行
		// $(li).appendTo(ul);
		// $(ul).appendTo(".main");

		/**
		* 这么写就能执行
		*/
		var li = $("<li>").append(img,before,after,remove);//这样写简便
		$(li).appendTo("ul")

		before.click(function(){
			$(this).parent().prev().before($(this).parent());
		});
		after.click(function(){
			$(this).parent().next().after($(this).parent());
		});
		remove.click(function(){
			$(this).parent().remove();
		});


		// console.log(img_url);
		return false;
	})
})
运行实例 »
点击 "运行实例" 按钮查看在线实例
样式重置
/*样式重置*/
/*样式重置*/
html {
	overflow-y: auto;
	overflow-x: hidden;
}

body, h1,h2,h3, ul,li,p {
	margin: 0;
	padding: 0;
	font-family: 'microsoft yehei', Verdana, Arial;
	color: #505050;
}

p, li, a {
	font-size: 14px;
}

ul, li {
	padding:0;
	margin:0;
	list-style-type: none;
}

a:link, a:visited, a:active {
	color: #505050;
	text-decoration: none;
}

a:hover {
	text-decoration: none;
	/*color: #ff0000;*/
	color: #f00;
}
运行实例 »
点击 "运行实例" 按钮查看在线实例
布局样式
.wrap{
	width: 360px;
	background-color: #BB996C;
	height: auto;
	margin: auto;
	padding-left: 10px;
	padding-bottom: 10px;
}
.wrap .header h2{
	text-align: center;
}
.wrap .header .add{
	width: 100px;
	height: 30px;
	border: none;
	cursor: pointer;
	background-color: skyblue;
	color: white;
	margin-top: 10px;
}
.wrap .header .add:hover{
	background-color: orange;
	font-size:1.1em;
}
.main{
	overflow: hidden;
}
.main ul li {
	list-style-type: none;
	float: left;
	margin-left: 20px;
	margin-bottom: 10px;
	width: 150px;
	height: 200px;
	text-align: center;
	margin-top: 10px;
}
.main ul li button {
	margin:3px;
	border: none;
	border-radius: 20%;
	background-color: lightgreen;;
}
.main ul li button:hover {
	background-color: orange;
	color:white;
	cursor: pointer;
}
运行实例 »
点击 "运行实例" 按钮查看在线实例
运行效果:

ajax异步操作:
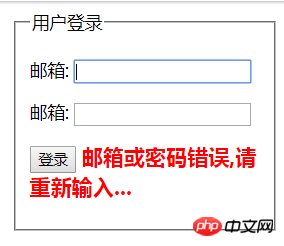
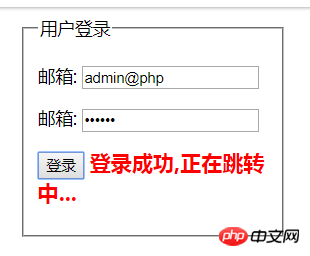
登录界面
<!DOCTYPE html>
<html lang="en">
<head>
    <meta charset="UTF-8">
    <title>ajax异步交互</title>
</head>
<body marginwidth="500px">
<form action="api/loginCheck.php" method="post">
    <fieldset>
        <legend>用户登录</legend>
        <p>
            <label for="email">邮箱:</label>
            <input type="email" name="email" id="email">
        </p>
        <p>
            <label for="password">邮箱:</label>
            <input type="password" name="password" id="password">
        </p>

        <p>
            <button>登录</button>
            <span id="tips" style="font-size:1.2em;font-weight: bolder;color:red"></span>
        </p>

    </fieldset>
</form>
</body>
</html>
<script type="text/javascript" src="http://apps.bdimg.com/libs/jquery/2.1.4/jquery.min.js"></script>
<script type="text/javascript">
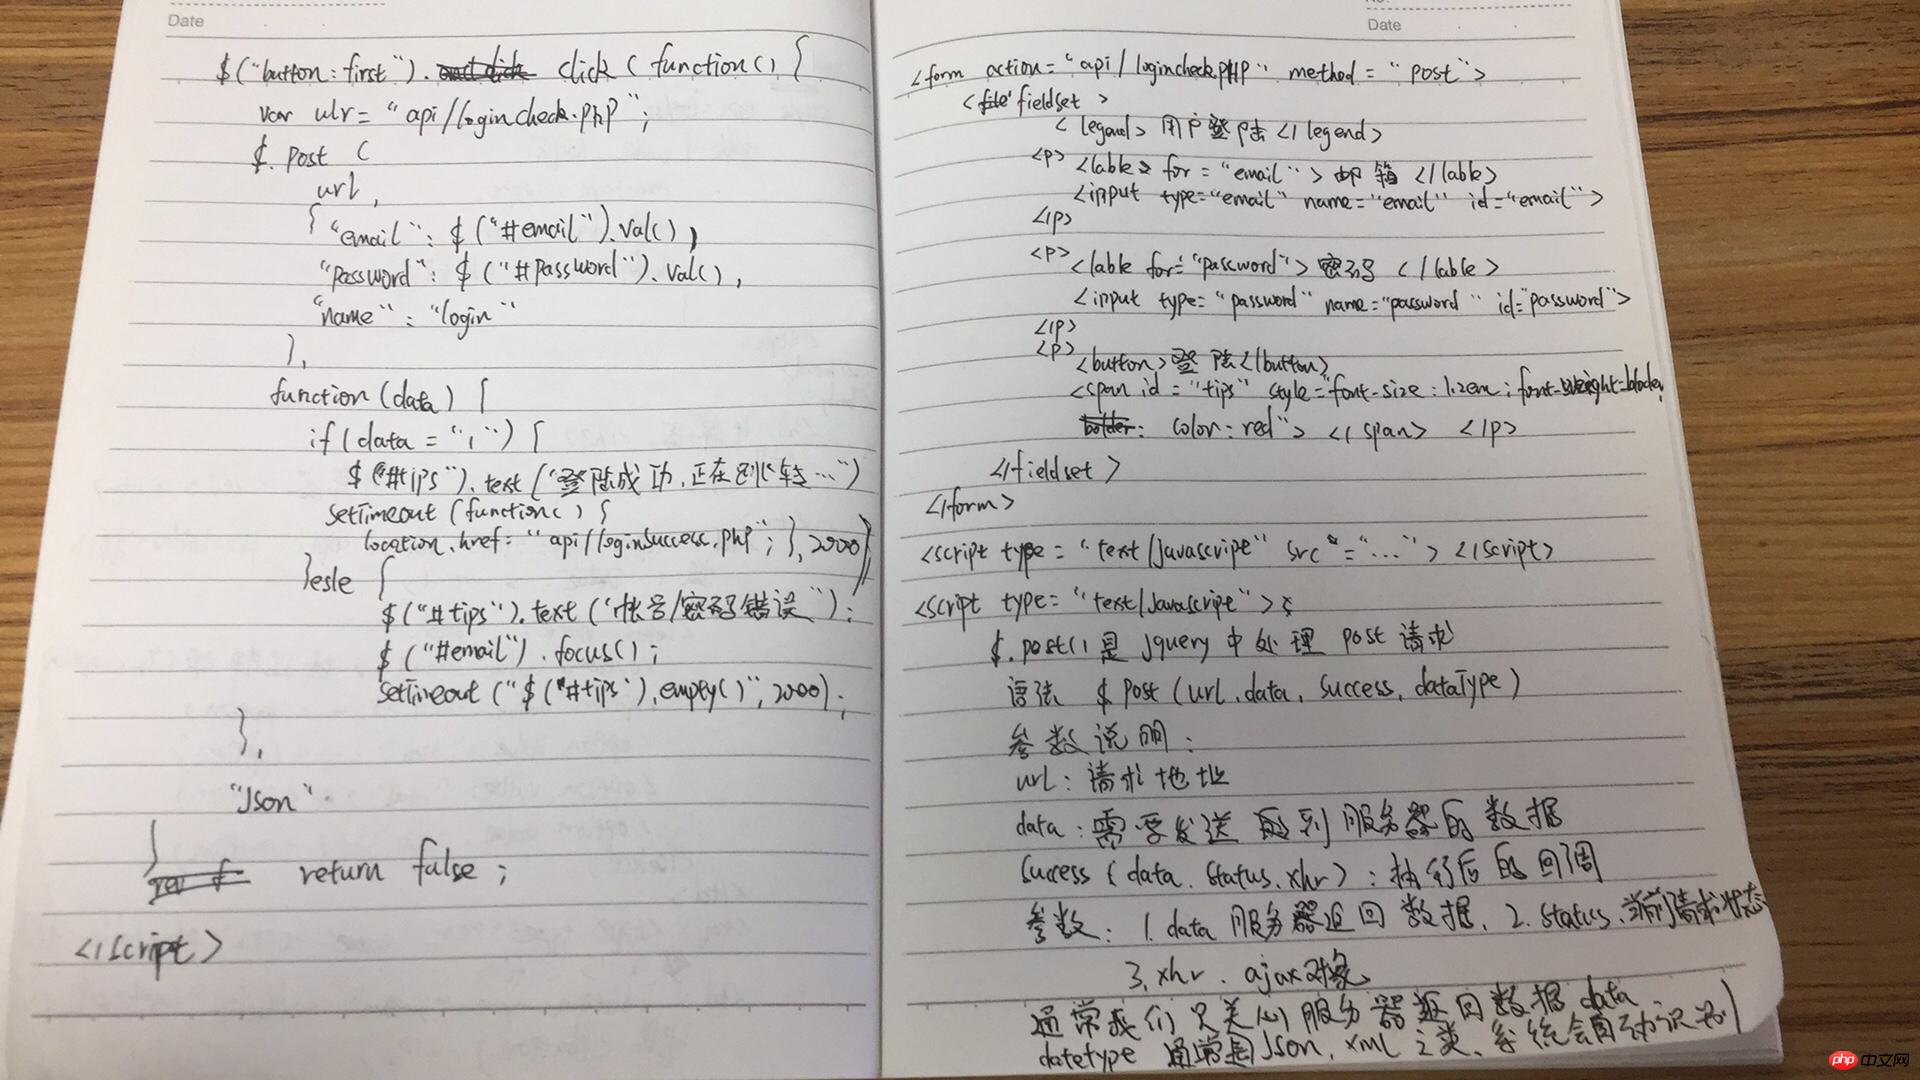
    /**
     * $_post():jquery处理ajax中的post请求
     * 基本语法:$.post(url, data, success, dataType)
     * 参数说明:
     * url: 请求的地址
     * data: 需要发送到服务器端的数据
     * success(data,status,xhr): 执行成功的回调函数,
     * 回调参数:
     * 1.data: 从服务器端返回的数据
     * 2.status: 当前请求的状态
     * 3.xhr: ajax对象
     * 通常我们只关心返回的数据:data
     * dataType: 从服务器返回数据的格式
     * xml, html, script, json, text, _default
     * 通常是'json',可省略,由系统自动判断
     */
    $("button:first").click(function () {
        var url = "api/loginCheck.php";
        $.post(
            url,//请求接口地址
            {
                "email": $("#email").val(),
                "password": $("#password").val(),
                "name": "login"
                //请求接口数据
            },
            function (data) {//在check界面检查过后结果回调到当前方法进行判断处理
                if (data == '1') {
                    $('#tips').text('登录成功,正在跳转中...');
                    setTimeout(function () {
                        location.href = 'api/loginSuccess.php';
                    }, 2000)
                } else {
                    $('#tips').text('邮箱或密码错误,请重新输入...');
                    $('#email').focus();
                    setTimeout("$('#tips').empty()", 2000);
                }
            },
            "json"
            //数据格式
        )
        return false;//执行完了 拦截默认button事件
    })
</script>
运行实例 »
点击 "运行实例" 按钮查看在线实例
登录检测界面
<?php
header("content-type:text/html;charset=utf-8");
if ($_POST['name'] == "login") {
    if ($_POST['email'] == 'admin@php' && $_POST['password'] == '123456') {
        echo '1';
    } else {
        echo '0';
    }
}
运行实例 »
点击 "运行实例" 按钮查看在线实例
登录成功跳转
<?php
/**
 * Created by PhpStorm.
 * User: Administrator
 * Date: 2018/4/10 0010
 * Time: 下午 3:36
 */

header("content-type:text/html;charset=utf-8");
echo '<h1 style="color:red">登录成功</h1>';
运行实例 »
点击 "运行实例" 按钮查看在线实例


html学习总结
从第一天到现在几十天的时间每天晚上的坚持还是有效果的,之前自己写个界面各种对齐困扰。包括上学时候老师都没教过什么清除样式这些东西。初次听到 感觉就是 what?? 难以置信还能这么搞。逆天了。包括一些对齐方式,之前自己瞎搞的时候各种无法对齐,最搞笑的是竟然为了对齐将背景色设置一致之后 使劲调整偏移量,最终的结果是行内对齐了 但是 行高 不等 看着挺别扭的,不知道咋弄 现在来说 这些应该都不是啥大问题了。墨迹墨迹花点时间还是可以写出来的,仿站这个我是真没想过自己可以仿虽然是跟着老师的demo走的,那感觉也是了不得了。有一个模板就能有后续千千万万的案例,现阶段处理工作时间虽说不能时时刻刻都把精力放在这里 但是一天抽出来个把个小时尽力了,总结对于我自身现在的状况来说就是:一听就懂,一看就会,上手懵逼。说白了还是缺少具体实战实际操作。动手动多了 自然就会了。期待遇见更好的自己。

