实例
<!DOCTYPE html>
<html lang="en">
<head>
	<meta charset="UTF-8">
	<title>JQuery Css</title>
	<style type="text/css">
		.box{
			margin-bottom: 50px;
		}
		/*.box img{
			width: 200px;
			height: 200px;
			border-radius: 50%;
			box-shadow: 2px 2px 2px #ccc;
		}*/

		.box1{
			width: 200px;
			height: 200px;
			background-color: red;
			border-radius: 50%;
			position: relative;
			display: table-cell;
			vertical-align: middle;
			background-image: url(http://img2.woyaogexing.com/2018/04/05/8c64ce4522543380!400x400_big.jpg);
			background-size: 200px;
		}

		.box1 .box2{
			width: 100px;
			height: 100px;
			background-color: green;
			border-radius: 50%;
			position: absolute;
			bottom: -50px;
			left: 50px;
			background-image: url(http://img2.woyaogexing.com/2018/04/03/458a74ab107c8f5c!400x400_big.jpg);
			background-size:100px;

		}
		.box1 .box3{
			width: 100px;
			height: 100px;
			background-color: green;
			border-radius: 50%;
			position: absolute;
			bottom: 50px;
			left: -50px;
			background-color: red;
			/*background-image: url(http://img2.woyaogexing.com/2018/04/03/458a74ab107c8f5c!400x400_big.jpg);*/
			background-size:100px;
			border: 1px solid #ccc;
			background-color: transparent;
		}
		.box1 .box4{
			width: 100px;
			height: 100px;
			background-color: green;
			border-radius: 50%;
			position: absolute;
			bottom: 50px;
			right: -50px;
			background-image: url(http://img2.woyaogexing.com/2018/04/03/458a74ab107c8f5c!400x400_big.jpg);
			background-size:100px;

		}
		.box1 .box5{
			width: 100px;
			height: 100px;
			background-color: green;
			border-radius: 50%;
			position: absolute;
			left: 50px;
			top: -50px;
			background-image: url(http://img2.woyaogexing.com/2018/04/03/458a74ab107c8f5c!400x400_big.jpg);
			background-size:100px;

		}
	</style>
</head>
<body>
	<div class="box">
		<img src="http://img2.woyaogexing.com/2018/04/05/8c64ce4522543380!400x400_big.jpg" data-nation='china' alt="小胡">
	</div>
	<div class="box1">
		<div class="box2"></div>
		<div class="box3"></div>
		<div class="box4"></div>
		<div class="box5"></div>
	</div>
</body>
<script type="text/javascript" src="http://apps.bdimg.com/libs/jquery/2.1.4/jquery.min.js"></script>
<script type="text/javascript">
	//1. $('').attr('') 跟 removeAttr('') 的操作
	//$('id').attr('') 操作 arrt必须要传值 ,如果只传一个值则返回当前值的信息
	//如果传两个值 则为赋值操作
	// var res = $('img').attr('src')  //返回当前的 src 路径

	// 传入两个参数,前面为属性,后面为值,注意像素得加上 px 不然大小不会改变
	// var res = $('div img').attr('style','width:200px;height:200px;border-radius:50%;')

	//通过函数动态改变对应的值
	// var res = $('div img').attr('style',function(){
	// 	return 'width:200px;height:200px;border-radius:50%;';
	// })

	// $('div img').removeAttr('style') //移除某属性

	// 2.元素固有属性的操作
	// var res=$('div img').prop('src') //传一个值则是获取, 传两个值则是赋值

	//只能获取固有的属性,自定义属性无法获取,如果是自己动态添加的则可以,
	// var res=$('div img').prop('data-nation')
	// var res=$('div img').prop('alt',false) //设置属性不可见

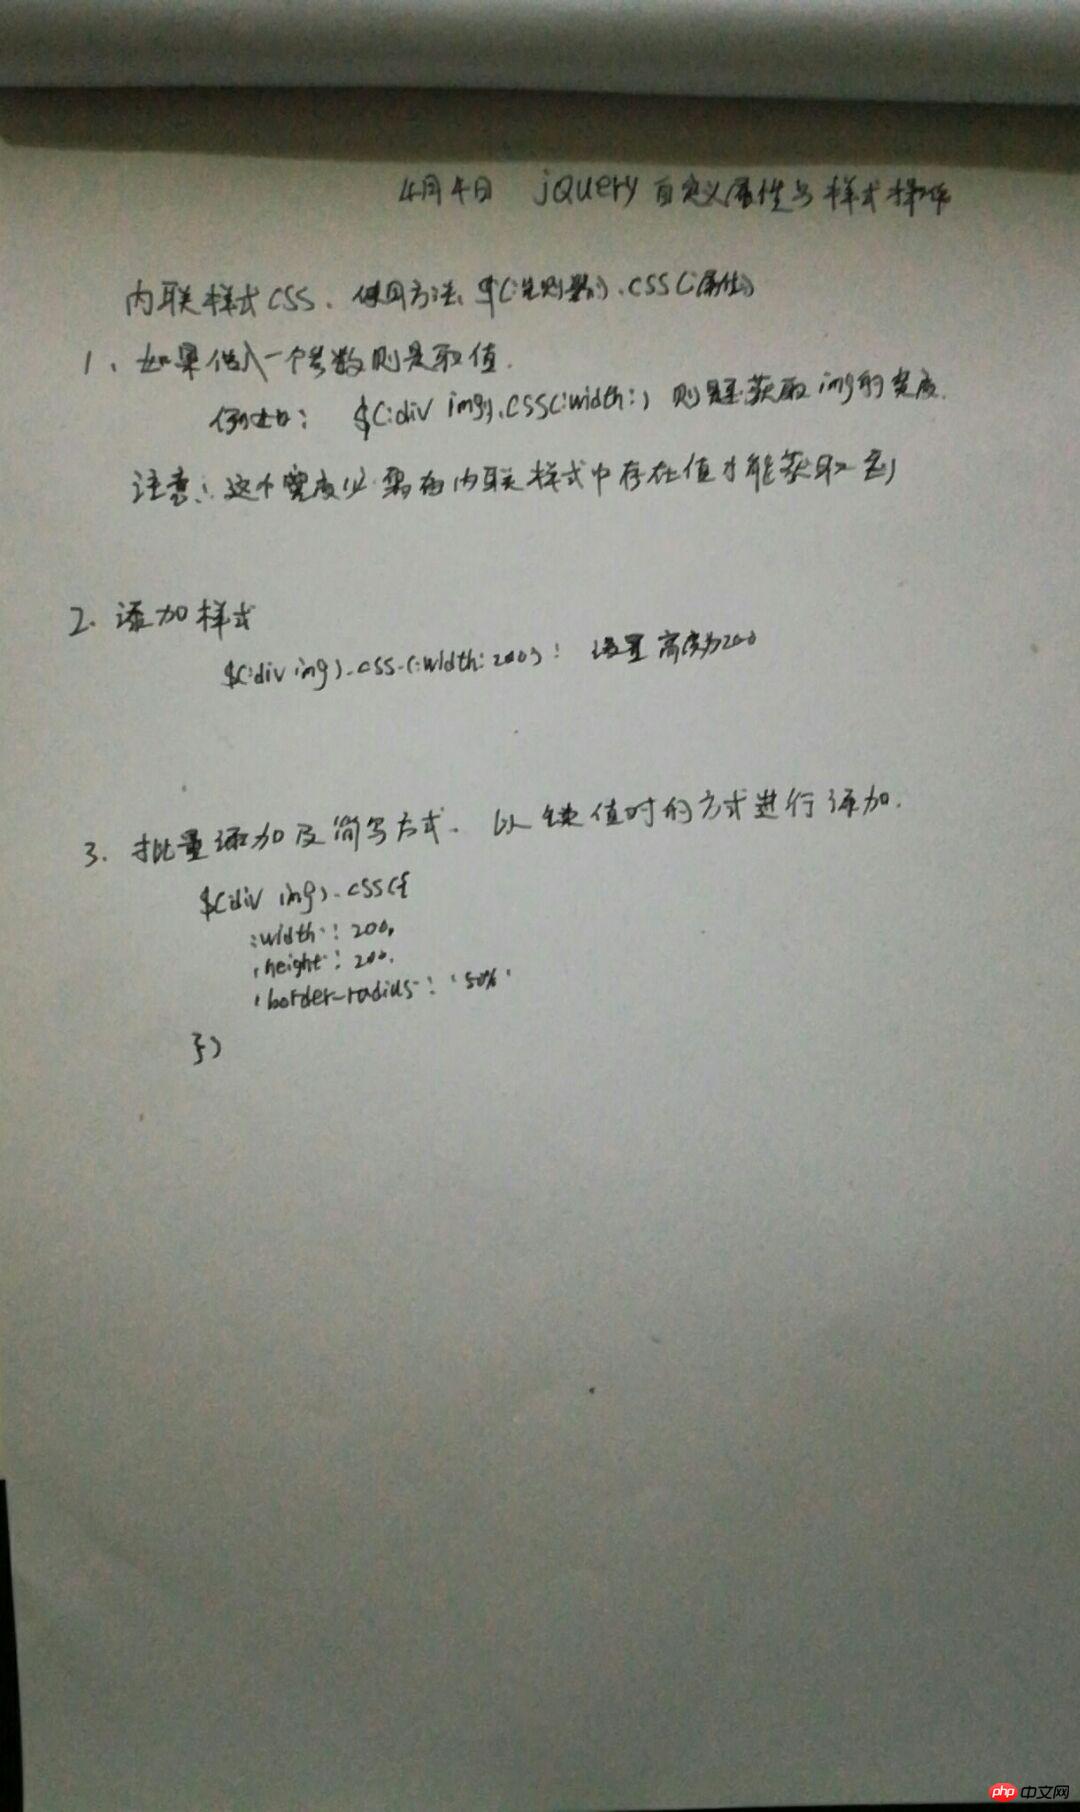
	// 3.内联样式CSS
	//使用方法跟attr 类似,传一个参考则是获取,传两个参数则是赋值
	// var res=$('div img').css('width') //获取当前width值
	// var res=$('div img').css('width',200) //设置当前width值

	//给当前元素动态添加一个内联样式 style

	//使用 css 添加样式 只能一次添加一个样式规则
	// var res=$('div img').css('width',200).css('height',200).css('border-radius','50%')

	//简写方式
	// var res = $('div img').css({
	// 	'width':200,
	// 	'height':200,
	// 	'border-radius':'50%'
	// })

	// 4.获取宽度跟设置
	//要获取的宽高必须 得先有设置宽高才能获取到

	var res=$('div img').css('width',200)
	var res=$('div img').css('height',200)

	var res=$('div img').width() //得到宽度
	var ress=$('div img').height() //得到宽度
	// console.log(res+'高'+ress)

	var res=$('div img').width(50) //设置宽度
	var res=$('div img').height(50) //设置高度
	var res=$('div img').css('border-radius','50%')

	// 5.offset偏移量的获取
	var res = $('div img').offset() //其实就是 body 的padding3

	var res = $('div img').offset()
	// console.log('距顶部:'+res.top+'距左边:'+res.left)

	// 6.position 定位的获取
	var res = $('.box2').position() //得到底部距离跟左边距
	console.log(res.left+'top'+res.top)
</script>
</html>
运行实例 »
点击 "运行实例" 按钮查看在线实例
手记


