镜像下载、域名解析、时间同步请点击 阿里云开源镜像站
一、安装virtualBox
进入 VirtualBox 的主页,即可进入下载页面.
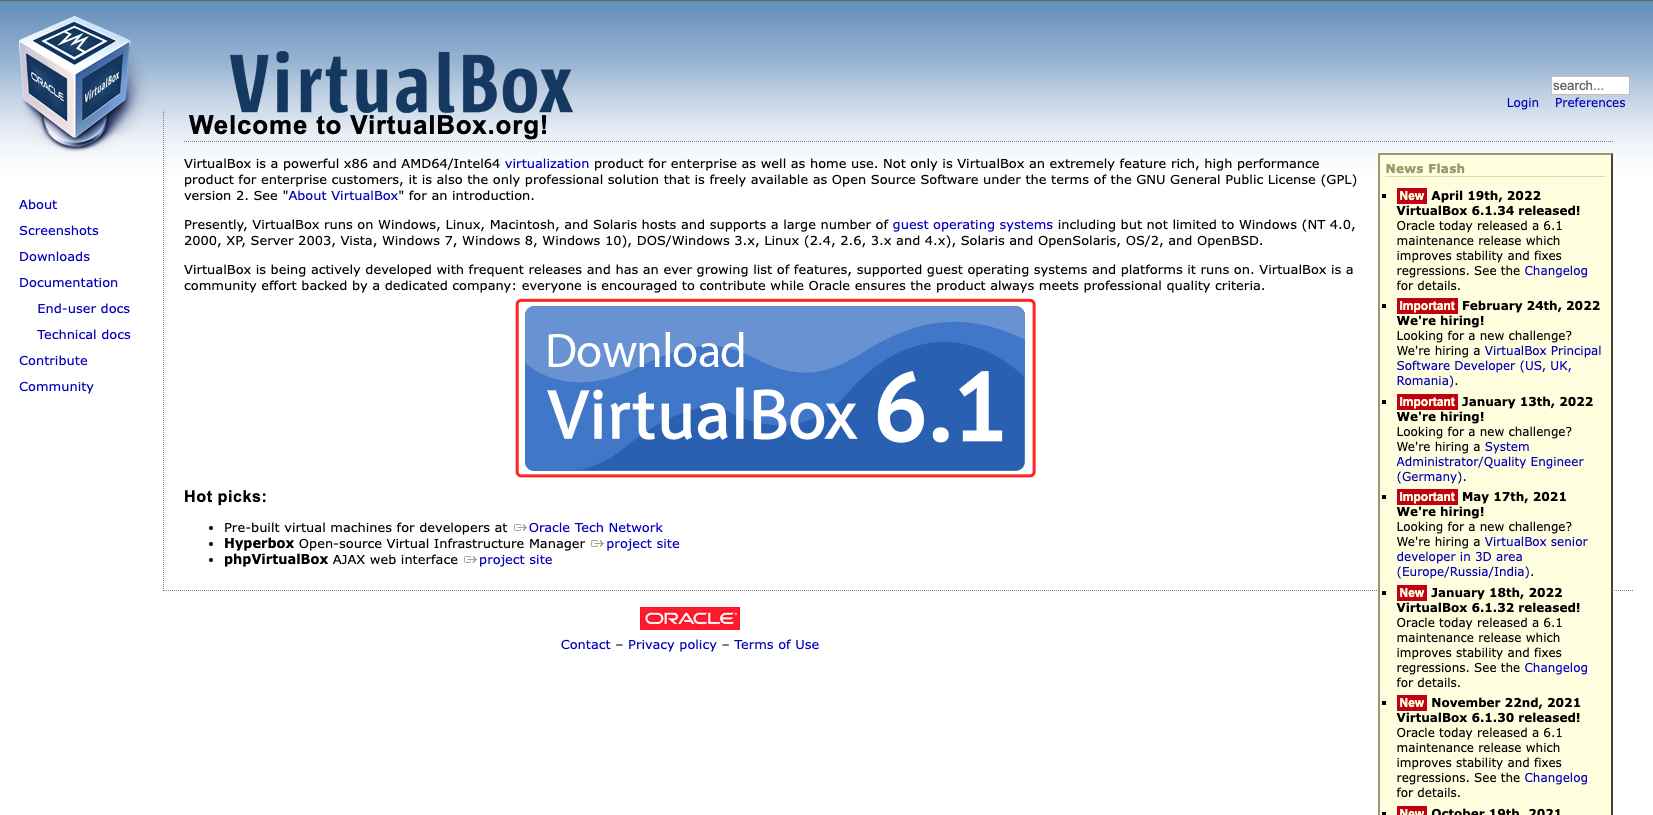
VirtualBox 是一个跨平台的虚拟化工具,支持多个操作系统,根据自己的情况选择对应的版本下载即可。

在安装完主程序后,直接双击扩展包文件即可安装扩展包。
二、安装Vagrant
在 Vagant 网站下载最新的版本,根据自己的操作系统选择对应的版本下载即可。
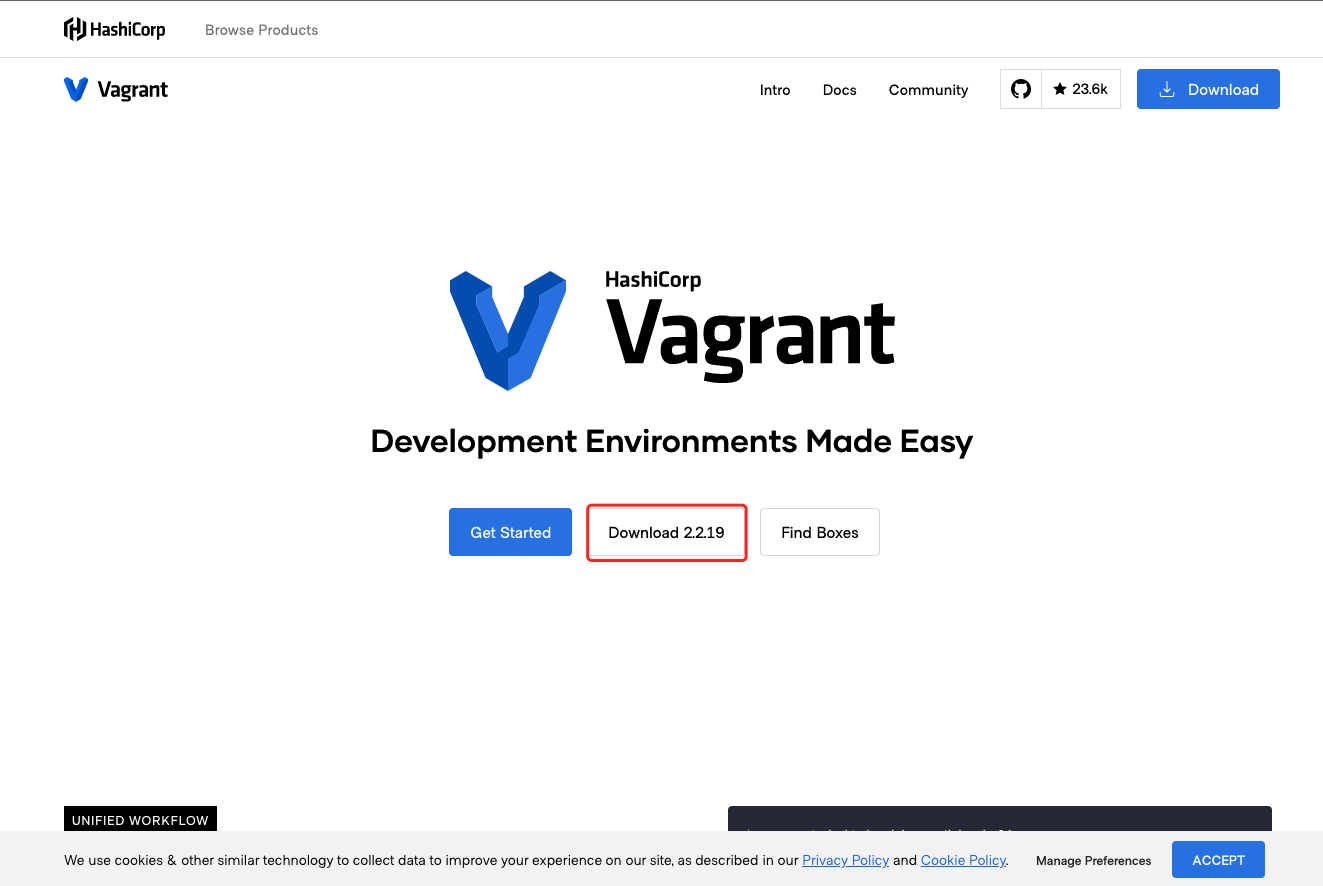
注意,Vagrant 是没有图形界面的,所以安装完成后也没有桌面快捷方式。具体使用方法,接下来会详细说明。
Vagrant 的安装程序会自动把安装路径加入到 PATH 环境变量,所以,这时候可以通过命令行执行 vagrant version 检查是否安装成功:

三、下载虚拟机镜像
使用 Vagrant 创建虚机时,需要指定一个镜像,也就是 box。开始这个 box 不存在,所以 Vagrant 会先从网上下载,然后缓存在本地目录中。
Vagrant 有一个镜像网站,里面列出了都有哪些镜像可以用,并且提供了操作文档。
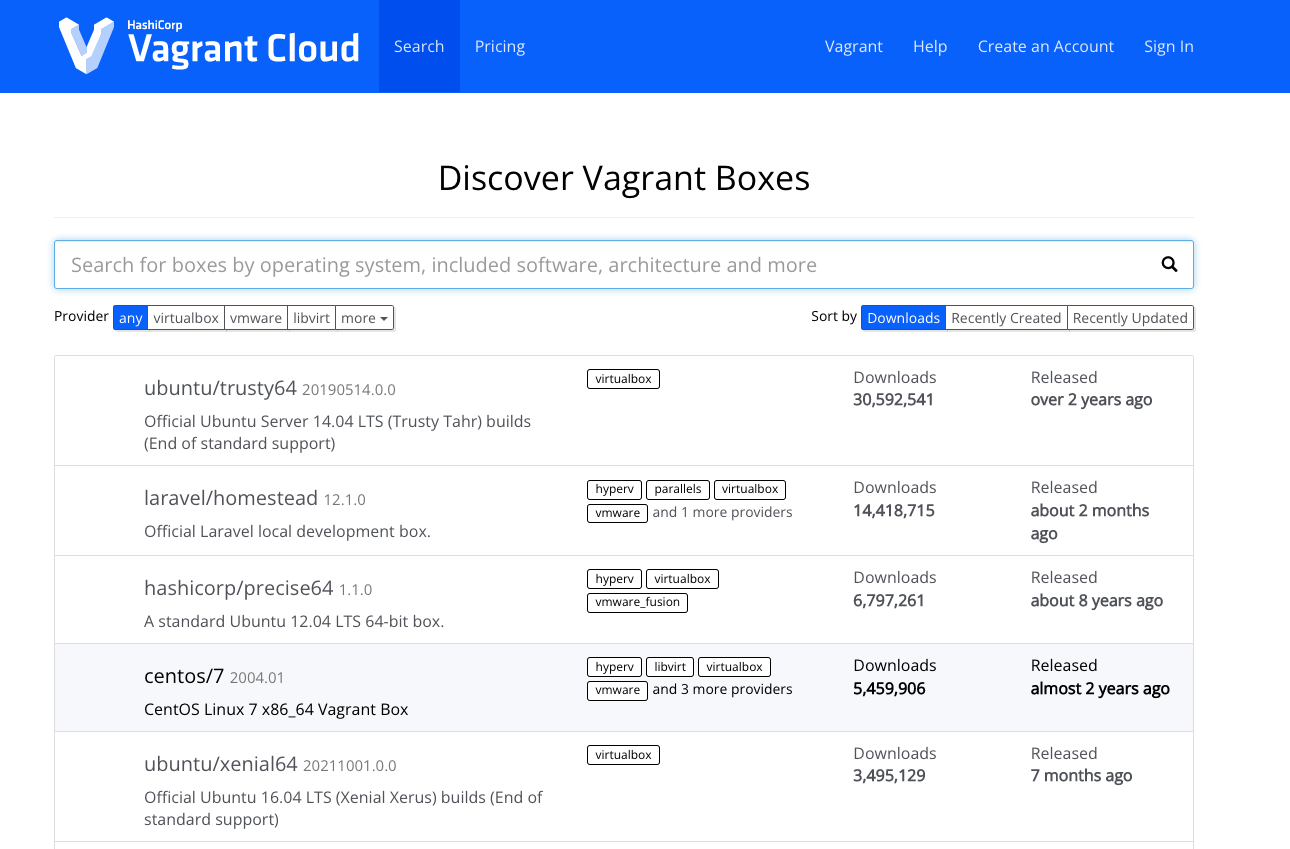
但是这里默认下载往往会比较慢,所以下面我会介绍如何在其它地方下载到基础镜像,然后按照自己的需要重置。如果网速较好,下载顺利的朋友可以选择性地跳过部分内容。
下面我给出最常用的两个 Linux 操作系统镜像的下载地址:
CentOS
CentOS 的镜像下载网站是: http://cloud.centos.org/centos/
在其中选择自己想要下载的版本,列表中有一个 vagrant 目录,里面是专门为 vagrant 构建的镜像。选择其中的 .box 后缀的文件下载即可。这里可以使用下载工具,以较快的速度下载下来。
Ubuntu
Ubuntu 的镜像下载网站是: http://cloud-images.ubuntu.com/
同样先选择想要的版本,然后选择针对 vagrant 的 .box 文件即可。
四、添加box
接下来我们需要将下载后的 .box 文件添加到 vagrant 中。
Vagrant 没有 GUI,只能从命令行访问,先启动一个命令行,然后执行:
指令1:vagrant box list 查询vagrant 已经管理的 Box 有哪些
houlei@houleideMacBook-Pro ubuntu % vagrant box listThere are no installed boxes! Use `vagrant box add` to add some.
指令2:vagrant box add 将 box 添加到vagrant 中, 命令后面跟着的是box文件路径,并且通过 --name ubuntu 为这个 box 指定一个名字。
houlei@houleideMacBook-Pro ubuntu % vagrant box add /Users/houlei/Desktop/vagrant/box/xenial-server-cloudimg-amd64-vagrant.box --name ubuntu ==> box: Box file was not detected as metadata. Adding it directly... ==> box: Adding box 'ubuntu' (v0) for provider:box: Unpacking necessary files from: file:///Users/houlei/Desktop/vagrant/box/xenial-server-cloudimg-amd64-vagrant.box==> box: Successfully added box 'ubuntu' (v0) for 'virtualbox'! # 安装成功 houlei@houleideMacBook-Pro ubuntu % vagrant box listubuntu (virtualbox, 0) # 刚安装成功的box,在安装的时候,我去的名字叫ubuntuhoulei@houleideMacBook-Pro ubuntu %
指令3:vagrant box remove NAME 根据名字删除指定的box
五、Vagrant基本操作
1、新建虚拟机
我们在创建虚拟机的时候,会生产一些文件,所以我们为每个虚拟机最好都创建一个独立的文件。然后进入文件中
/Users/houlei/Desktop/vagrant/ubuntuhoulei@houleideMacBook-Pro ubuntu %
我在桌面上创建了一个vagrant文件夹,在里面有创建了ubuntu文件夹,专门用来存放创建的而这个虚拟机的东西
新建虚拟机指令:vagrant init [boxname] 加上boxname 表示使用哪个box 创建虚拟机
houlei@houleideMacBook-Pro ubuntu % vagrant init ubuntuA `Vagrantfile` has been placed in this directory. You are nowready to `vagrant up` your first virtual environment! Please readthe comments in the Vagrantfile as well as documentation on`vagrantup.com` for more information on using Vagrant.houlei@houleideMacBook-Pro ubuntu %
创建成功后,会在文件夹中多一个“Vagrantfile”的文件。
2、启动虚拟机
注意: 在当前这个小例子中,上面所有的 vagrant 命令都需要在 Vagrantfile 所在的目录下执行。
启动虚拟机的指令:vagrant up
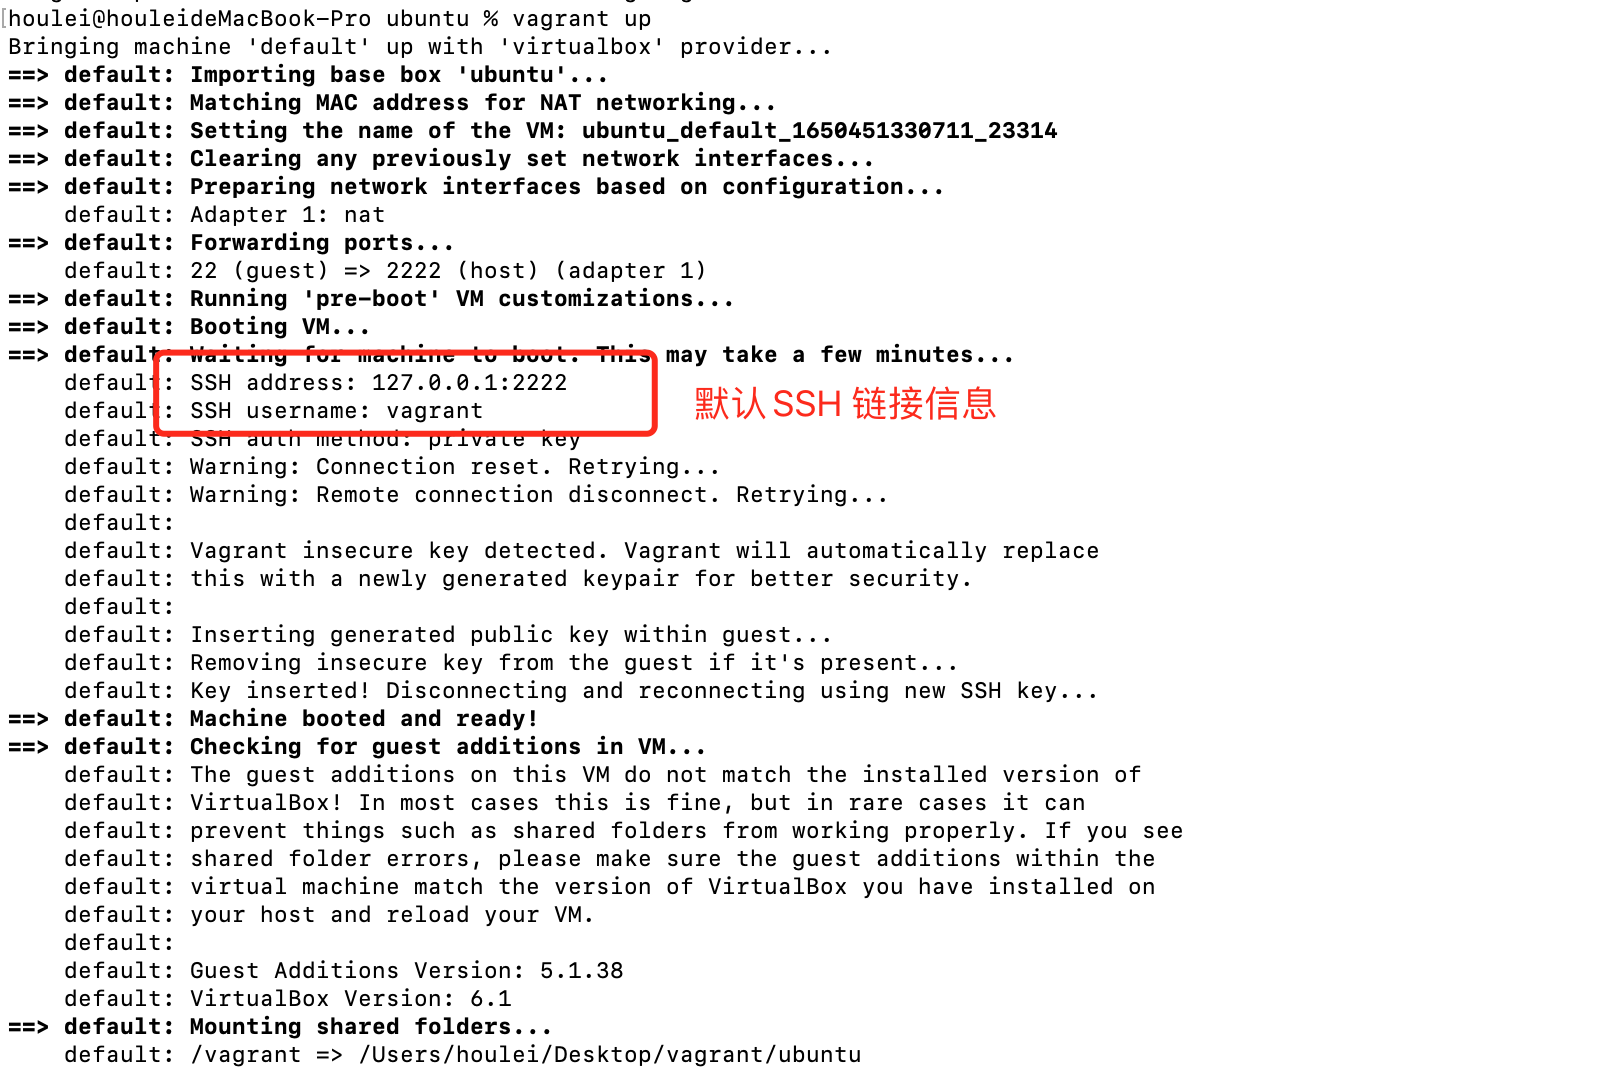
只要是没有报错,就说明启动成功了
3、查看虚拟机的状态
指令:vagrant status

如果是running 就说明我们的虚拟机,启动成功了。
4、链接虚拟机
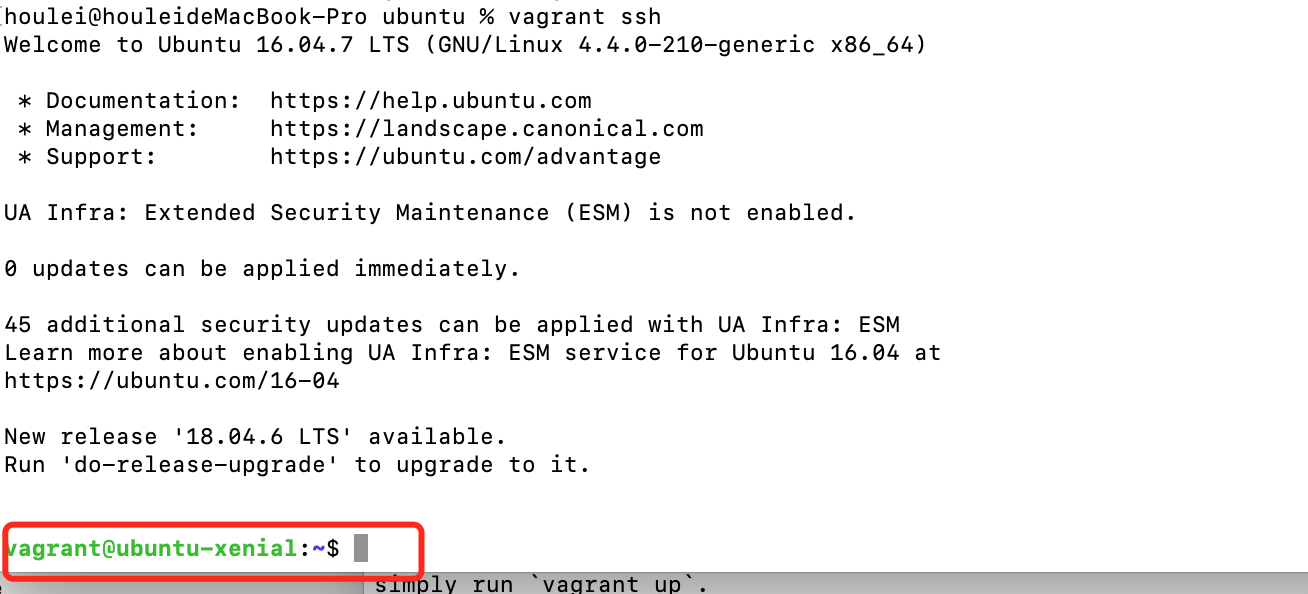
如果启动没问题,接下来执行 vagrant ssh 就能以 vagrant 用户直接登入虚机中。
root 用户没有默认密码,也不能直接登录。需要 root 权限的命令可以通过在命令前添加 sudo 来执行,也可以执行 sudo -i 直接切换到 root 用户。
这时候打开 VirtualBox 程序,可以看到自动创建的虚机:
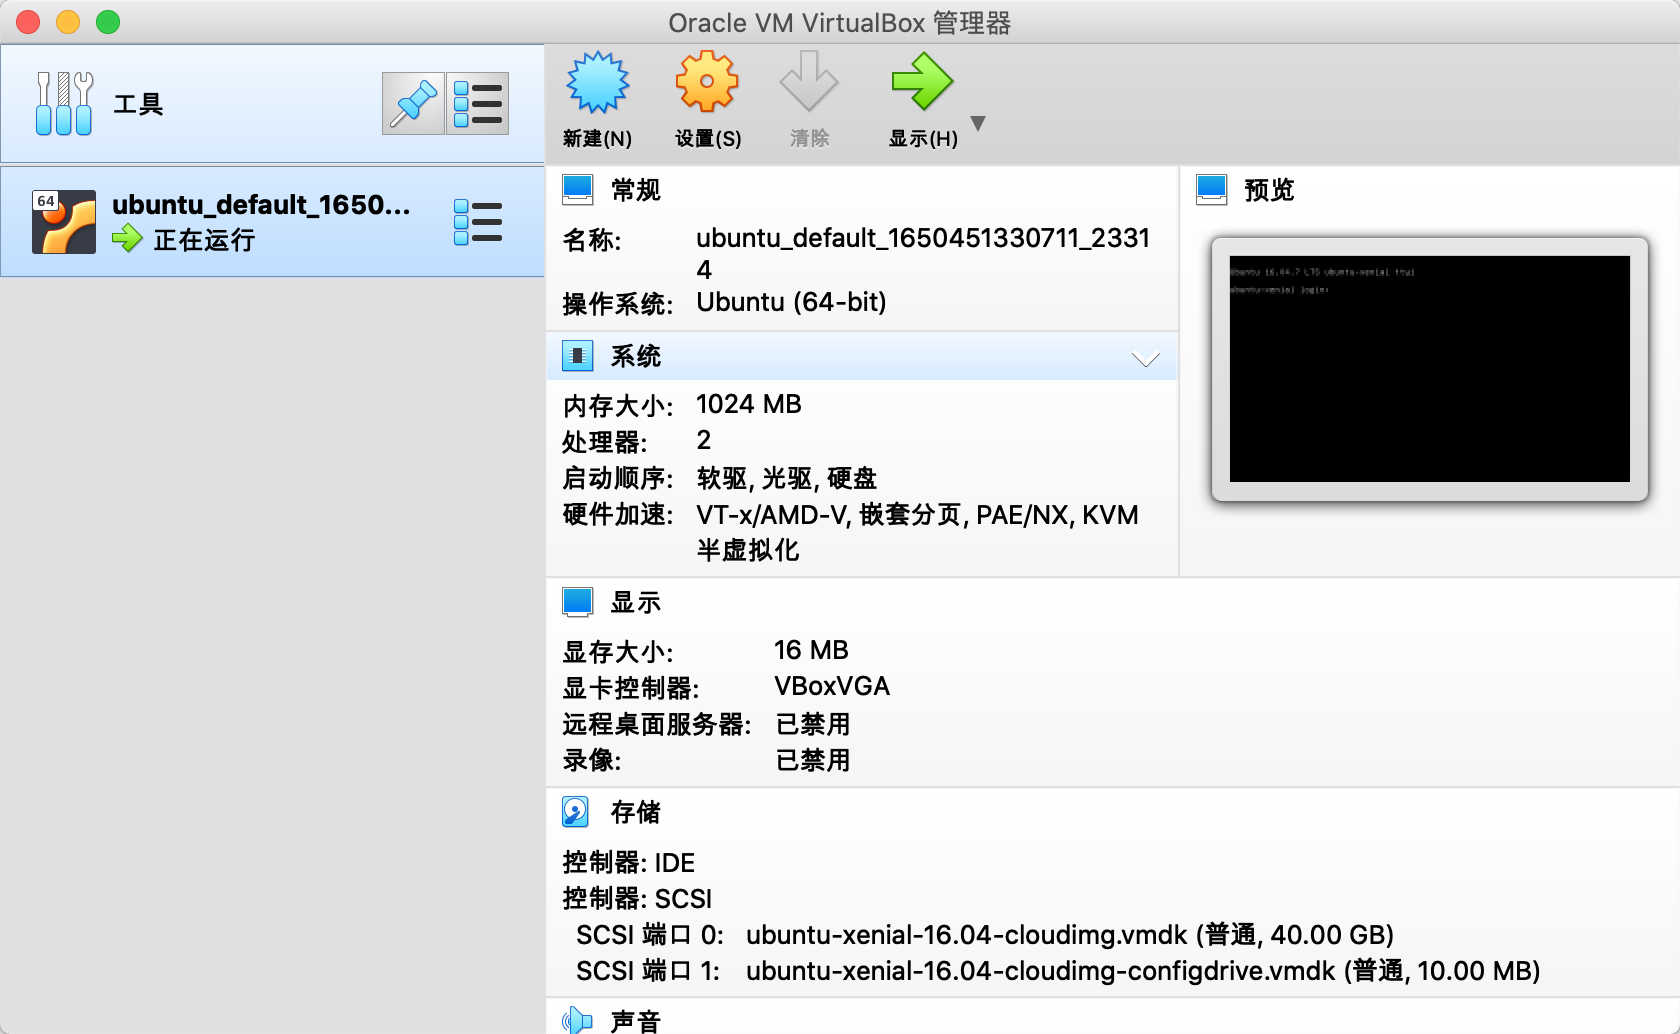
我们也可以在 VirtualBox 的终端上登录系统,默认的登录用户名和密码都是 vagrant,但是个人觉得不是很方便。
更推荐大家使用 vagrant ssh
5、停止虚拟机:
指令:vagrant halt

6、 暂停虚拟机
指令:vagrant suspend
7、恢复虚拟机
指令:vagrant resume
注意: 不管虚机是关闭还是暂停状态,甚至是 error 状态,都可以执行 vagrant up 来让虚机恢复运行。
8、删除虚拟机
指令:vagrant destroy
六、Vagrantfile源文件
# -*- mode: ruby -*- # vi: set ft=ruby :# All Vagrant configuration is done below. The "2" in Vagrant.configure # configures the configuration version (we support older styles for # backwards compatibility). Please don't change it unless you know what # you're doing.Vagrant.configure("2") do |config|# The most common configuration options are documented and commented below.# For a complete reference, please see the online documentation at# https://docs.vagrantup.com.# Every Vagrant development environment requires a box. You can search for# boxes at https://vagrantcloud.com/search.config.vm.box = "ubuntu"# Disable automatic box update checking. If you disable this, then# boxes will only be checked for updates when the user runs# `vagrant box outdated`. This is not recommended.# config.vm.box_check_update = false# Create a forwarded port mapping which allows access to a specific port# within the machine from a port on the host machine. In the example below,# accessing "localhost:8080" will access port 80 on the guest machine.# NOTE: This will enable public access to the opened port# config.vm.network "forwarded_port", guest: 80, host: 8080# Create a forwarded port mapping which allows access to a specific port# within the machine from a port on the host machine and only allow access# via 127.0.0.1 to disable public access# config.vm.network "forwarded_port", guest: 80, host: 8080, host_ip: "127.0.0.1"# Create a private network, which allows host-only access to the machine# using a specific IP.# config.vm.network "private_network", ip: "192.168.33.10"# Create a public network, which generally matched to bridged network.# Bridged networks make the machine appear as another physical device on# your network.# config.vm.network "public_network"# Share an additional folder to the guest VM. The first argument is# the path on the host to the actual folder. The second argument is# the path on the guest to mount the folder. And the optional third# argument is a set of non-required options.# config.vm.synced_folder "../data", "/vagrant_data"# Provider-specific configuration so you can fine-tune various# backing providers for Vagrant. These expose provider-specific options.# Example for VirtualBox:## config.vm.provider "virtualbox" do |vb|# # Display the VirtualBox GUI when booting the machine# vb.gui = true## # Customize the amount of memory on the VM:# vb.memory = "1024"# end## View the documentation for the provider you are using for more# information on available options.# Enable provisioning with a shell script. Additional provisioners such as# Ansible, Chef, Docker, Puppet and Salt are also available. Please see the# documentation for more information about their specific syntax and use.# config.vm.provision "shell", inline: <<-SHELL# apt-get update# apt-get install -y apache2# SHELLend
这是一个 Ruby 语法的文件,因为 Vagrant 就是用 Ruby 编写的。如果编辑器没有语法高亮可以手动设置文件类型为 Ruby。
这个缺省文件内容几乎都是注释,提示有哪些配置项可以修改,我们不需要去学 Ruby 编程也可以照葫芦画瓢的完成基本的配置。
刨除注释,这个文件的实际生效内容只有3行
Vagrant.configure("2") do |config|config.vm.box = "ubuntu"end
这里的 config.vm.box 对应的就是虚机的镜像,也就是 box 文件,这是唯一必填的配置项。
特别提醒,Vagrantfile 文件名是固定的写法,大小写也要完全一样,修改了就不认识了
七、自定义配置Vagrantfile
下面我将针对这份默认的 Vagrantfile 内容,逐个讲解其中的配置含义和如何根据实际情况修改。
1、配置端口转发
端口转发(Port forward)又叫端口映射,就是把虚机的某个端口,映射到宿主机的端口上。这样就能在宿主机上访问到虚拟机中的服务。
例如启动虚机时,默认的 22 (guest) => 2222 (host) (adapter 1) 就是把虚机的 SSH 服务端口(22)映射到宿主机的 2222 端口,这样直接在宿主机通过 ssh 客户端访问 127.0.0.1:2222 端口就等价于访问虚拟机的 22 端口。
下面这两段配置就是教我们如何配置额外的端口转发规则,例如把 Web 服务也映射出来:
# Create a forwarded port mapping which allows access to a specific port# within the machine from a port on the host machine. In the example below,# accessing "localhost:8080" will access port 80 on the guest machine.# NOTE: This will enable public access to the opened port# config.vm.network "forwarded_port", guest: 80, host: 8080# Create a forwarded port mapping which allows access to a specific port# within the machine from a port on the host machine and only allow access# via 127.0.0.1 to disable public access# config.vm.network "forwarded_port", guest: 80, host: 8080, host_ip: "127.0.0.1"
实际上设置端口转发这个功能并不实用,一个很明显的问题就是如果启动多个虚机,很容易就出现宿主机上端口冲突的问题。即使没有端口冲突,使用起来也不方便,我个人不推荐使用的,可以把这部分配置直接删掉。直接使用下面的私有网络。
这个功能是虚拟机软件提供的,可以在虚机的网卡设置中展开高级选项,找到相关的配置:
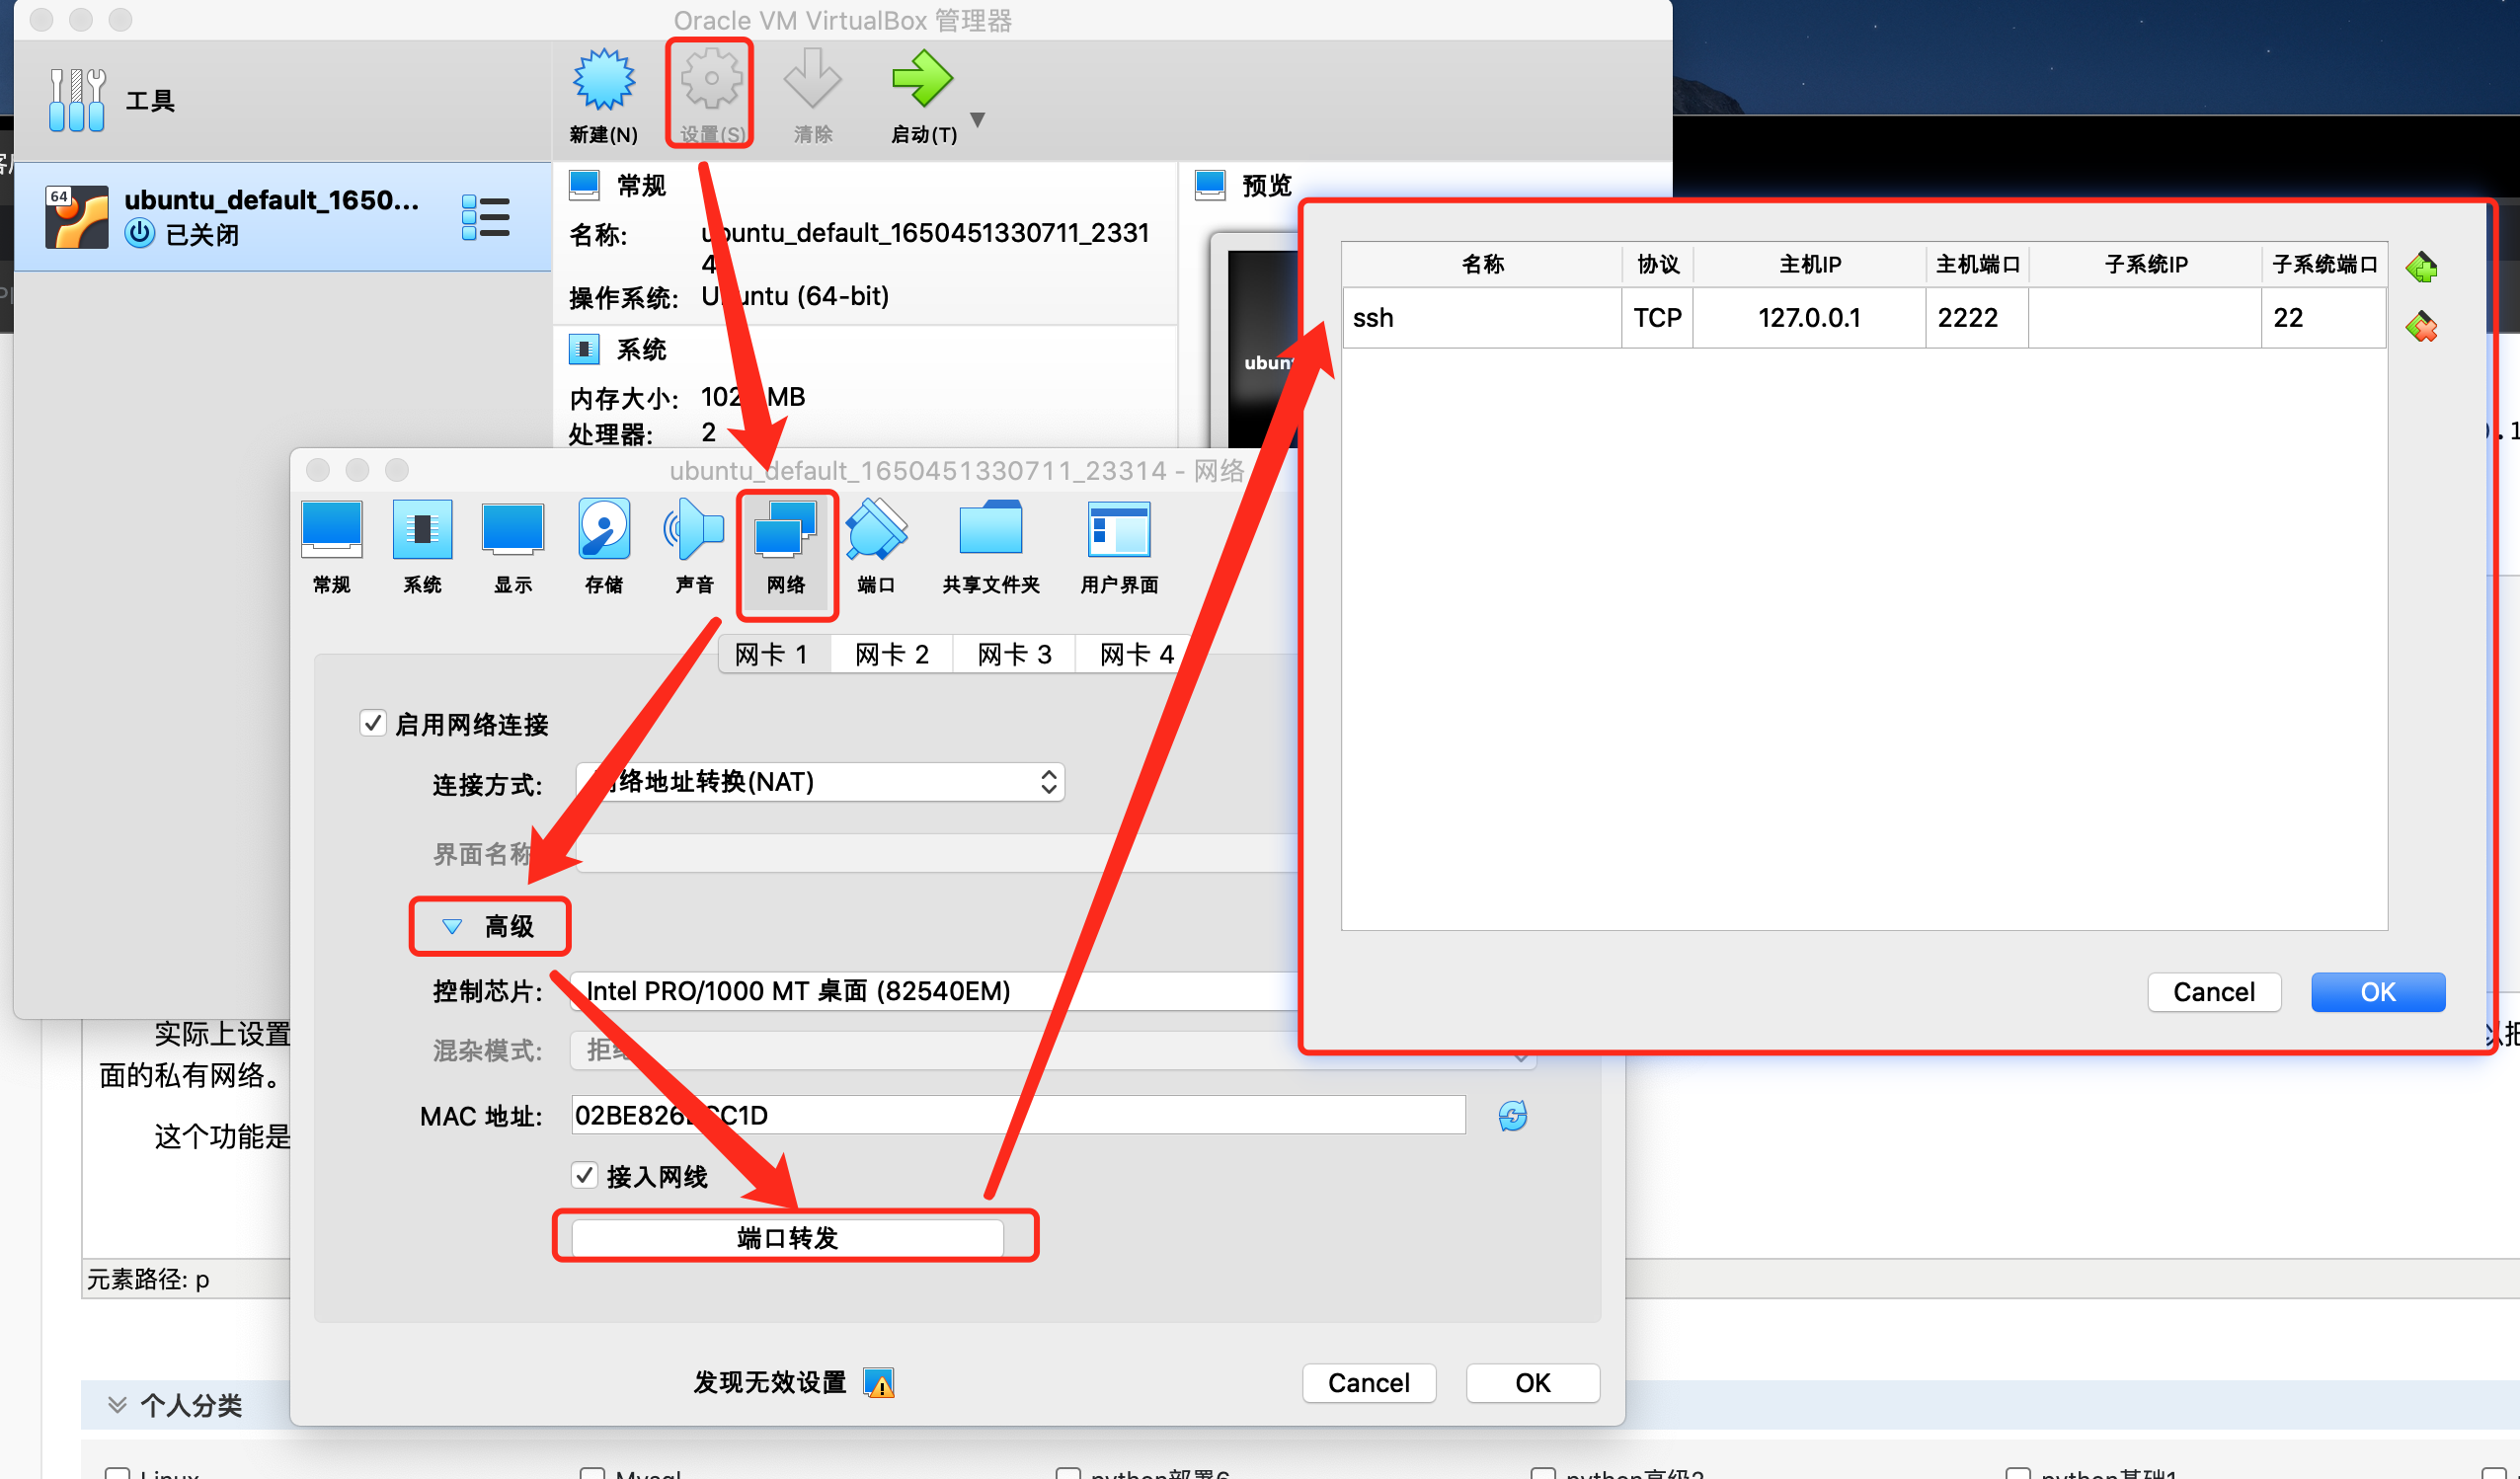
还有个地方需要注意,默认的 SSH 端口映射在这里没法直接修改。比如像我这样,2222 端口出现莫名问题,如果想要把 22 端口转发到其它端口如 22222,直接添加下面这样的配置是没用的:
config.vm.network "forwarded_port", guest: 22, host: 22222 它会在原来的基础上新加一个端口转发规则,而不是替代原来的,必须要先强制关闭掉默认的那条规则:
config.vm.network "forwarded_port", guest: 22, host: 2222, id: "ssh", disabled: "true" config.vm.network "forwarded_port", guest: 22, host: 22222
2、配置私有网络
下面这段配置用来配置私有网络,实际上对应的是 VirtualBox 的主机网络,也就是 HostOnly 网络。
# Create a private network, which allows host-only access to the machine# using a specific IP.# config.vm.network "private_network", ip: "192.168.33.10"
取消注释最下面一行,就可以为虚机设置指定的私有网络地址:
config.vm.network "private_network", ip: "192.168.33.10"
如果这个网段的主机网络在 VirtualBox 中不存在,Vagrant 会在启动虚机时自动创建。所以,如果你想要利用已有的网络,请查看现有主机网络配置:
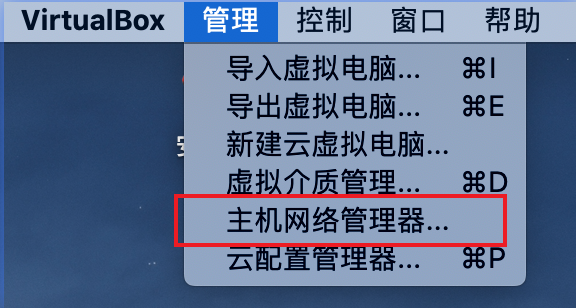
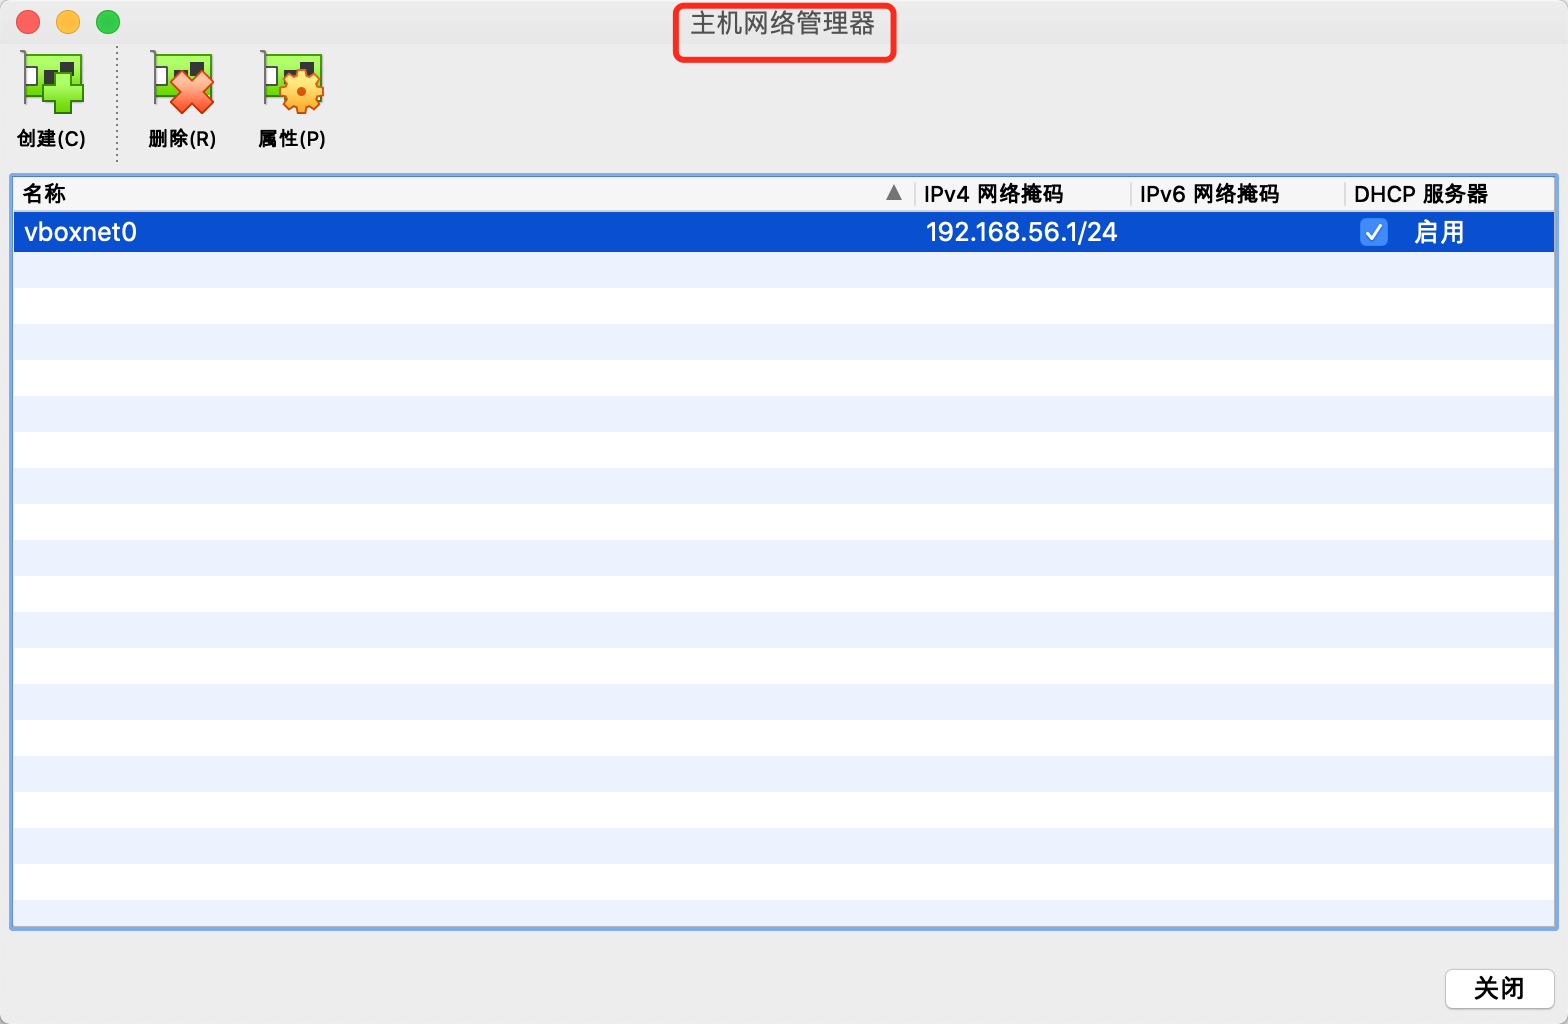
最好这个网络也不要启用 DHCP,完全由自己来分配地址,这样更加清楚。
config.vm.network "private_network", ip: "192.168.56.10"
修改完成后,执行 vagrant reload 命令重建虚机,就能看到多出来的网卡了。
私有网络实际也可以直接使用 DHCP,但是并不推荐:
config.vm.network "private_network", type: "dhcp"
3、配置同步文件夹
houlei@houleideMacBook-Pro ubuntu % vagrant reload ==> default: Attempting graceful shutdown of VM... ==> default: Clearing any previously set forwarded ports... ==> default: Clearing any previously set network interfaces... ==> default: Preparing network interfaces based on configuration...default: Adapter 1: natdefault: Adapter 2: hostonly ==> default: Forwarding ports...default: 22 (guest) => 2222 (host) (adapter 1) ==> default: Running 'pre-boot' VM customizations... ==> default: Booting VM... ==> default: Waiting for machine to boot. This may take a few minutes...default: SSH address: 127.0.0.1:2222 default: SSH username: vagrantdefault: SSH auth method: private keydefault: Warning: Connection reset. Retrying... ==> default: Machine booted and ready! ==> default: Checking for guest additions in VM...default: The guest additions on this VM do not match the installed version ofdefault: VirtualBox! In most cases this is fine, but in rare cases it candefault: prevent things such as shared folders from working properly. If you seedefault: shared folder errors, please make sure the guest additions within thedefault: virtual machine match the version of VirtualBox you have installed ondefault: your host and reload your VM.default:default: Guest Additions Version: 5.1.38 default: VirtualBox Version: 6.1==> default: Configuring and enabling network interfaces... ==> default: Mounting shared folders...default: /vagrant => /Users/houlei/Desktop/vagrant/ubuntu # /vagrant 对应的事虚拟机上的路径, =>对应的是本机上的路径。 ==> default: Machine already provisioned. Run `vagrant provision` or use the `--provision` ==> default: flag to force provisioning. Provisioners marked to run always will still run.
本文转自:https://www.cnblogs.com/Se7eN-HOU/archive/2022/04/21/16171456.html

