盒模型
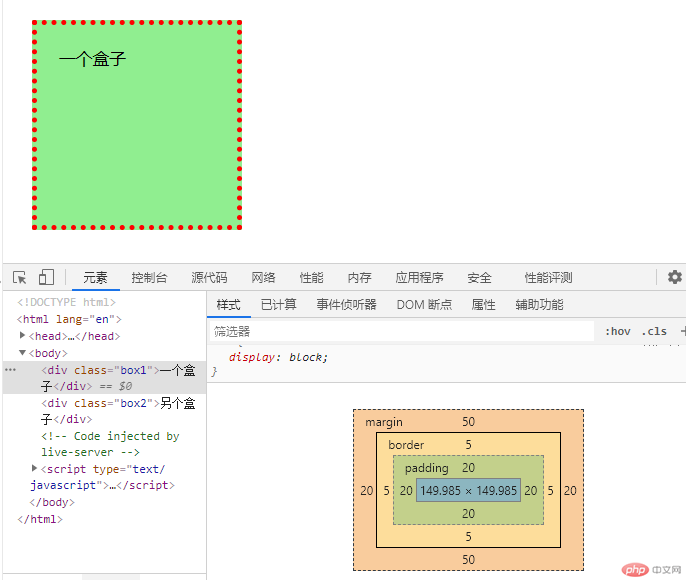
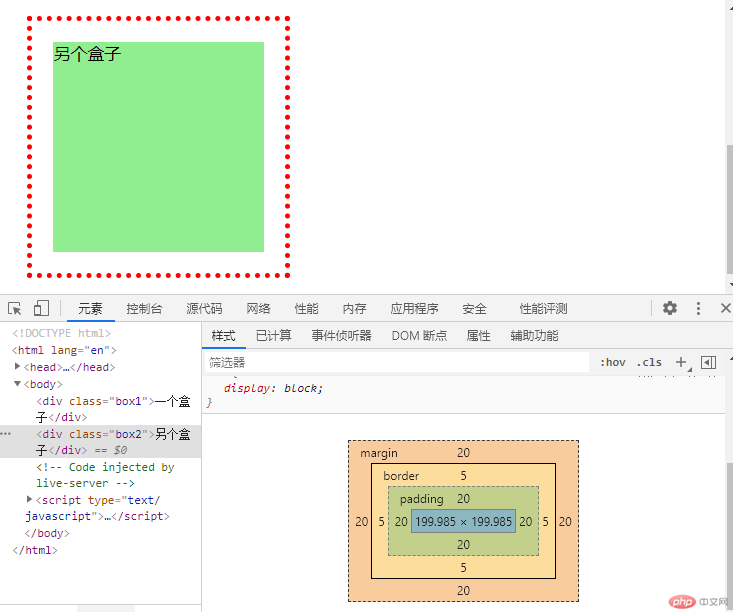
1.建立两个盒子,练习常用属性的用法,验证两个盒子之间margin的值由数值由较大方决定
2.box-sizing的border-box属性(将盒子的大小定义为到边框的距离),background-clip属性,其主要是用来确定背景的裁剪区域,(background-clip:content-box):背景从content区域向外裁剪,超过content区域的背景将被剪掉
代码如下:
<!DOCTYPE html><html lang="en"><head><meta charset="UTF-8"><meta http-equiv="X-UA-Compatible" content="IE=edge"><meta name="viewport" content="width=device-width, initial-scale=1.0"><title>盒模型</title><style>.box1{width: 200px;height: 200px;background-color: lightgreen;border: 5px dotted red;padding: 20px;margin: 50px 20px;box-sizing: border-box;}.box2{width: 200px;height: 200px;background-color: lightgreen;border: 5px dotted red;padding: 20px;margin: 20px;background-clip: content-box;}</style></head><body><div class="box1">一个盒子</div><div class="box2">另个盒子</div></body></html>
运行效果如下图:
媒体查询
代码如下:
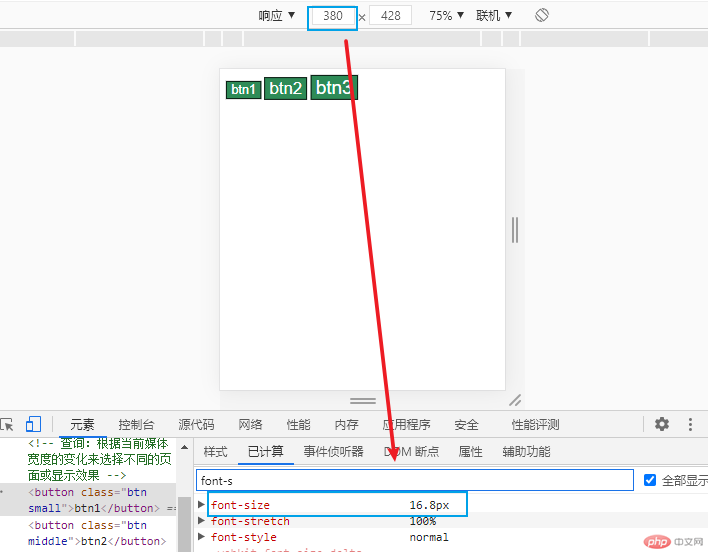
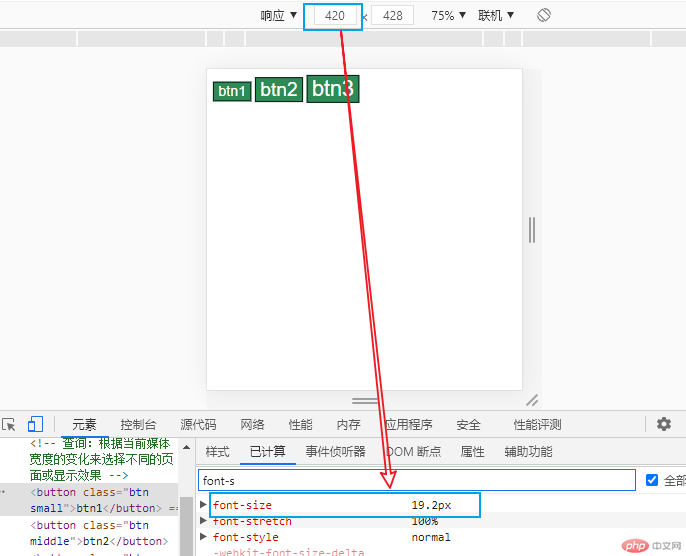
<!DOCTYPE html><html lang="en"><head><meta charset="UTF-8"><meta http-equiv="X-UA-Compatible" content="IE=edge"><meta name="viewport" content="width=device-width, initial-scale=1.0"><title>媒体查询</title></head><body><!-- 媒体:显示/输出信息的介质/载体,屏幕,打印机 --><!-- 查询:根据当前媒体宽度的变化来选择不同的页面或显示效果 --><button class="btn small">btn1</button><button class="btn middle">btn2</button><button class="btn large">btn3</button></body><style>/* em:默认元素字号,16px *//* rem:根元素的字号,16px */html{font-size: 10px;/* 1em=10px; */}/* 按钮基本样式 */.btn{background-color: seagreen;color: white;border: 1px solid black;outline: none;}.btn:hover{cursor: pointer;opacity: 0.8;transition: 0.3s;padding: 0.4rem 0.8rem;}.btn.small{font-size: 1.2rem;}.btn.middle{font-size: 1.6rem;}.btn.large{font-size: 1.8rem;}/* 最大374px */@media(max-width:374px) {html{font-size: 12px;}}/* 当在375-414之间 */@media(min-width:375px) and (max-width:414px){html{font-size: 14px;}}@media(min-width:415px){html{font-size: 16px;}}/* 以上是一个由小到大的匹配过程:移动优先 *//* 由大到小是匹配过程:PC优先 */</style></html>
运行效果如图: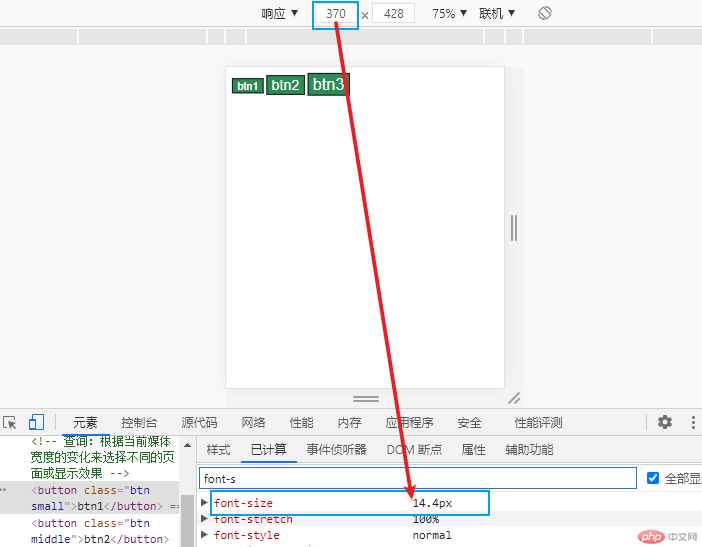
em和rem
1.em是字符大小的单位,默认为16px(像素)
2.em的值会随着用户的改变字体大小而改变
3.rem为根元素字符大小的单位,随着根元素字体大小而变化
实例代码如下:
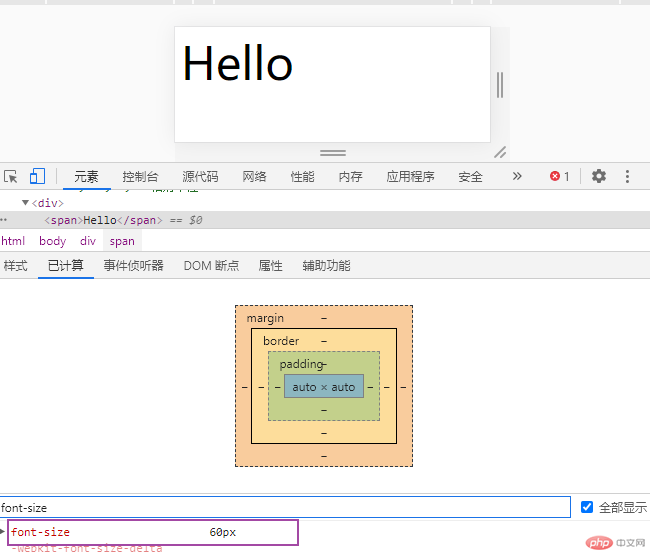
<!DOCTYPE html><html lang="en"><head><meta charset="UTF-8"><meta http-equiv="X-UA-Compatible" content="IE=edge"><meta name="viewport" content="width=device-width, initial-scale=1.0"><title>常用单位</title></head><body><!-- px:像素,绝对单位,通常不会用来进行移动的布局,1in=96px--><!-- em,rem,vh,vw:相对单位 --><div><span>Hello</span></div><style>html{font-size: 10px;/* 在根元素中设置的字号,在其它地方引用是使用rem,并且这个值是不变的 *//* 因为一个页面,只有一个根元素,html *//* 1rem=10px */}div{font-size: 30px;}div span{font-size: 2em;/* em在父元素中被重新定义了 *//* em总是随着自身或父元素的字号发生变化,在布局时会显得非常的混乱 */}</style></body></html>
运行后如下图: