事件
事件添加
- 1、添加到元素的事件属性上
<button onclick='conslole.log(this,innerHTML)'>这是按钮</button>
- 2、通过脚本添加到事件属性上
const btn=document.querySelector('button');btn.onclick=function(){consloe.log(this.innerHTML);}
移除事件:btn.onclick=null
- 3、通过事件监听器添加事件
addEventListener(事件类型,事件回调方法,触发阶段)
移除事件:通过回调添加的事件是无法移除的;btn.addEventListener('click',function(){console.log(this.innerHTML);})
事件移除函数:
btn.removeEventListener(事件类型,方法);
注意:通过脚本添加事件只能响应一个,事件监听器可以添加多个事件。 - 事件派发
//自定义点击事件const ev = new Event('click');const btn = document.querySelector('button');let i = 0btn.addEventListener('click', () => console.log('点击了' + i++ + "次"));//事件派发自动执行// btn.dispatchEvent(ev)//使用间歇式定时器自动执行setInterval('btn.dispatchEvent(ev)', 1000);

事件传递
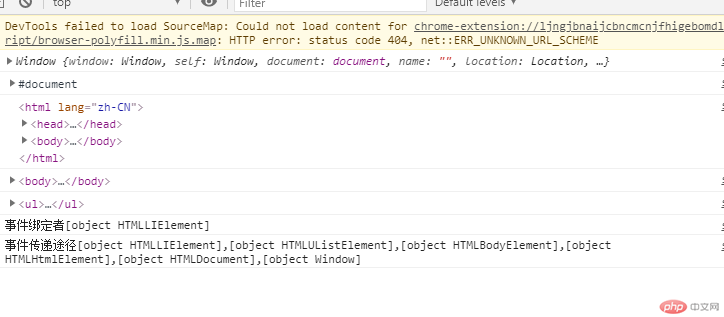
const lis = document.querySelectorAll('li');lis.forEach(li => {(li.onclick = (ev) => {console.log('事件对象' + ev)// 事件对象:保存着当前事件的所有信息//事件类型console.log('事件类型' + ev.type);//事件绑定者console.log('事件绑定者' + ev.currentTarget);// 事件触发者console.log('事件触发者' + ev.target);//事件传递的路径console.log('事件传递途径' + ev.path);//on+event:不支持捕获,只有冒泡})});
1、捕获:从最外层元素逐级向内直到事件的绑定者;
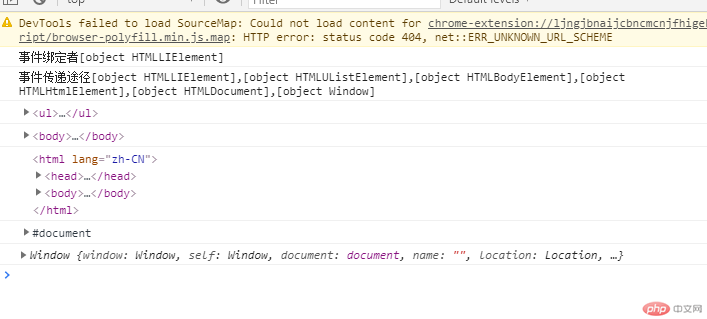
const lis = document.querySelectorAll('li');lis.forEach(li => {(li.onclick = ev => {// console.log('事件对象' + ev)// // 事件对象:保存着当前事件的所有信息// //事件类型// console.log('事件类型' + ev.type);// //事件绑定者console.log('事件绑定者' + ev.currentTarget);// // 事件触发者// console.log('事件触发者' + ev.target);//事件传递的路径console.log('事件传递途径' + ev.path);//on+event:不支持捕获,只有冒泡})});//捕获,第三个参数是true表示事件在捕获阶段触发,false是冒泡(默认)// windowwindow.addEventListener('click', ev => console.log(ev.currentTarget), true)// documentdocument.addEventListener('click', ev => console.log(ev.currentTarget), true)// htmldocument.documentElement.addEventListener('click', ev => console.log(ev.currentTarget), true)// bodydocument.body.addEventListener('click', ev => console.log(ev.currentTarget), true)// uldocument.querySelector('ul').addEventListener('click', ev => console.log(ev.currentTarget), true);

2、目标:到达事件目标
3、冒泡:从目标再由内向外逐级向上直到最外层元素
// uldocument.querySelector('ul').addEventListener('click', ev => console.log(ev.currentTarget));// bodydocument.body.addEventListener('click', ev => console.log(ev.currentTarget))// htmldocument.documentElement.addEventListener('click', ev => console.log(ev.currentTarget))// documentdocument.addEventListener('click', ev => console.log(ev.currentTarget))// windowwindow.addEventListener('click', ev => console.log(ev.currentTarget))

阻止冒泡:ev.stopPropagation();
- 事件代理|事件委托
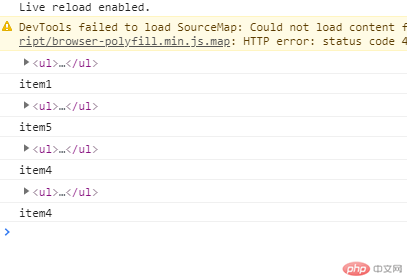
const lis = document.querySelectorAll('li');//遍历每个li,并逐个为它添加点击事件// lis.forEach(li => (li.onclick = ev => console.log(ev.currentTarget)))const ul = document.querySelector('ul').addEventListener('click', ev => {// 事件绑定者console.log(ev.currentTarget);// 事件触发者,通常是事件绑定者的子元素console.log(ev.target.innerHTML);})

表单常用事件
focus:获取焦点
blur:失去焦点
input:只要值发生变化时连续触发,不等失去焦点
change:值发生变化了改变失去焦点了时触发,input ,select, textarea
select:选中文本时触发 ,input ,textarea
invalid:提交时表单元素值不满足验证条件时触发
reset:将表单值全部重置到默认值
submit:提交表单时触发,注意触发对象是form,提交的是表单而不是按钮
keydown:按下键盘时;
keyup:松开键盘时
keypress:按过了键盘时,按下有值键时(除ctrl/alt/shift/meta),先触发keydown
按下一直不放手的触发顺序:keydown,keypress,重复这两个事件,直到keyup
表单中的每一个子元素都一个form属性,指向它所属的表单(ev.currentTarget.form)
//获取表单// const login = document.forms[0];// const login = document.forms['login'];// const login = document.forms.item(0);// const login = document.forms.item('login');// const login = document.forms.namedItem('login');const login = document.querySelector('#login')console.log(login);//提交事件// login.onsubmit = () => alert('提交');//如果是自定义表单的提交行为,应该禁用默认提交行为login.onsubmit = ev => ev.preventDefault();//自定义提交login.submit.onclick = ev => {//阻止冒泡ev.stopPropagation();}

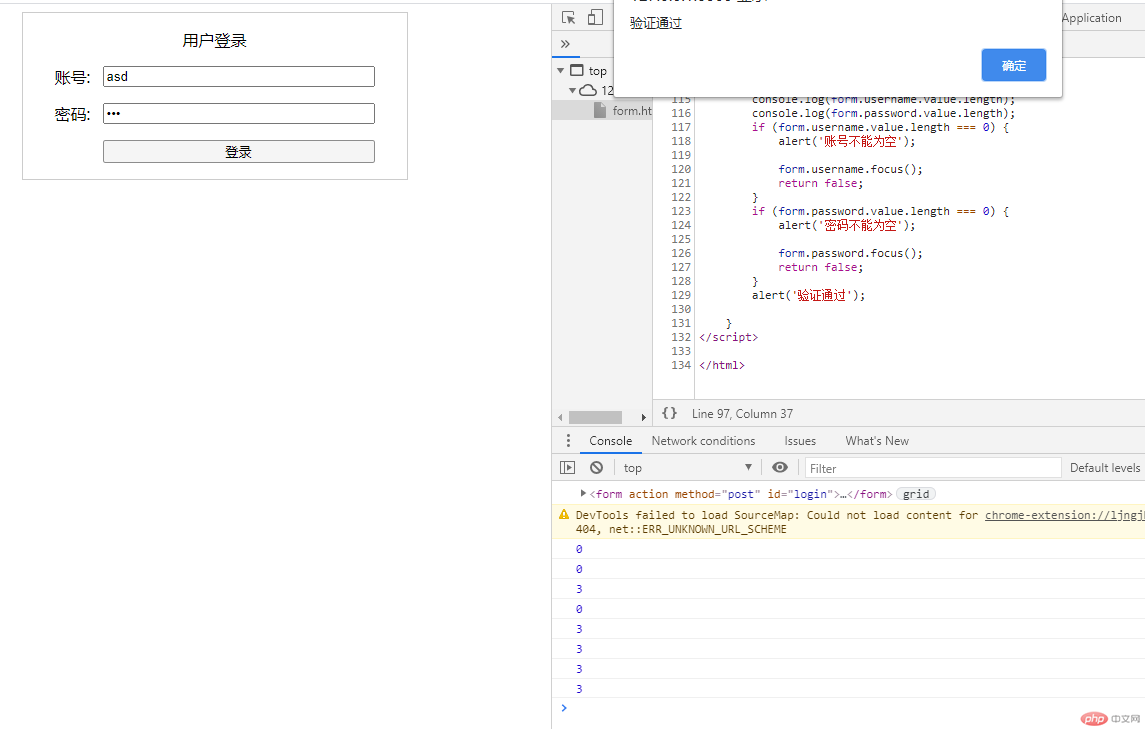
非空验证小案例
function isEmpty(form) {console.log(form.username.value.length);console.log(form.password.value.length);if (form.username.value.length === 0) {alert('账号不能为空');form.username.focus();return false;}if (form.password.value.length === 0) {alert('密码不能为空');form.password.focus();return false;}alert('验证通过');}

实现简单留言板
<body><label for="message"><input type="text" name="message" id="message"></label><ol class="list"></ol></body><script>const msg = document.querySelector('#message')const list = document.querySelector('.list')msg.onkeydown = ev => {// console.log(ev.keyCode);if (ev.keyCode == 13) {if (ev.currentTarget.value.length == 0) {alert('内容不能为空')} else {let str = `<li>${ev.currentTarget.value}</li>`;list.insertAdjacentHTML("afterbegin", str);ev.currentTarget.value = ''}};}</script>

字符串常用函数
- 1、concat() 拼装
let str = 'html'.concat('css', 'php', 888);console.log(str);

- 2、slice(开始,结尾) 取子串;正方向从前取从0开始。负值从后取-1开始。
let res = str.slice(0);res = str.slice(-1)console.log(res);

- 3、substr(开始,长度) 支持负数
res = str.substr(0, 5)console.log(res);

- 4、trim() 去掉俩端空格
let pow = ' asdasd ';console.log(pow.length);console.log(pow.trim().length);

- 5、split(分隔符) 将字符串打散成数组
res = str.split('');console.log(res);

- 6、toUpperCase() / toLowerCase() 大小写转换
res = str.toUpperCase();console.log(res);res = str.toLowerCase();console.log(res);

- 7、 indexOf()来定位字符串中某一个指定的字符首次出现的位置
res = str.indexOf('m');console.log(res);

- 8、match() 查找字符串中特定的字符,并且如果找到的话,则返回这个字符
res = str.match('html');console.log(res);

- 9、 replace(要替换的,替换成) 在字符串中用某些字符替换另一些字符。
res = str.replace('html', 'hello');console.log(res);

- 10、charAt() 返回指定位置的字符 从0开始第一个
res = str.charAt(5);console.log(res);

- 11 、substring() 提取字符串中介于两个指定下标之间的字符。返回的子串包括 开始 处的字符,但不包括 结束 处的字符。substring(from, to)
res = str.substring(0, 7);console.log(res);


