composer自动加载
1.传统加载
<?php// 加载文件require 'app/controller/User.php';// 注册类别名(没有注册的话那么就需要写命名空间或者调用时使用命名空间调用)use app\controller\User;// 调用类成员echo User::get();

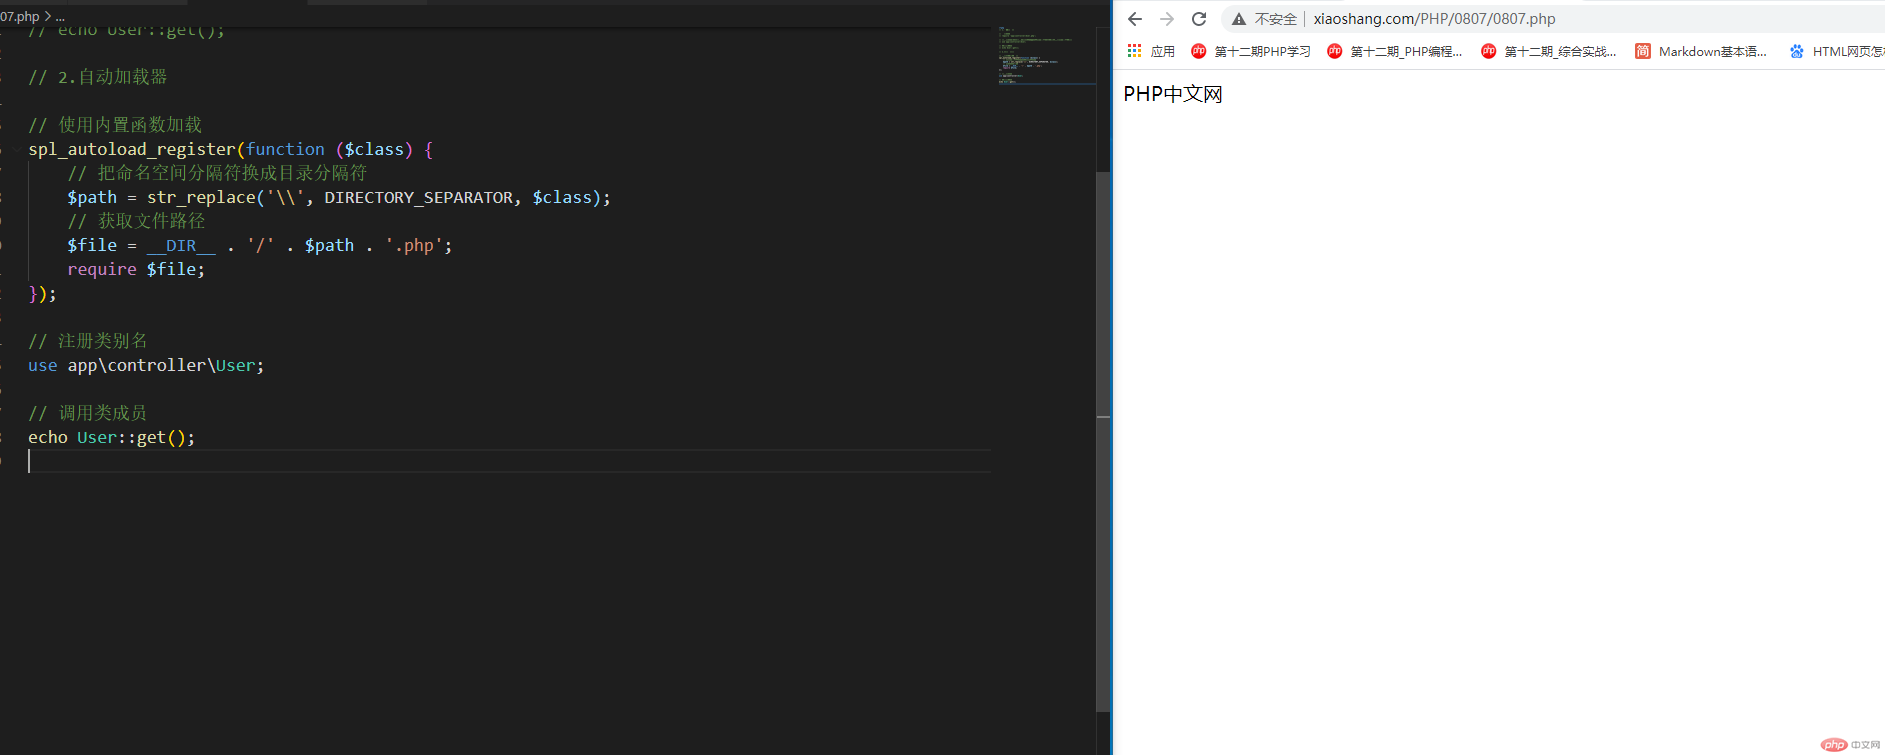
2.自动加载器
<?php// 使用内置函数加载spl_autoload_register(function ($class) {// 把命名空间分隔符换成目录分隔符$path = str_replace('\\', DIRECTORY_SEPARATOR, $class);// 获取文件路径$file = __DIR__ . '/' . $path . '.php';require $file;});// 注册类别名use app\controller\User;// 调用类成员echo User::get();

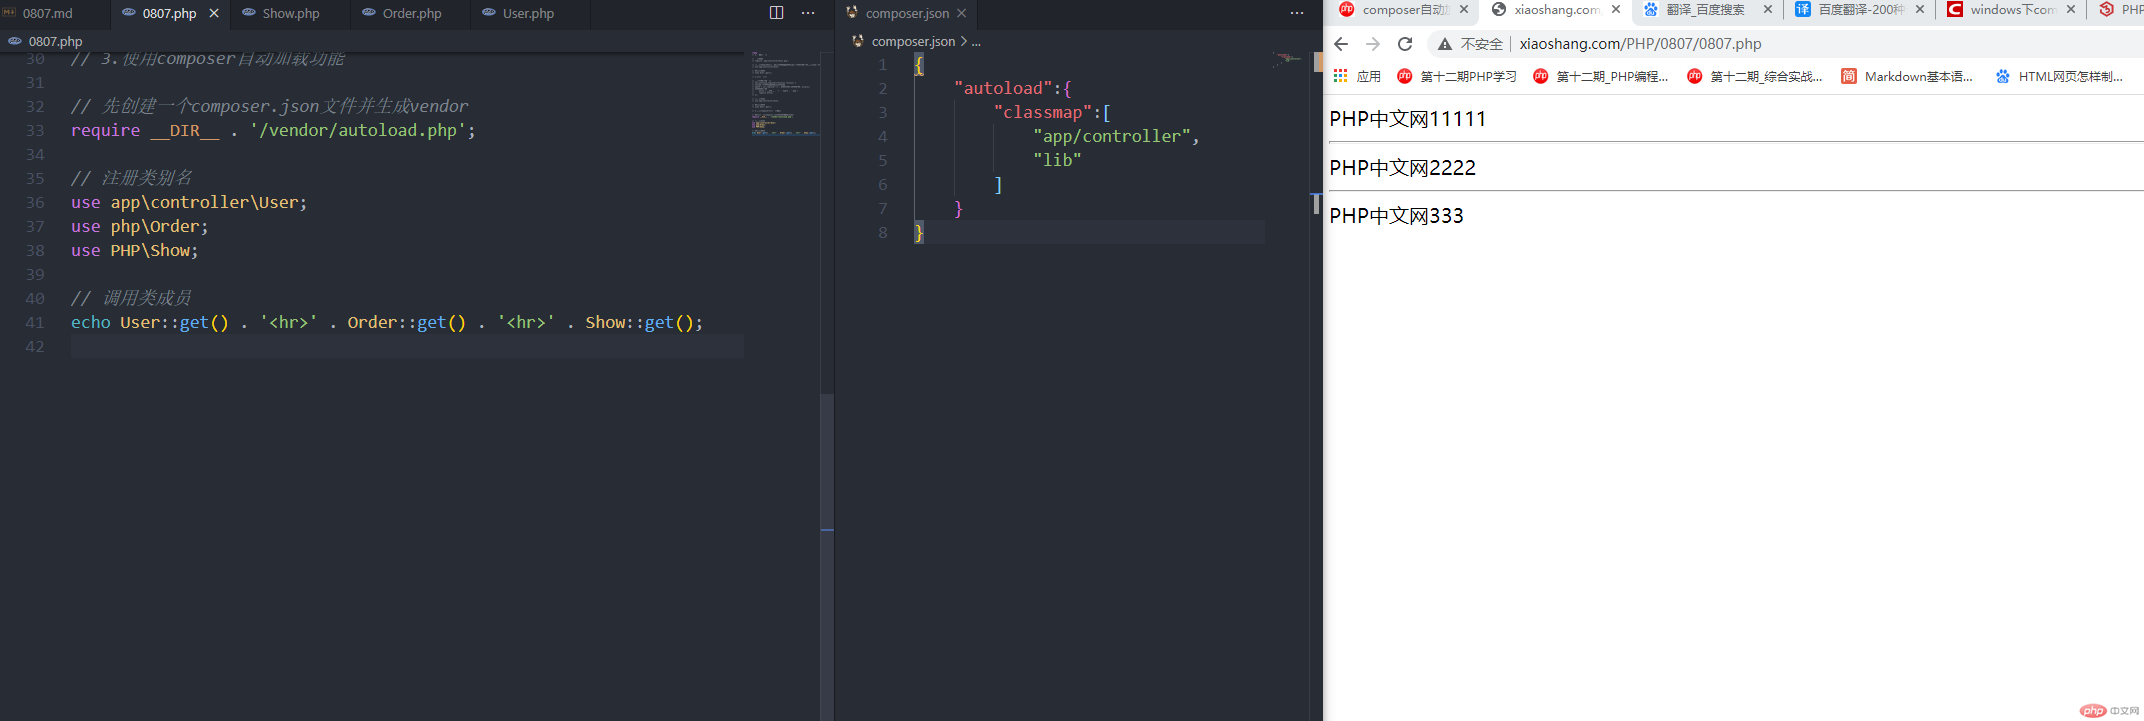
3.composer加载
<?php// 先创建一个composer.json文件并生成vendorrequire __DIR__ . '/vendor/autoload.php';// 注册类别名use app\controller\User;use php\Order;use php\Show;// 调用类成员echo User::get() . '<hr>' . Order::get() . '<hr>' . Show::get();

类映射加载

psr-4方式加载

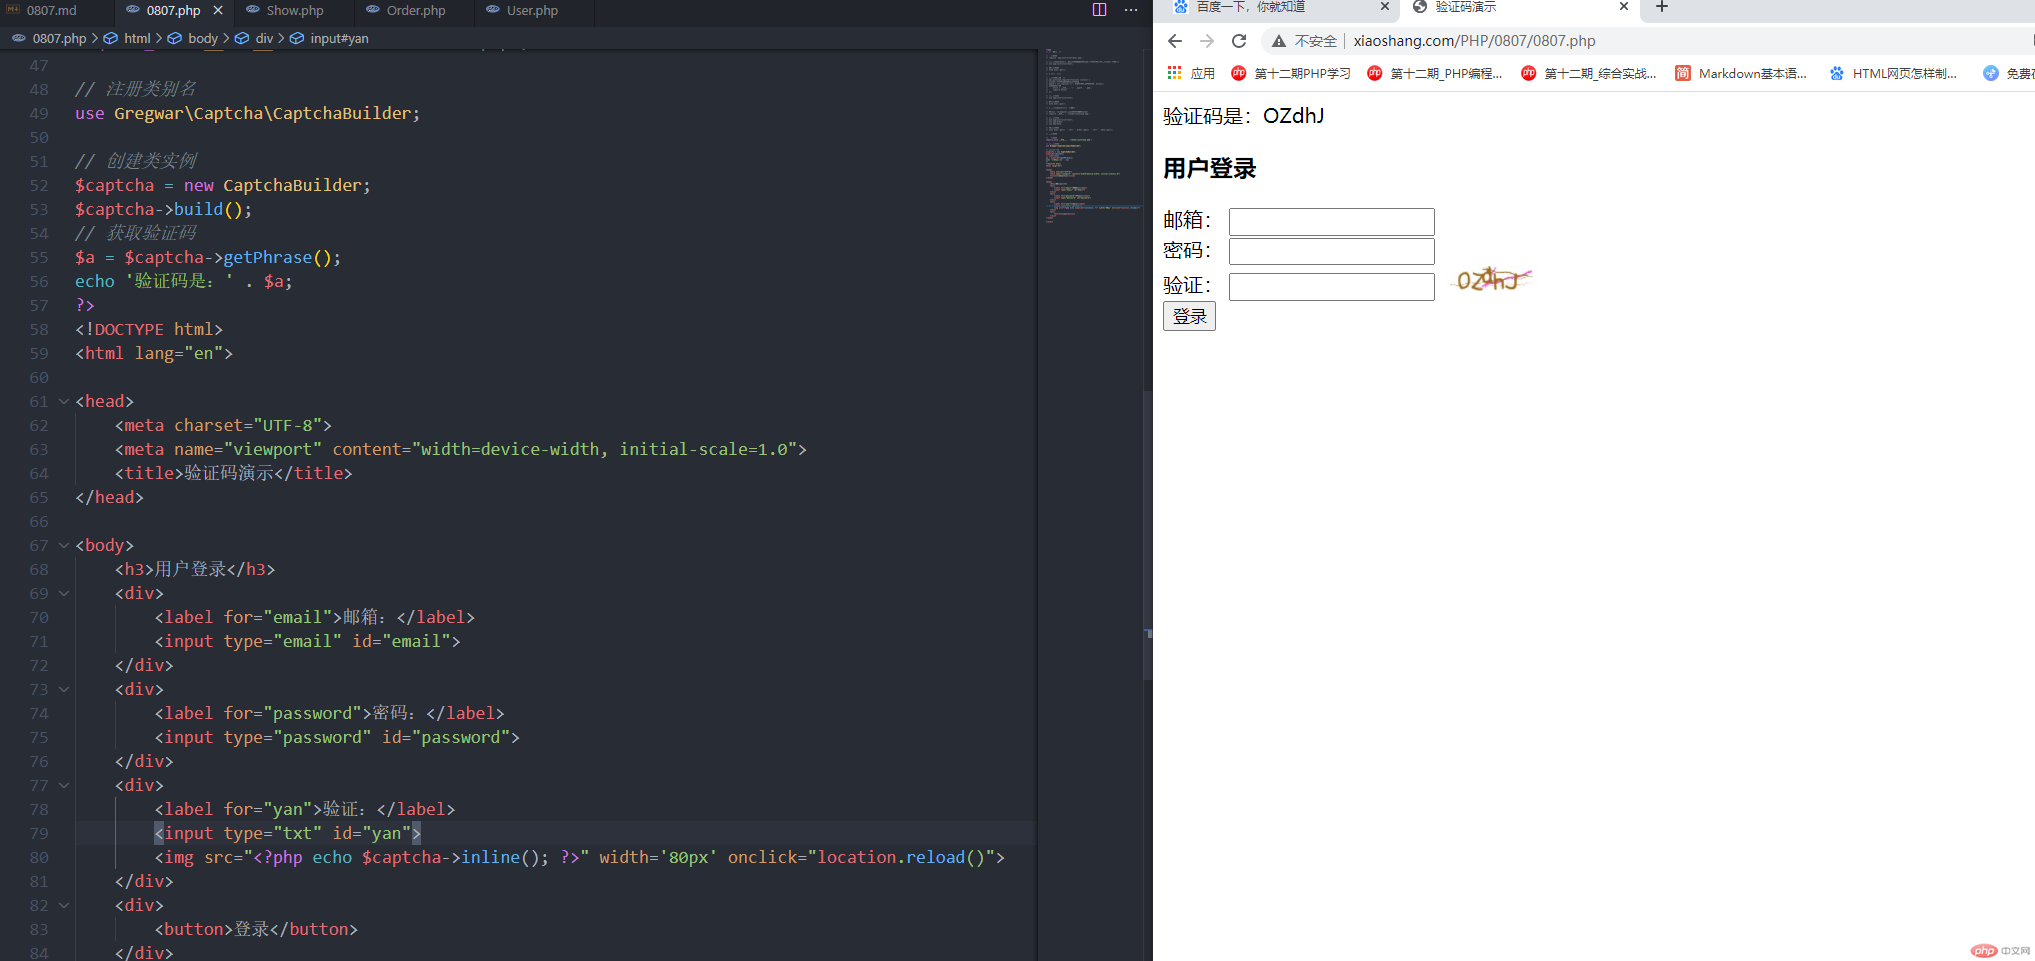
使用组件
<?php// 加载组件require_once __DIR__ . '/vendor/autoload.php';// 注册类别名use Gregwar\Captcha\CaptchaBuilder;// 创建类实例$captcha = new CaptchaBuilder;$captcha->build();// 获取验证码$a = $captcha->getPhrase();echo '验证码是:' . $a;?><!DOCTYPE html><html lang="en"><head><meta charset="UTF-8"><meta name="viewport" content="width=device-width, initial-scale=1.0"><title>验证码演示</title></head><body><h3>用户登录</h3><div><label for="email">邮箱:</label><input type="email" id="email"></div><div><label for="password">密码:</label><input type="password" id="password"></div><div><label for="yan">验证:</label><input type="txt" id="yan"><img src="<?php echo $captcha->inline(); ?>" width='80px' onclick="location.reload()"></div><div><button>登录</button></div></body></html>

写一个小框架
安装相应组件
- 模型类:
composer require catfan/medoo - 视图类:
composer require league/plates
1.创建自己框架的核心代码分别继承第三方的组件
<?phpnamespace core;use Medoo\Medoo;// 模型类(继承medoo)class Model extends Medoo{public function __construct(){$options = ['database_type' => 'mysql','database_name' => 'User','server' => 'localhost','username' => 'root','password' => 'root'];parent::__construct($options);}}
<?phpnamespace core;use League\Plates\Engine;// 视图类(继承plates)class View extends Engine{public $templates;public function __construct($path){$this->templates = parent::__construct($path);}}
2.创建自己的应用,创建属于这个应用的model,view,controller
<?phpnamespace Models;use core\Model;// 自定义模型class AppleModel extends Model{public function __construct(){parent::__construct();}}
// 自定义视图<!DOCTYPE html><html lang="en"><head><meta charset="UTF-8"><meta name="viewport" content="width=device-width, initial-scale=1.0"><title>用户信息</title><style>table {border: 1px solid black;border-collapse: collapse;width: 40%;margin: auto;text-align: center;}caption {font-size: 1.5rem;margin-top: 10px;margin-bottom: 20px;}th,td {border: 1px solid black;}tr:first-of-type {background-color: lightblue;}</style></head><body><table><caption>用户信息</caption><tr><th>ID</th><th>用户名</th><th>性别</th></tr><?php foreach ($users as $user) : ?><tr><td><?= $this->e($user['id']) ?></td><td><?= $this->e($user['username']) ?></td><td><?= $this->e($user['sex']) ?></td></tr><?php endforeach ?></table></body></html>
<?php// 自定义控制器namespace Controller;class UserController{public $model;public $view;public function __construct($model, $view){$this->model = $model;$this->view = $view;}// 用于测试public function get(){return 'PHP中文网';}public function select(){// 获取数据$users = $this->model->select('apple', ['id', 'username', 'sex'], ['id[>=]' => 10, 'LIMIT' => 10]);// 渲染数据(数据到模板引擎中)return $this->view->render('User/list', ['users' => $users]);}}
3.更新composer.json文件中的类映射关系
{"require": {"catfan/medoo": "^1.7","league/plates": "^3.3"},"autoload":{"psr-4":{"core\\":"core","Models\\":"app/Models","Views\\":"app/Views","Controller\\":"app/Controllers"}}}
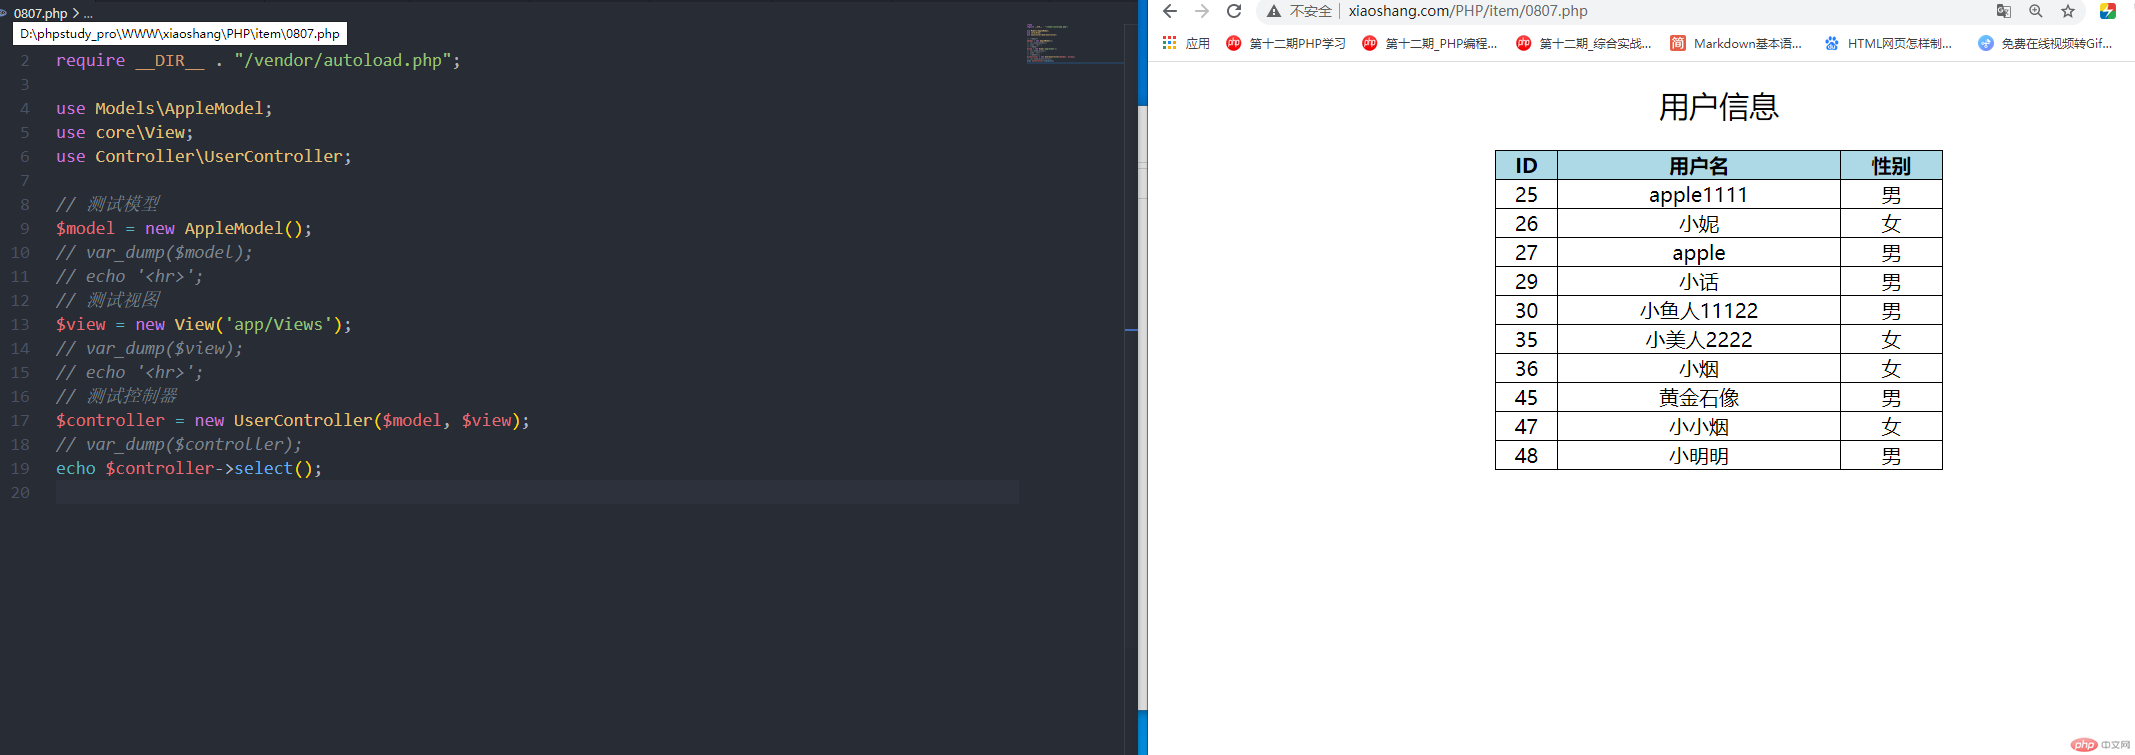
4.创建入口文件,使用composer加载器
<?phprequire __DIR__ . "/vendor/autoload.php";use Models\AppleModel;use core\View;use Controller\UserController;// 测试模型$model = new AppleModel();// var_dump($model);// echo '<hr>';// 测试视图$view = new View('app/Views');// var_dump($view);// echo '<hr>';// 测试控制器$controller = new UserController($model, $view);// var_dump($controller);echo $controller->select();

总结
1.了解了composer的自动加载
2.框架的书写大概了解了,对于各组件的使用还需多看手册了解其功能

