一、背景控制的常用属性
1、背景控制的常用属性表
| 语法 | 描述 |
|---|---|
| background-color | 设置背景颜色 |
| background-image | 设置背景图片 |
| background-repeat | 设置背景平铺方向 |
| background-position | 设置背景图像的位置 |
| background-size | 拉伸背景图片 |
| background-clip | 设置背景覆盖范围 |
| background: linear-gradient() | 设置背景角度、颜色渐变 |
| box-shadow | 设置背景阴影外发光效果 |
| border-radius | 设置背景框四个角的弧度 |
2、背景案例:

3、源码:
<!DOCTYPE html><html lang="en"><head><meta charset="UTF-8"><meta name="viewport" content="width=device-width, initial-scale=1.0"><title>背景</title><style>.box{width: 200px;height: 200px;/* border:1px solid #000; *//* 边角度数 */border-radius: 100px;border-radius: 50px;/* 背景色 */background-color: lightgreen;/* 内边距是透明的,只能设置宽度,不能设置样式,故背景色默认可以从内边距透出来 *//* padding:20px; *//* 控制背景的覆盖范围,限制在内容区,背景裁切 */background-clip: border-box;background-clip: content-box;/* 渐变 *//* 从上到下渐变 */background:linear-gradient(coral,yellow);/* 控制角度 *//* 45度, */background:linear-gradient(45deg,blue,yellow);background:linear-gradient(to right,blue,yellow);background:linear-gradient(to right,blue,red,orange,pink,yellow);background:linear-gradient(to right,rgba(255,0,0,0.7),blue,red,orange,pink,yellow);/* background-clip: content-box; *//* 背景图片 */background-image:url('girl.png') ;background-repeat:no-repeat;/* background-repeat:repeat-x;background-repeat:repeat-y;background-attachment: fixed; *//* 背景定位:位置; *//* background-position:50px 60px ; *//* background-position:right center ; *//* 上下两行相等 *//* background-position: center right; *//* 只写一个,第二个默认是center *//* background-position: left ; *//* background-position: 50% 20% ; *//* 只写一个,第二个默认是50% *//* background-position: 50% ; *//* background-size :contain;background-size :cover; *//* 简写 */background:violet;background:violet url("girl.png") no-repeat center;position: relative;top:20px;left:30px ;/* box-shadow: 5px-水平偏移, 8px-垂直偏移, 10px-扩散度, black; */box-shadow: 15px 8px 10px blue;}/* 鼠标悬停样式hover{} *//* 鼠标移到后变成手形:cursor:pointer; */.box:hover{/* 外发光 */box-shadow: 0 0 40px red;cursor:pointer;}</style></head><body><div class="box"></div></body></html>
二、精灵图的原理与实现
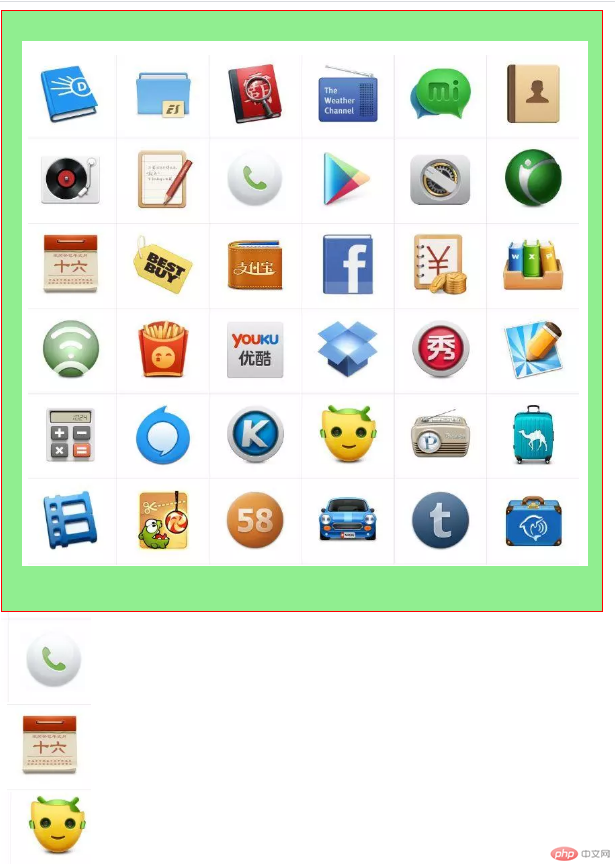
1、精灵图

2、源码
<!DOCTYPE html><html lang="en"><head><meta charset="UTF-8"><meta name="viewport" content="width=device-width, initial-scale=1.0"><title>背景实战:精灵图/雪碧图</title><style>.box1{width:600px;height: 600px;/* padding-left:0 ; */border: 1px solid red;background-image: url("01.png");background-repeat: no-repeat;background-position: 20px 30px ;background-color:lightgreen ;}.box2{width: 90px;height: 90px;background-image: url("01.png") ;background-position: -180px -90px;}.box3{width: 90px;height: 90px;background-image: url("01.png") ;background-position: -0px -180px;}.box4{width: 90px;height: 90px;background-image: url("01.png") ;background-position: -270px -360px;}</style></head><body><div class="box1"></div><div class="box2"></div><div class="box3"></div><div class="box4"></div></body></html>
三、阿里图标的引用
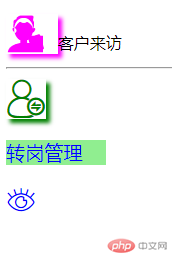
1、图例
2、源码
<!DOCTYPE html><html lang="en"><head><meta charset="UTF-8"><meta name="viewport" content="width=device-width, initial-scale=1.0"><!-- 引入字体图标的类样式 --><link rel="stylesheet" href="font2/iconfont.css"/><title>阿里字体图标的使用方法1</title><style>.lf{font-size: 40px;color:magenta;box-shadow: 4px 4px 4px 0;}.zg{font-size: 40px;color:green;box-shadow: 4px 4px 4px 0;}p{font-size: 1.2rem;color:blue;background-color: lightgreen;width: 100px;}.open-eye{font-size: 30px;color: blue;}</style></head><body><div><span class="iconfont icon-kehulaifang lf"> </span><text> 客户来访</text><hr><span class="iconfont icon-zhuangangguanli zg"></span><p>转岗管理 </p><span class="iconfont open-eye"> </span></div></body></html>

