How to install mysql5.5? (Detailed explanation with pictures and text)

- Y2JOriginal
- 2017-05-20 14:18:3470759browse
Steps to install mysql5.5: First open the downloaded mysql5.5 software; then select custom installation and change the installation path; then select detailed configuration and select multi-function database; finally select custom encoding Set and set the mysql password.

This article mainly introduces the graphic tutorial of mysql5.5 installation and configuration method in detail, which has certain reference value. Interested friends You can refer to
to organize the mysql 5.5 installation and configuration tutorial notes and share them with everyone.
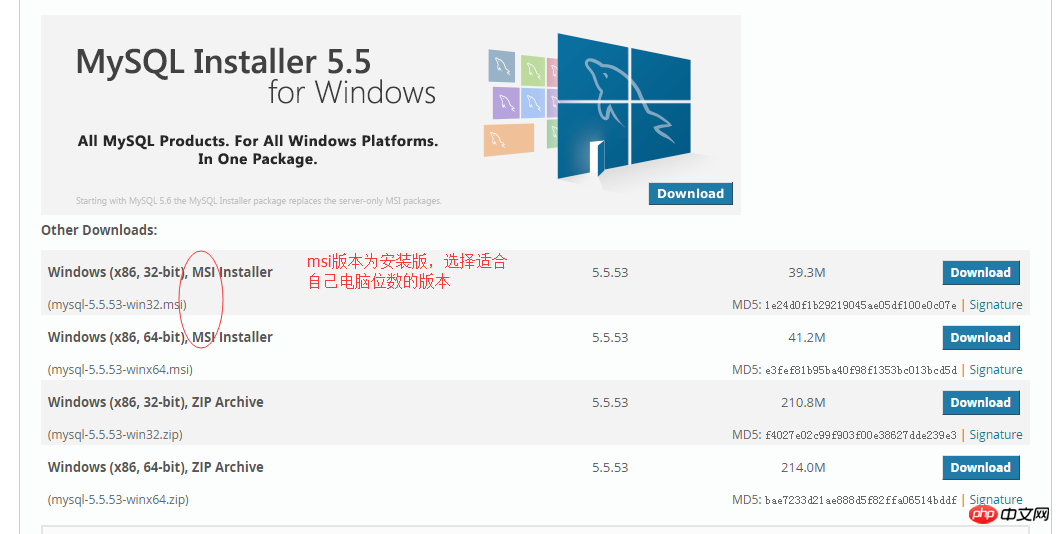
1. Official website download mysql5.5
Download address:
dev.mysql.com/downloads/mysql/5.5.html
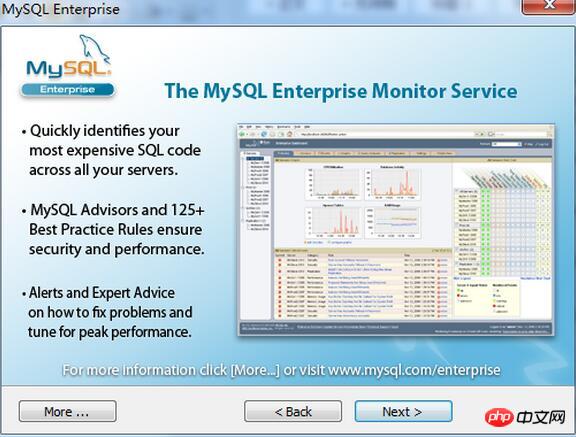
2. Install mysql5.5
Note, please turn off the anti-virus software before installation.
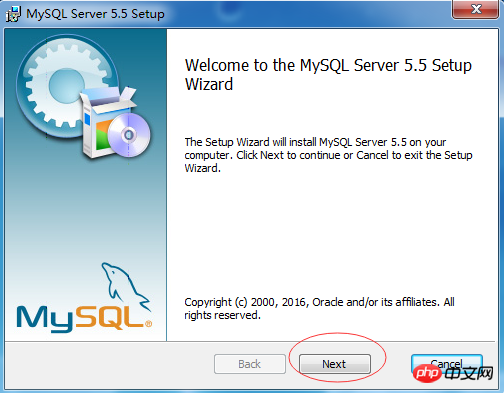
(1) Open the downloaded mysql-5.5.53-winx64.msi
(2) Click Next
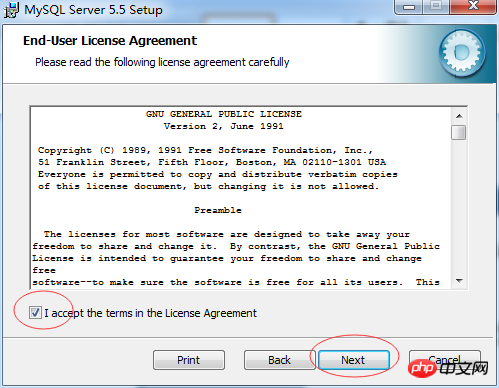
(3 ) Select the check box, next step
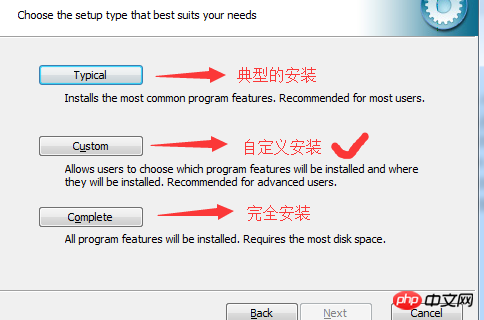
(4) Select custom installation
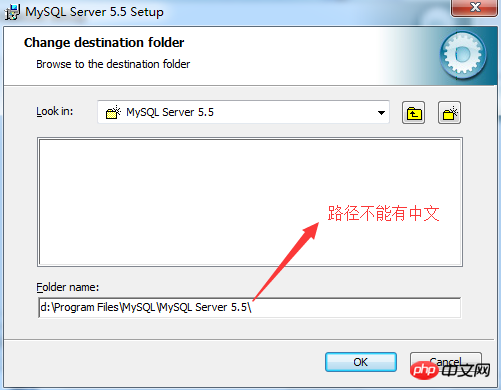
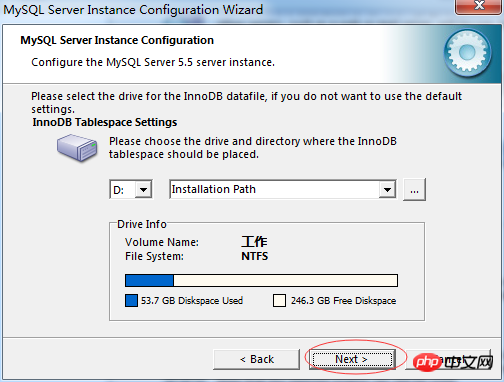
(5) Change the installation Path
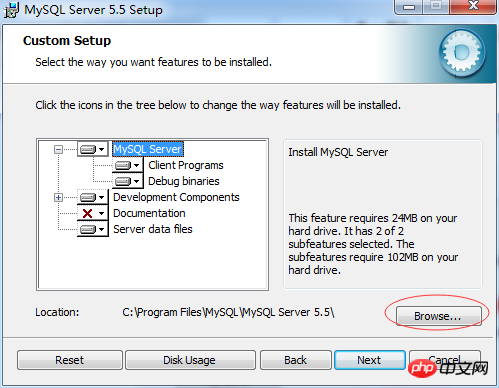
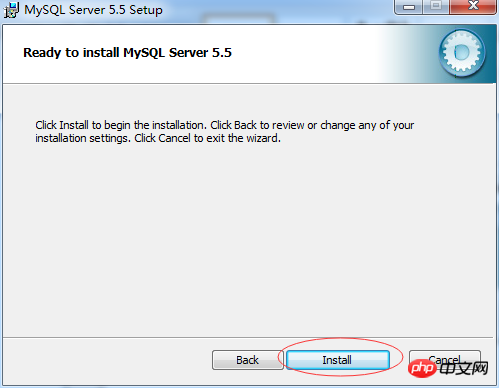
(6) Click to install
(7) Next step
(8) Next step
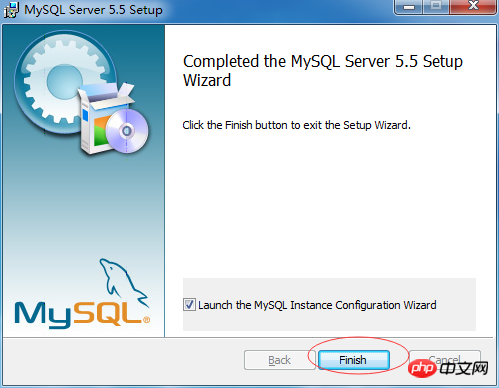
(9) Click finish
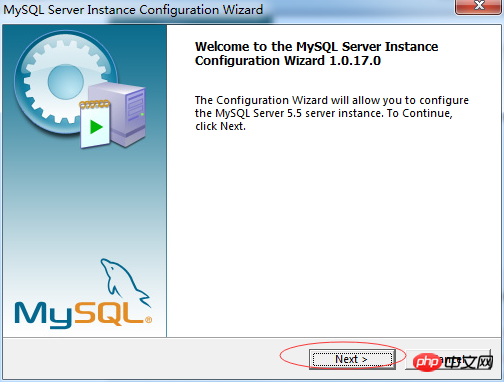
(10) Click next
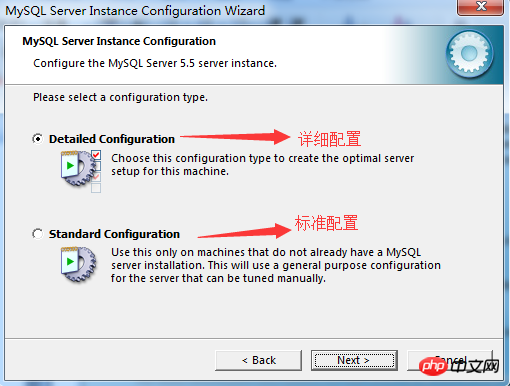
(11) Select detailed configuration, next
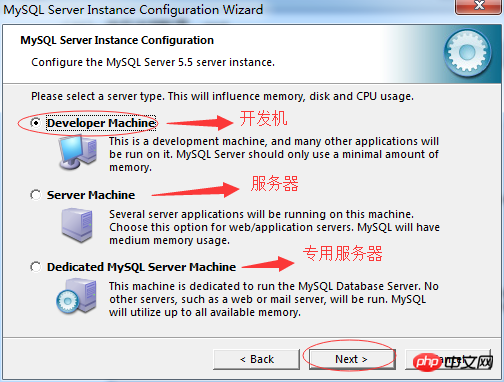
(12 ) Select the development machine, next
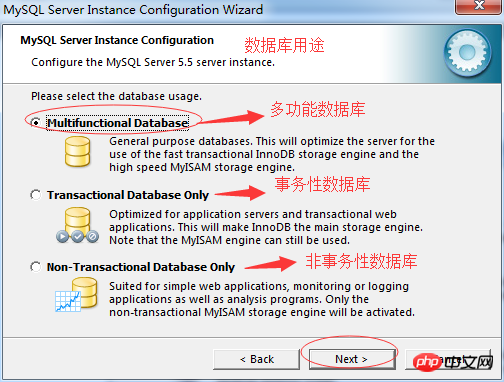
(13) Select the multi-function database, next
(14) next
(15)next
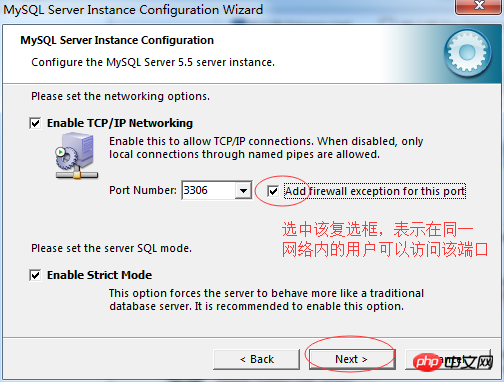
(16) Select the add check box, next
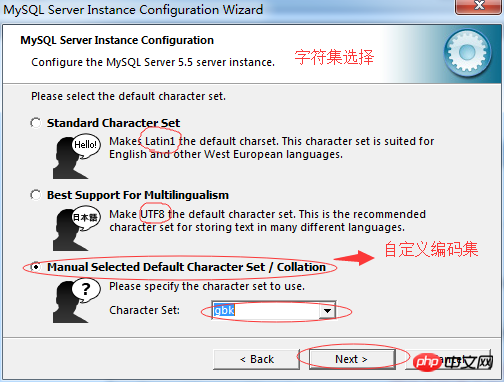
(17) Custom coding set
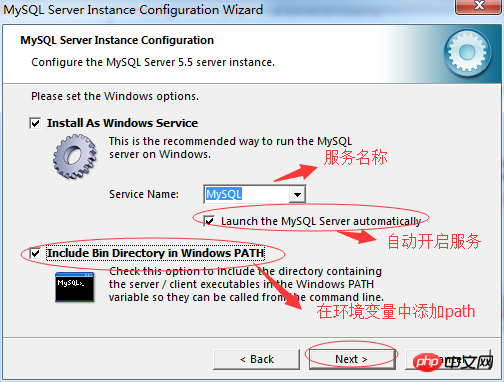
(18) Service selection
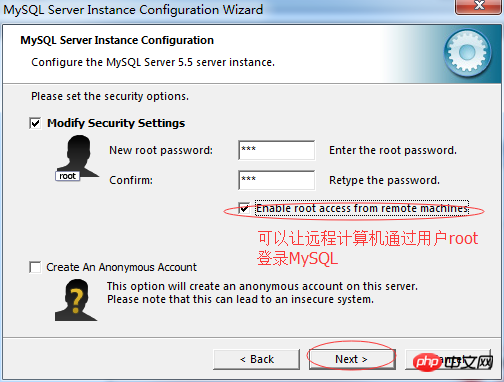
(19) Set password
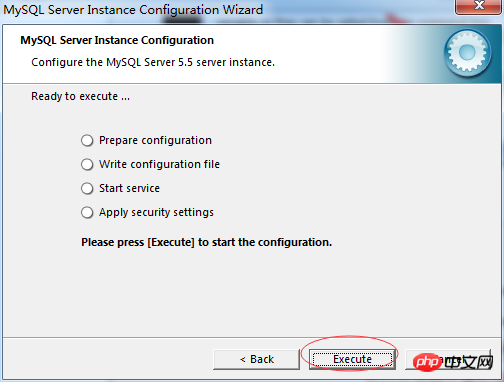
(20) Execute
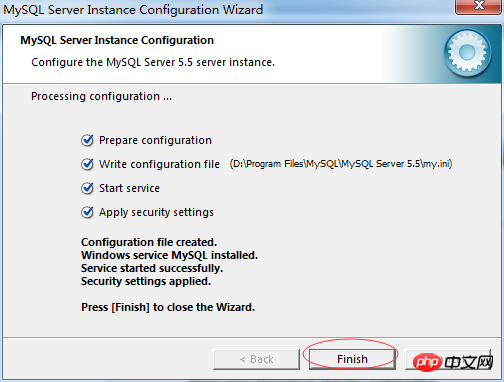
(21) Complete finish
【Related Recommendations】
2. Example detailed tutorial on the use of join operation in Mysql
3. What are the common databases in China? Introduction to various databases
4. 17 Key Points for MySQL Performance Optimization
5. MySQL Diagnose Startup Problems and View Log Files for Detailed Explanation
The above is the detailed content of How to install mysql5.5? (Detailed explanation with pictures and text). For more information, please follow other related articles on the PHP Chinese website!