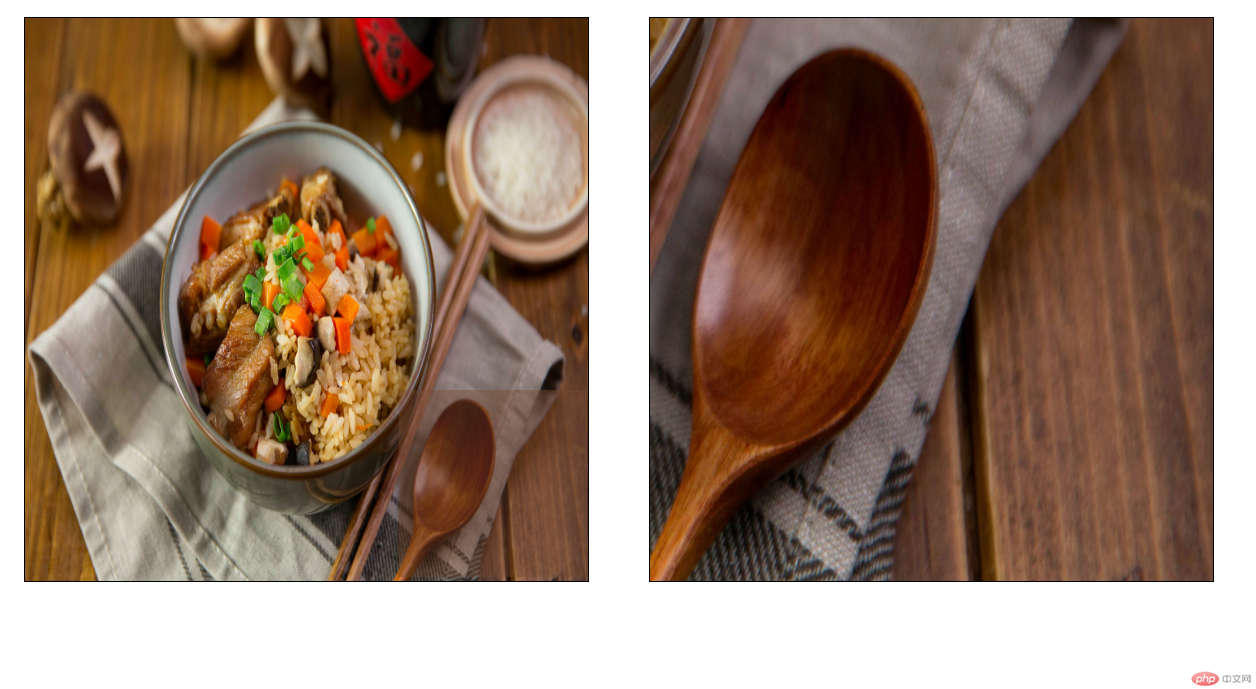
仿天猫商城图片放大镜效果
<!DOCTYPE html>
<html>
<head>
    <meta charset="UTF-8">
    <title>仿天猫商城图片放大镜效果</title>
        <link rel="shortcut icon"  href="static/images/logo.png" type="image/x-icon" />
        <link rel="stylesheet" href="static/css/style.css" type="text/css">
        <script type="text/javascript" src="static/js/jquery.js"></script>
        <script type="text/javascript">
        $(function(){
        $('#big').hide();
        $('#normal').mouseover(function(){
        $('#show').show()
        $('#big').show()
        $(this).mousemove(function(yd){
        //小方块跟随鼠标移动
        $('#show').css(
        {
        'left':yd.pageX-$('#show').width()/2,
        'top': yd.pageY-$('#show').height()/2
        })
        })
        $('#normal').mousemove(function(e){
        //获取鼠标的当前位置
        var x=e.clientx
        var y=e.clienty
        //获取原图窗口距离文档的偏移位置
        var dx=$('#normal').offset().left;
        var dy=$('#normal').offset().top;
        //计算鼠标的相对位置
        var sx=x-dx
        var sy=y-dy
        //小框得的宽高
        var mw=$('#show').width()/2
        var mh=$('#show').height()/2
        //给入鼠标移动,小框移动的距离
        $('#show').css({
        left:sx-mw+'px',
        top:sy-mh+'px'
        })
        //控制小框框只能在原图窗口范围内移动
        //获取小框的偏移位置
        var lw=$('#show').position().left;
        var lh=$('#show').position().top;
        var maxW=$('#normal').width()-$('#show').width()
        var maxH=$('#normal').height()-$('#show').height()
        //左
        if(lw<=0){$('#show').css('left','0px')}
        //右
        if(lw>=maxW){$('#show').css('left',maxW+'px')}
        //左
        if(lh<=0){$('#show').css('top','0px')}
        //右
        if(lh>=maxH){$('#show').css('top',maxH+'px')}
        //获取小框的偏移位置
        var lw=$('#show').position().left;
        var lh=$('#show').position().top;
        var newX=lw*3;
        var newY=lh*3
        $('#big').find('img').css({
        'left':-newX+'px',
        'top':-newY+'px'
        })
        })
        })
        $('#normal').mouseleave(function(){
        $('#show').hide()
        $('#big').hide()
        })
        })
        </script>
    </head>
    <body>
    <div id="normal">
    <img src="static/images/5.jpg">
    <div id="show"></div>
    </div>
    <div id="big">
    <img src="static/images/5.jpg">
    </div>
    </body>
</html>
*{
margin: 0px;
padding: 0px;
}
#normal{
width: 450px; /* 展示图的长宽 */
height: 450px;
border: 1px solid #000;
position: fixed;
left:20px;
top:20px;
}
#normal img{
width: 100%;
height:100%;
}
#show{
width: 150px; /* 放大镜区域长宽 */
height:150px;
background: #754930;
opacity: 0.4;
position: absolute;
display: none;
}
#big{
width: 450px; /* 放大镜长宽 */
height: 450px;
border: 1px solid #000;
position:relative;
left: 520px;
top: 20px;
overflow: hidden;
}
#big>img{
position: absolute;
width:1350px; /* 放大镜内部图片的长宽 */
height: 1350px;
}/* 放大镜内部图片的长宽/展示图的长宽=放大镜长宽/放大镜区域长宽 */
总结:对于这个案例,理解的时候比较绕,尤其是其中涉及到的距离。这几个距离的区别以及结合absolute的使用。隐隐感觉理解了,但是好像还不是很清晰,需要再理解一下。


